 by
by 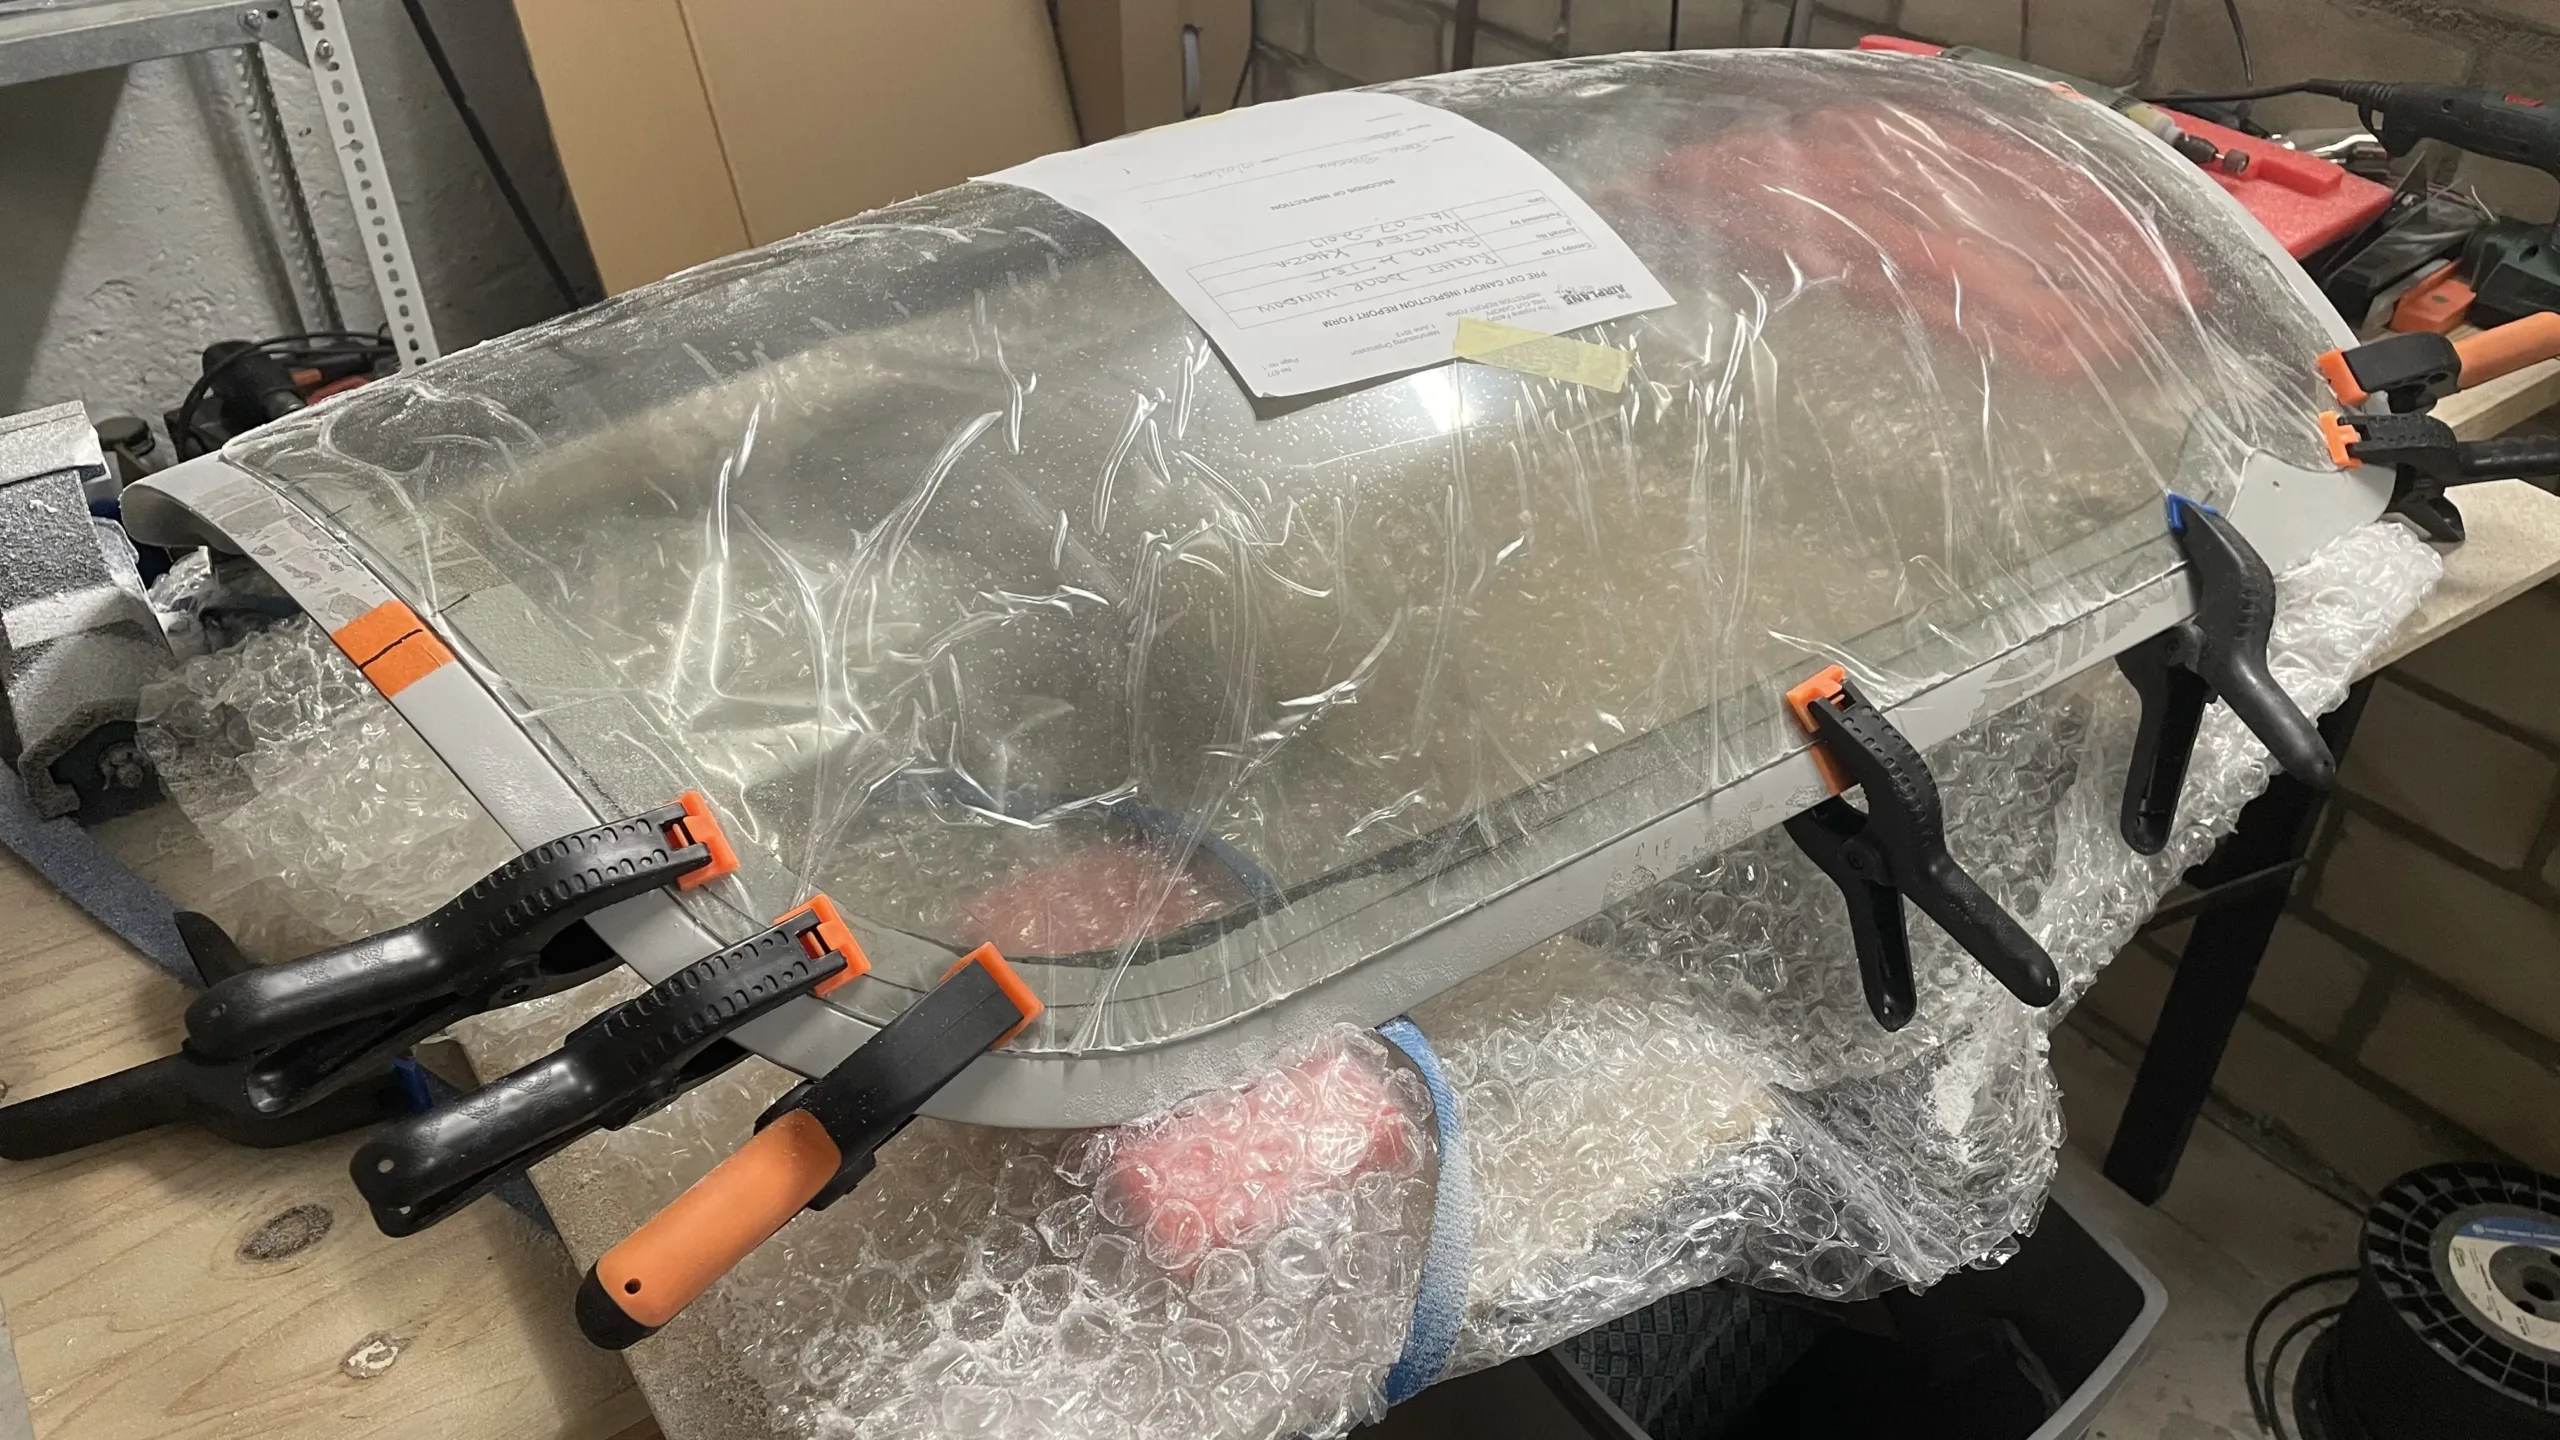
Some thoughts from Al (a UK builder) who completed the laborious task of installing Perspex windows, shares valuable insights and lessons learned:
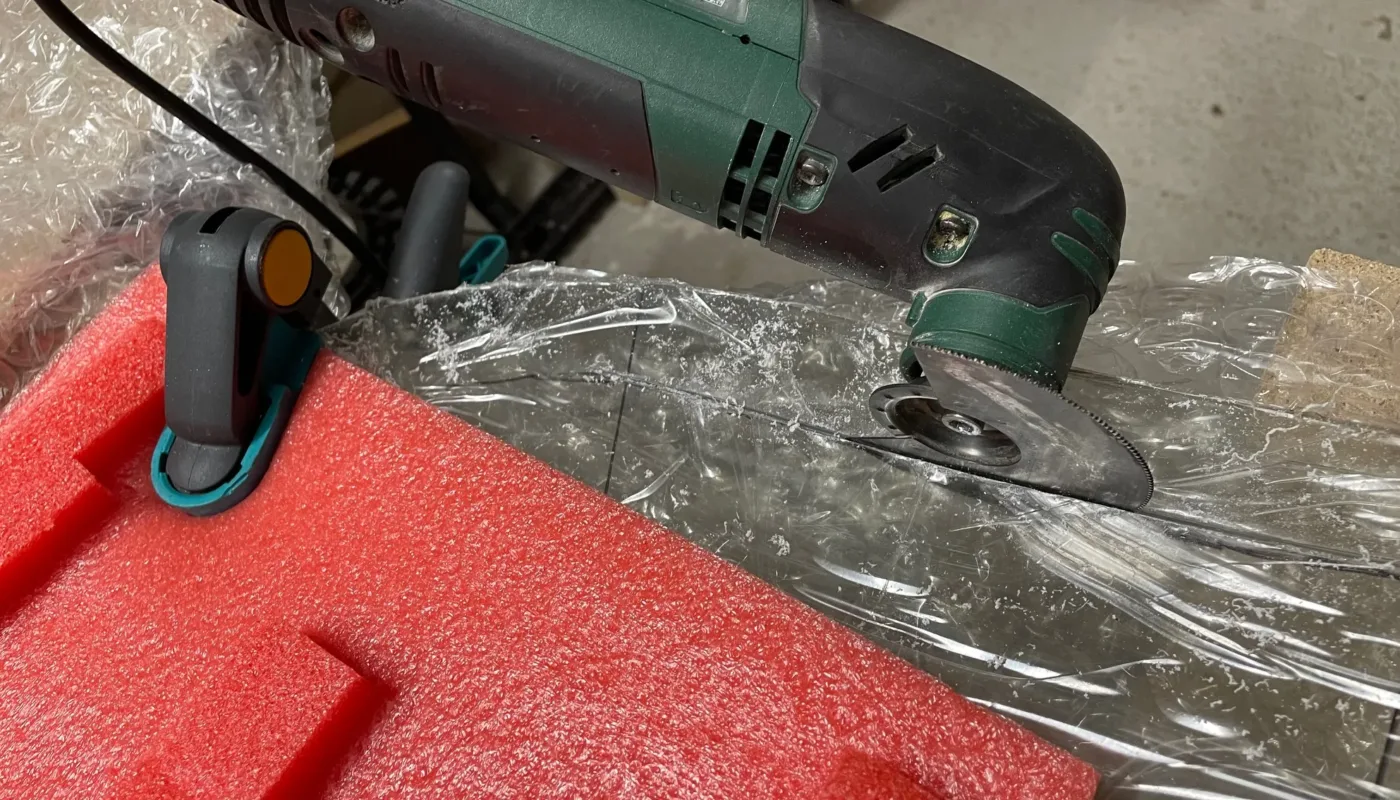
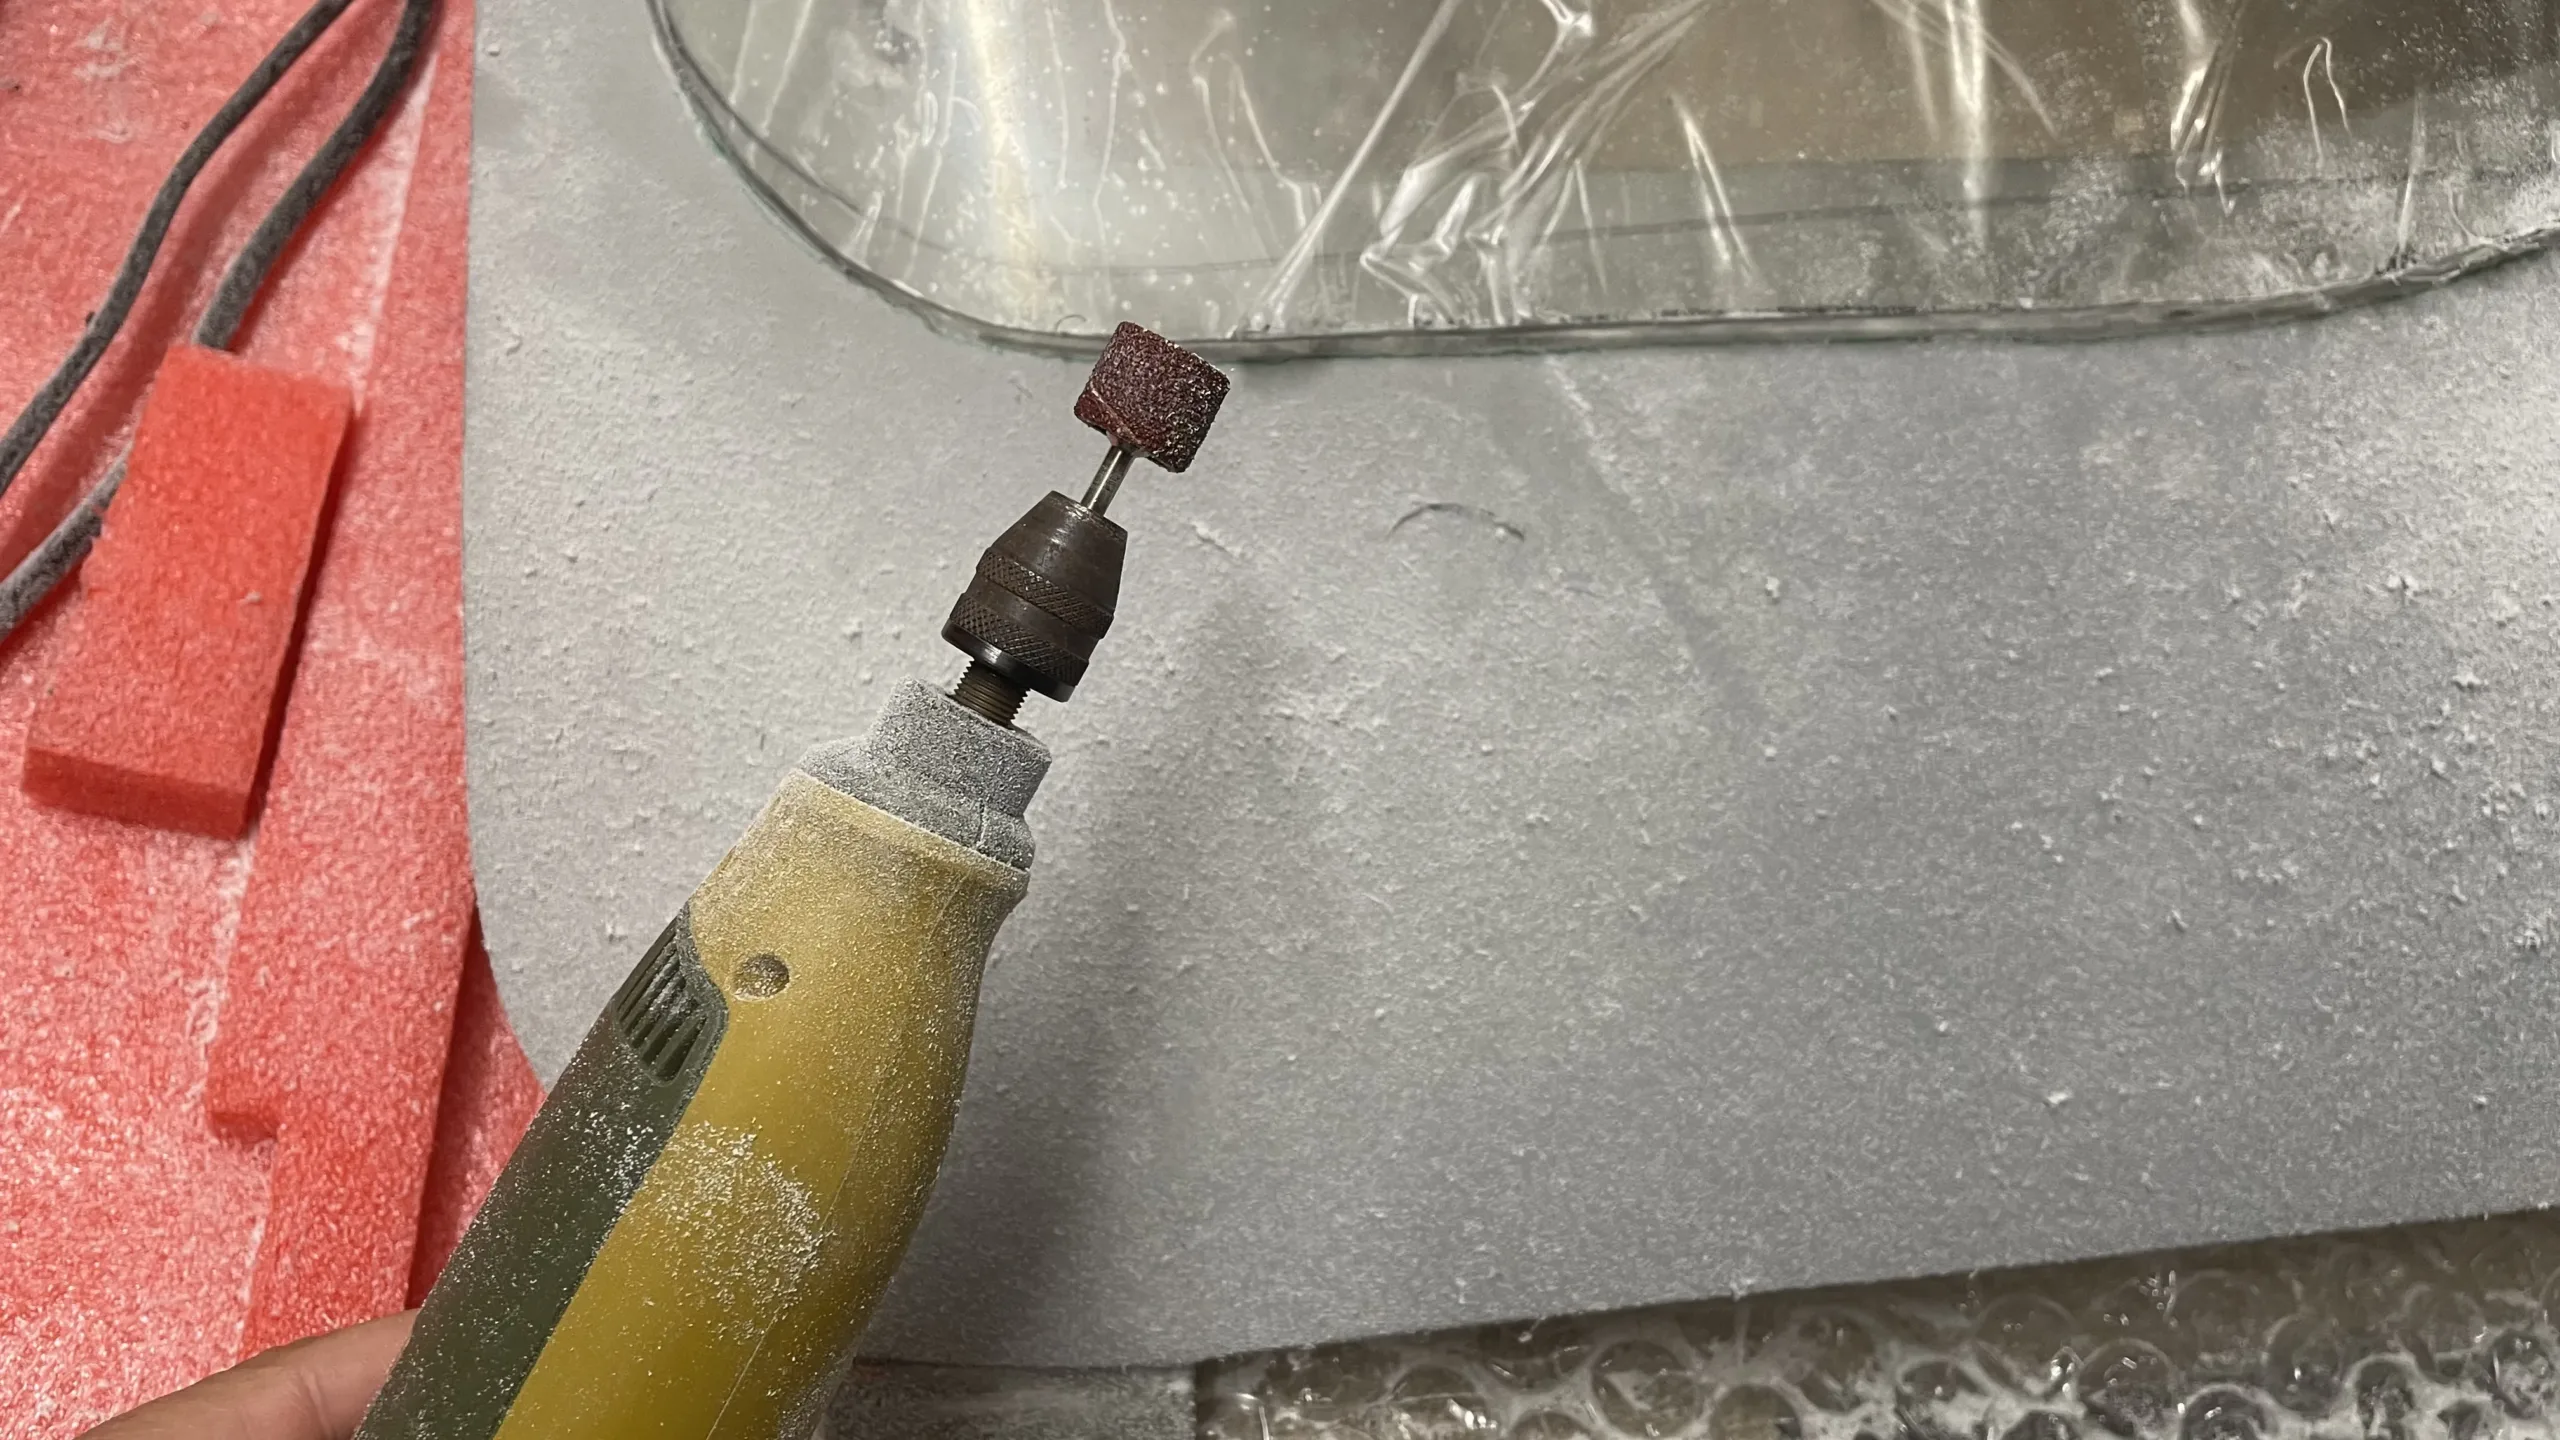
Brace Yourself: Trimming Perspex blanks is a time-consuming process, and the days leading up to this task will be messy. Establish the correct cut lines before beginning the trimming process. I found that using a cutting disc on an angle grinder carried too much risk, so I employed a Dremel with a cutting disc and then sanded the inverse curves with a barrel drum. However, make sure you have the right cut lines before starting. Disregard any markings made at the factory as they are most likely incorrect.
Steps:
- Remove all protective plastic and inspect for hidden damage; clean and reinstall the protective film, using clear film for best results.
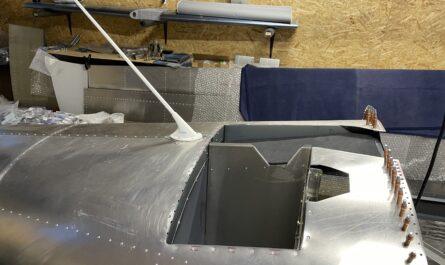
- Flatten any uneven joggle surfaces to prepare the aperture.
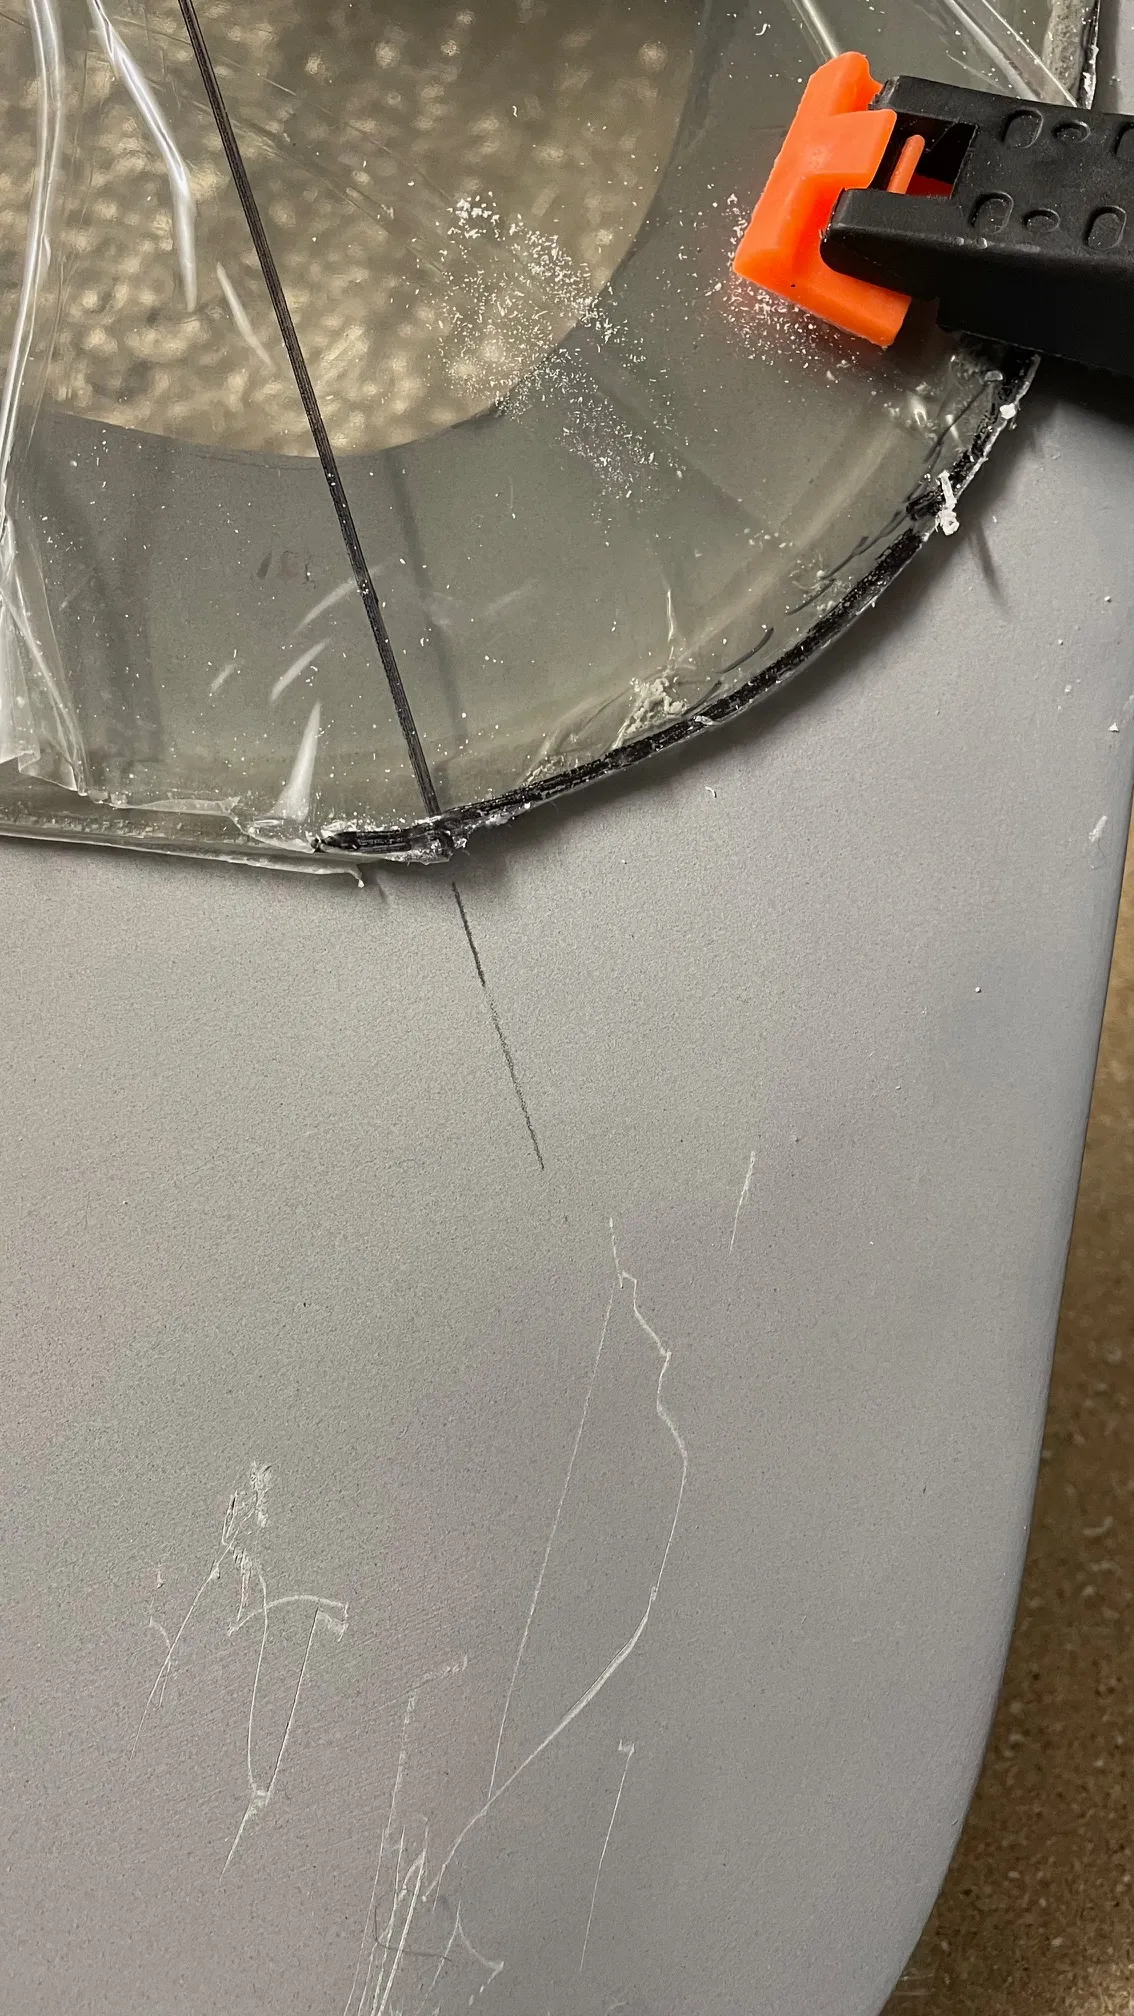
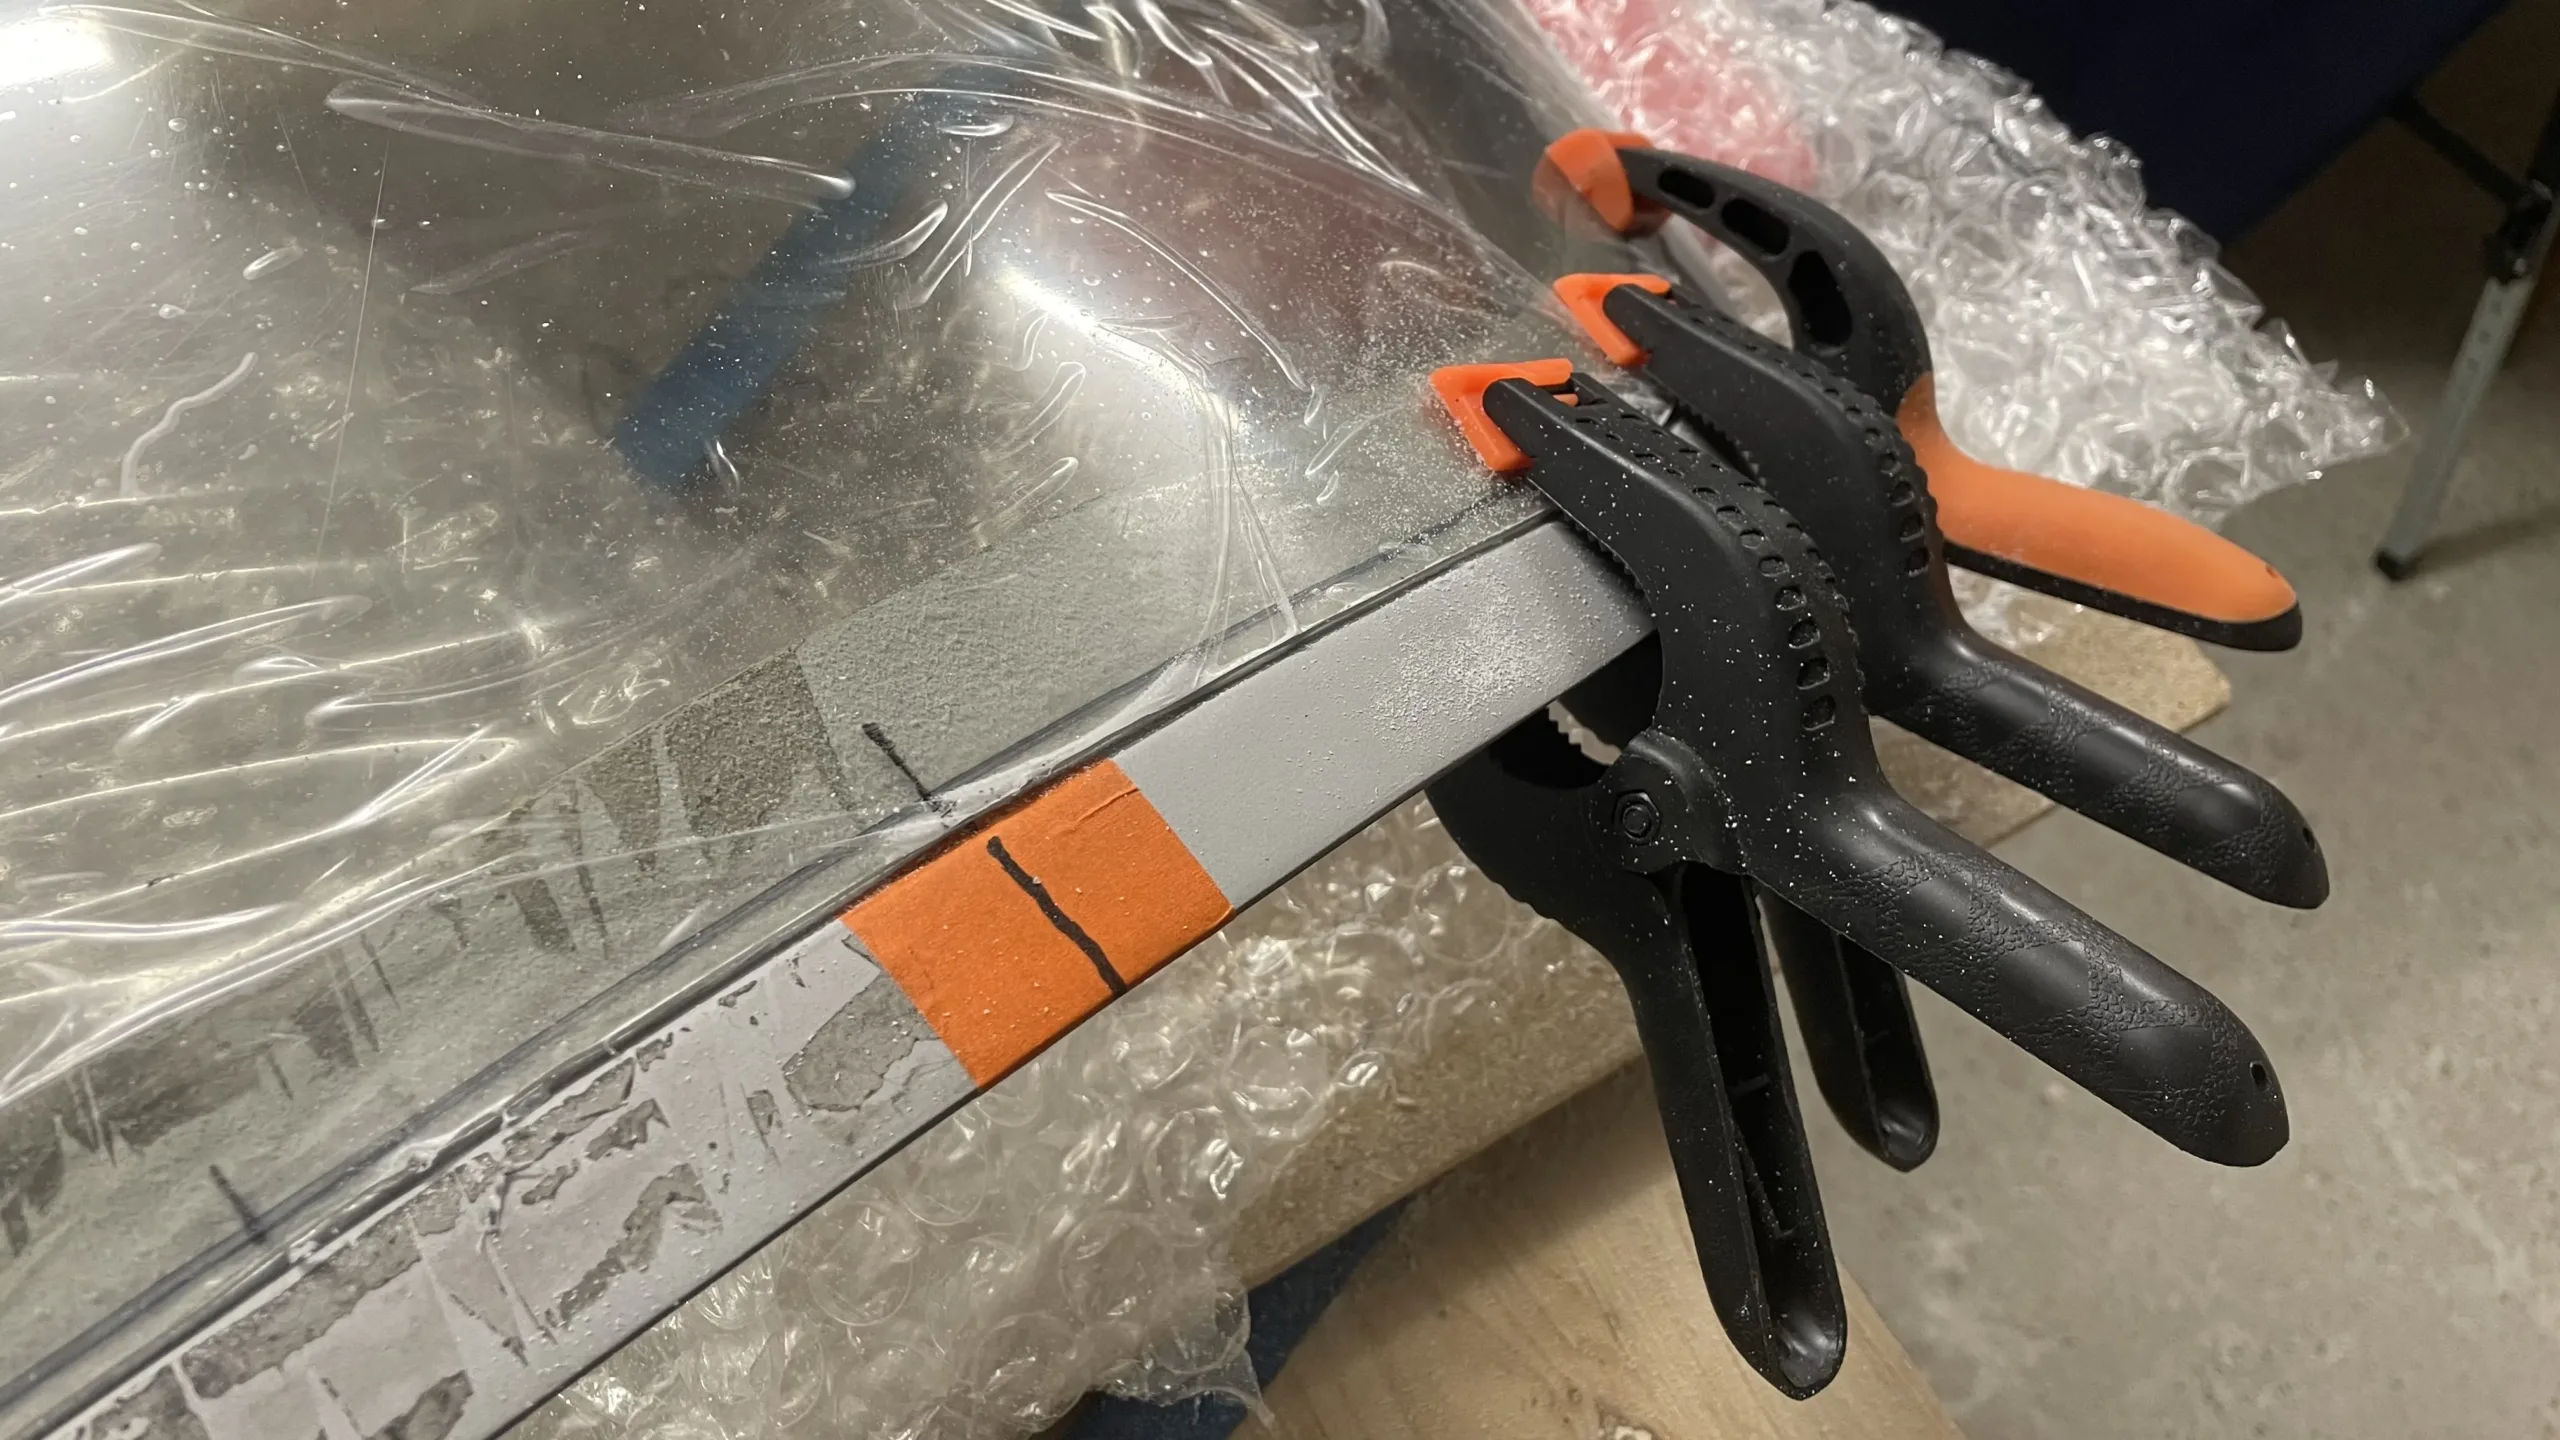
- Trace the edge of the joggle with fine line tape where it meets the top surface of the canopy to establish your initial cut line. Ensure you leave enough material (2-3 mils) for sanding back and achieving a perfect fit.
- Sand the edges of the Perspex blank for a perfect fit, then add an inverse bevel and consider adding a depth bumper (1-2mm rubber stripping). Measure and mark out your requirements before temporarily fitting the window.
- Peel back the protective coating on the inner window edge to mark it on the inside face of the Perspex using fine line tape. Create a new line 2mm above the ledge for better results during the prep, priming, and bonding processes.
- Prepare the bonding surfaces by applying fine line masking tape over plastic tape and electric tape to protect it while sanding the surface being bonded. Remove this top layer of damaged tape once completed and prepare the Sika surface with foam brushes.
- Prime the canopy surface and superglue in place small bumper blocks to ensure proper Perspex positioning.
- Prepare for an overlay Sika bead to cover the joint, masking and prepping as necessary. Use primer on internal surfaces for successful bonding.
- Use lots of masking tape, polystyrene blocks, and possibly wooden blocks or ratchet straps to coax windows into place. Apply force where necessary to ensure proper curve fitment, such as door areas near handles.
- Clean up any large squeeze-out but avoid overdoing it with the windshield, as cleaning from the inside becomes difficult if the coaming is installed.
- Prepare for an overlay Sika bead to cover the joint and apply primer on internal surfaces for successful bonding.
Lessons Learned:
- Inspect, clean, and reinstall protective film before any work commences.
- Apply a nice black surface primer 2-4mm inside the aperture for better results in the final finish; remember that you will need to backfill from the inside as well.
- Be prepared: this task takes a long time, and it is messy. Gather all necessary rags, cleaning roll, and a fresh box of gloves.
- Cut and prep all windows and windscreen before bonding them in.
- Do not leave edging tape on any longer than about 12 hours, as the Sika gets harder, which can cause issues with edges becoming stuck underneath.
- Bond door windows with rubber seals installed and doors locked down for accurate profile results.
- For future builds, consider bonding windows 10mm higher than the composite lip on the windshield to mask any minor squeeze-out and provide an opportunity to backfill the arch internally without stress.
- Use three applications of Sika to securely bond all components in, with some wastage but over several sessions.