 by
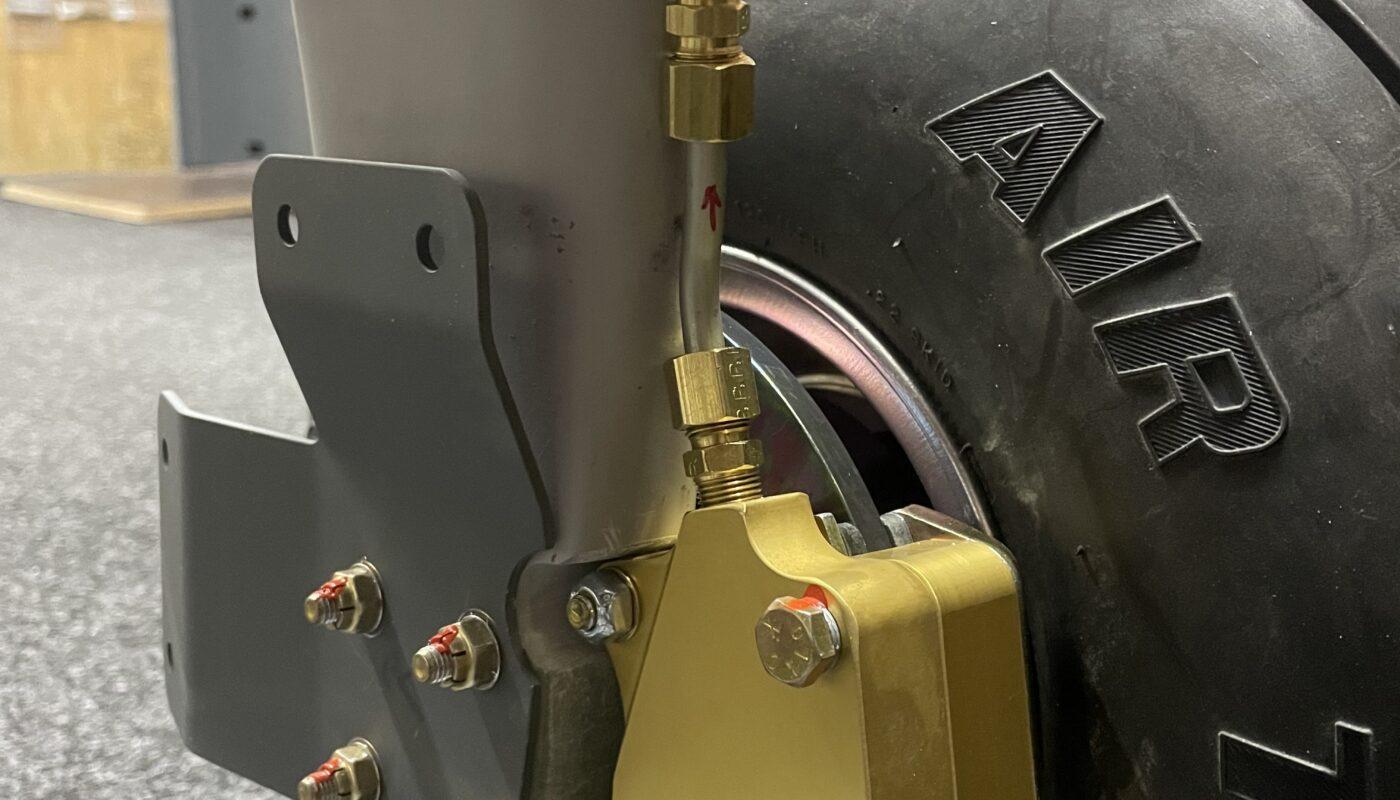
by Brake Line Installation
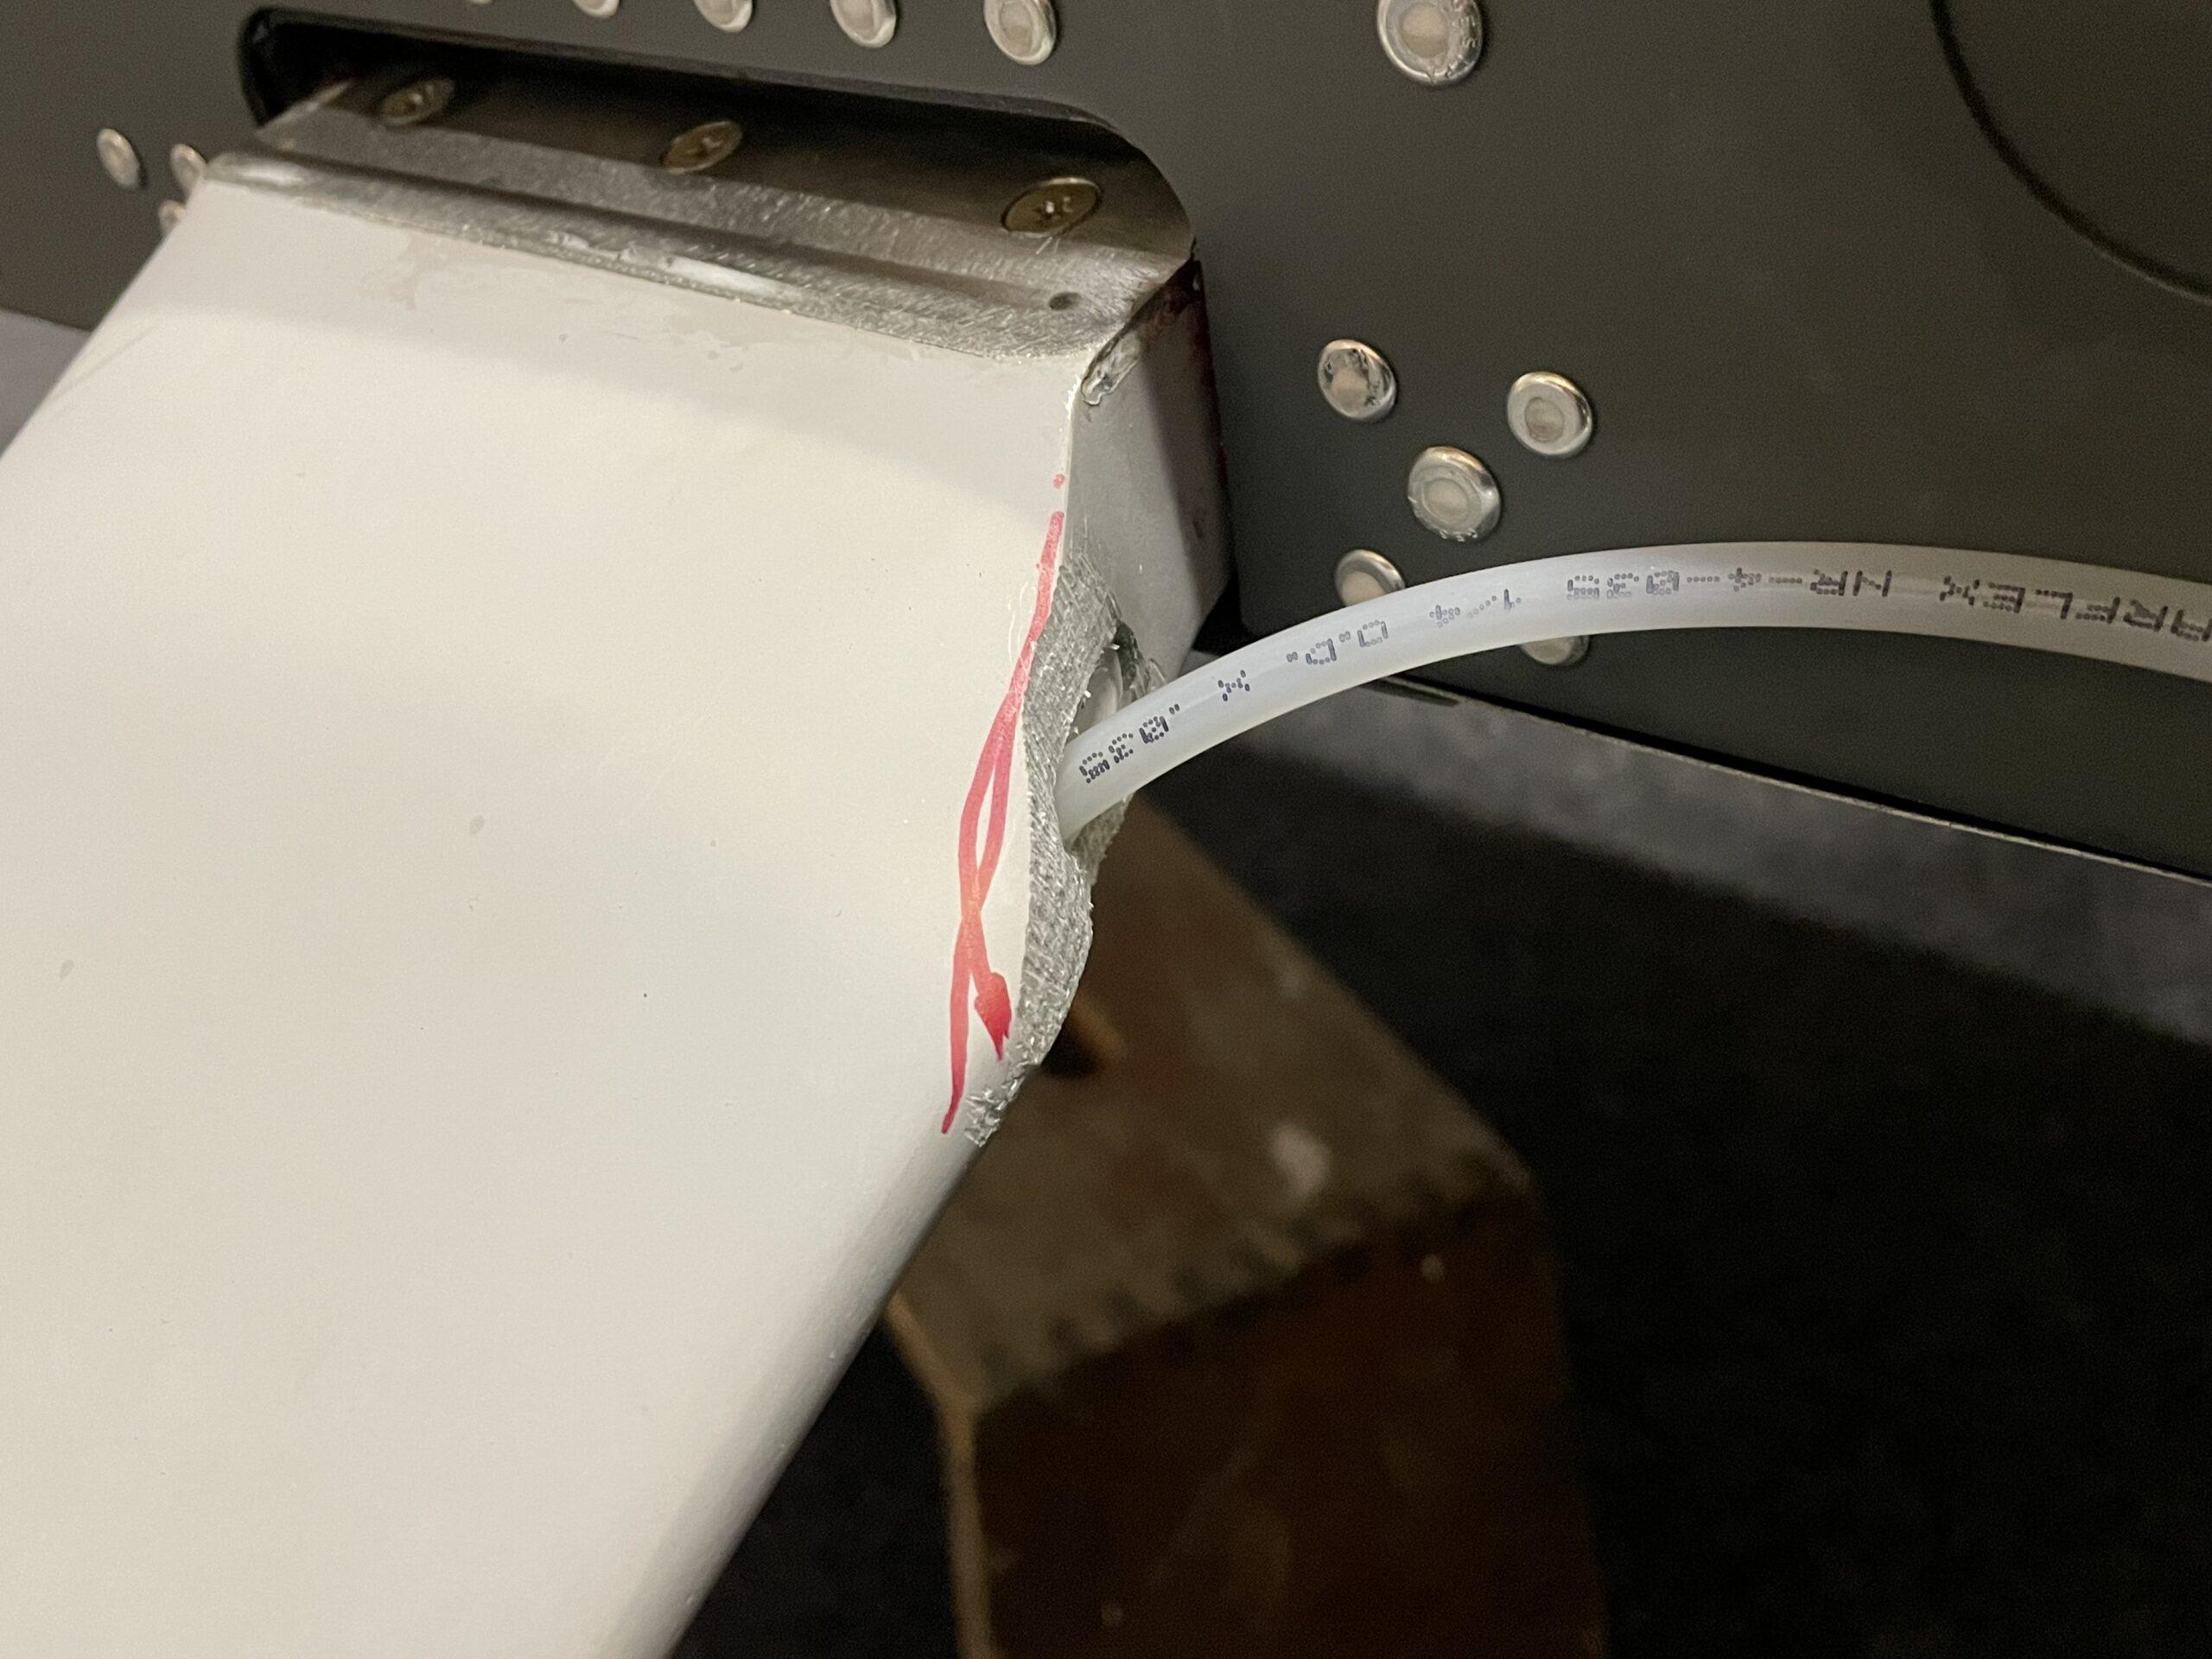
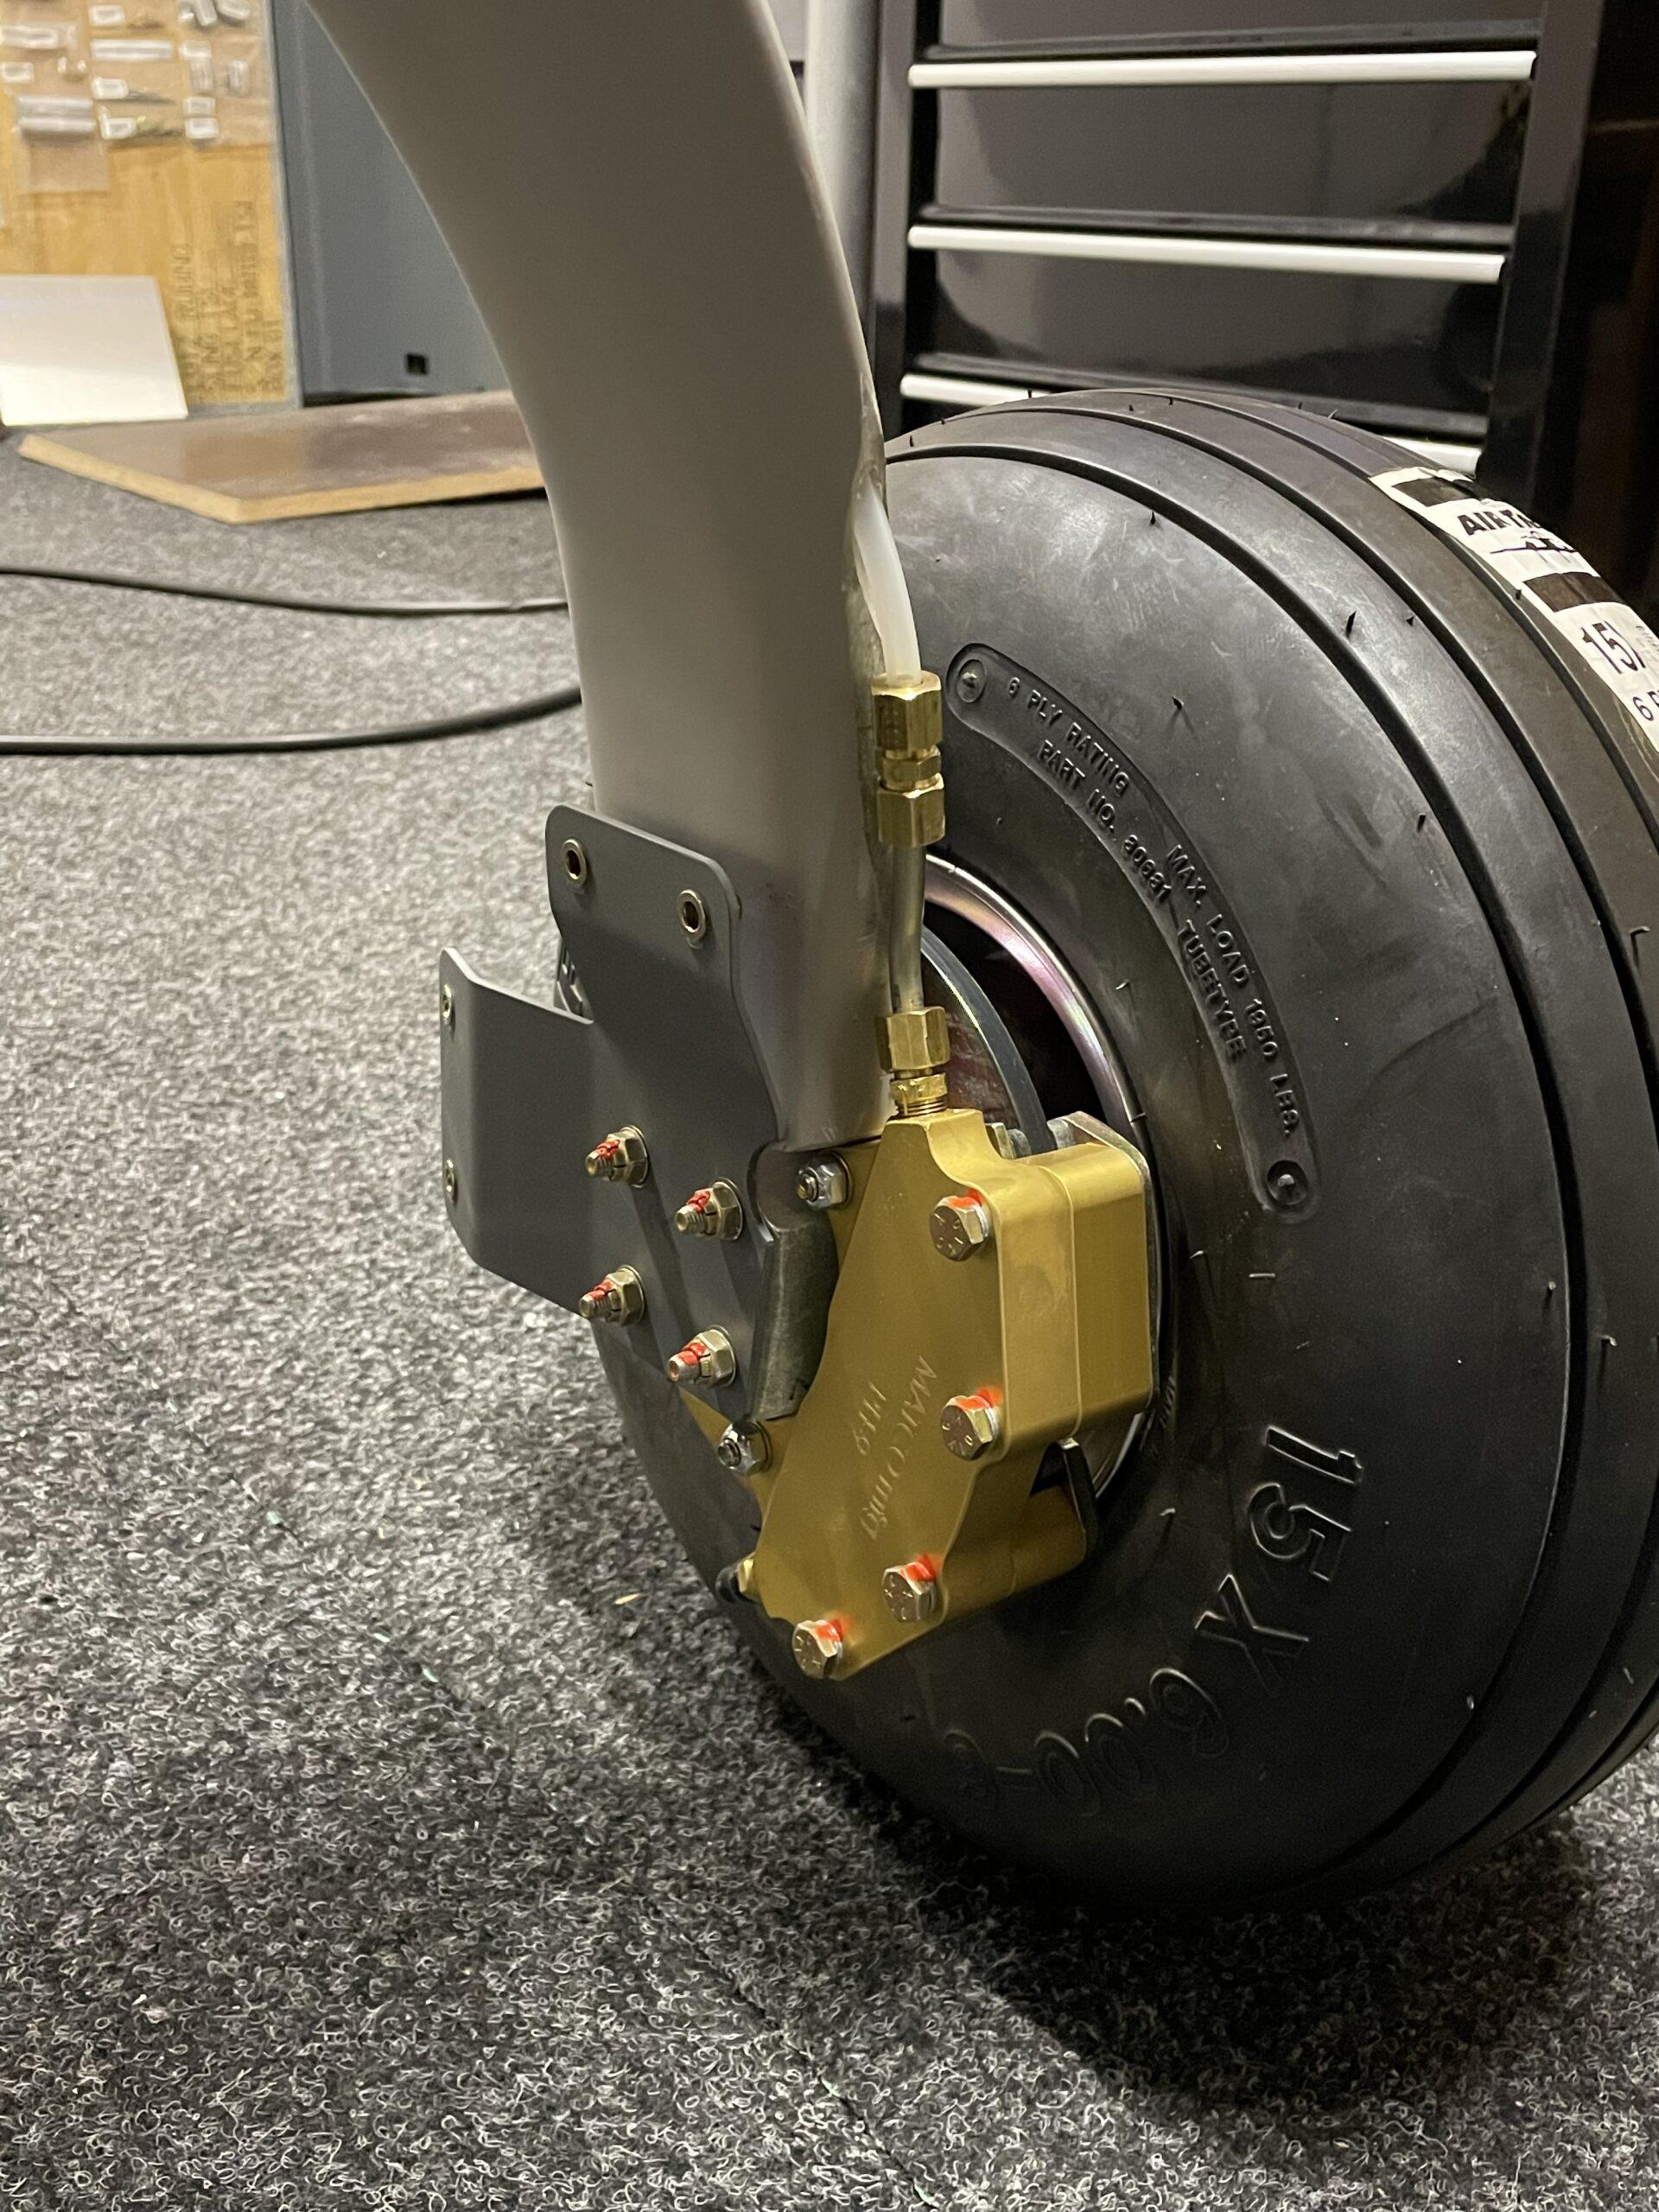
The PVC brake lines need a little “grease” to slide into the conduit of the gear legs and the in/outlets of the gear legs need some trimming to not bend the brake lines too much. If you choose the bigger two caliper Matco brakes, you need to adapt the PVC line to brake fittings. My first try was to adjust the supplied steel pipe which worked out ok (middle picture) on the other wheel I used two 45° NTP fittings which made the process much easier and give a little more play for PVC pipe.

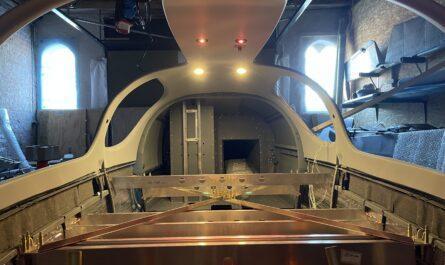
Nose Wheel Installation
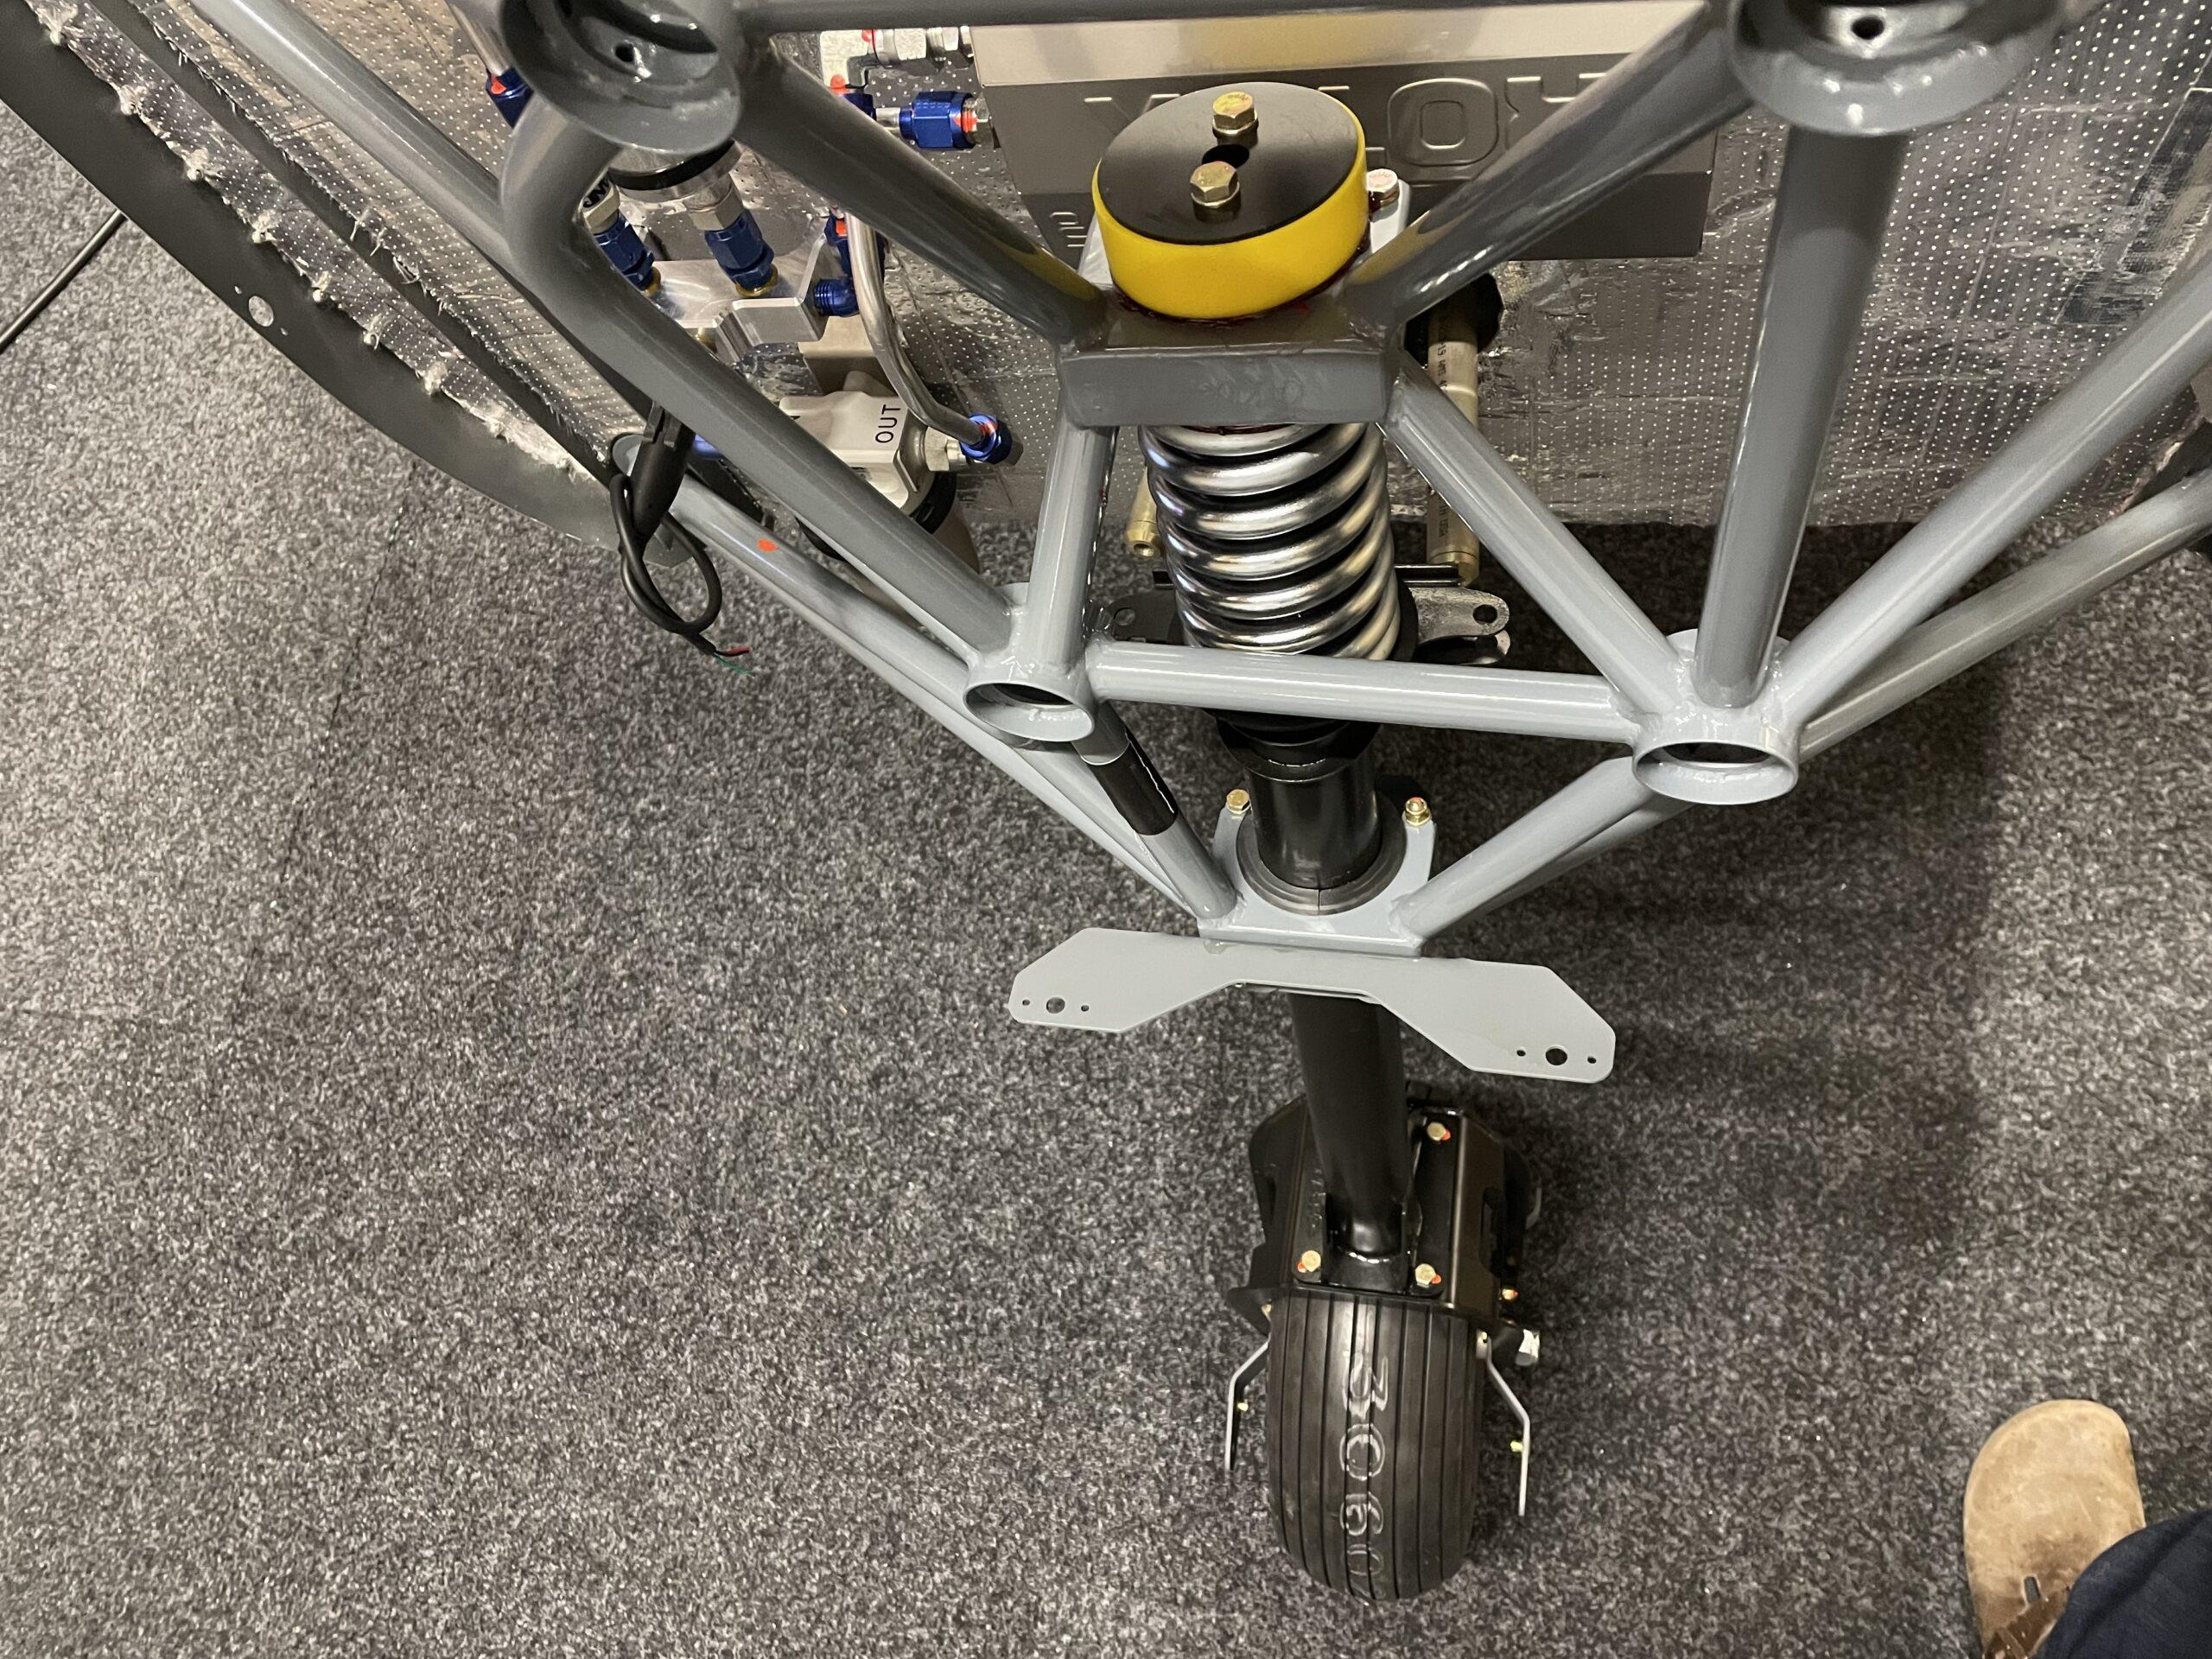
The nose wheel assembly does not fit in the bushings on the engine mount without some adjustments. You will need to do a lot of sanding and fitting and sanding again to make the nose wheel turn without too much effort. I found it much easier to work on a table with the engine mount off the fuselage. So I recommend fitting the nose wheel before you mount the engine mount to the fuselage.
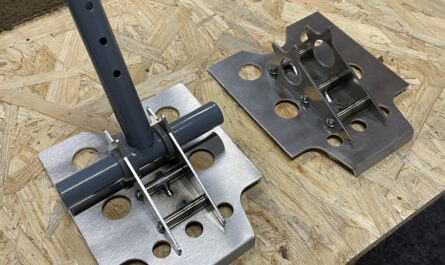
Main Landing Gear to Fuselage Installation.
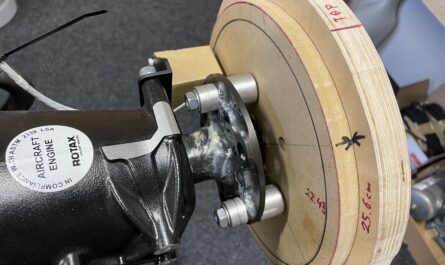
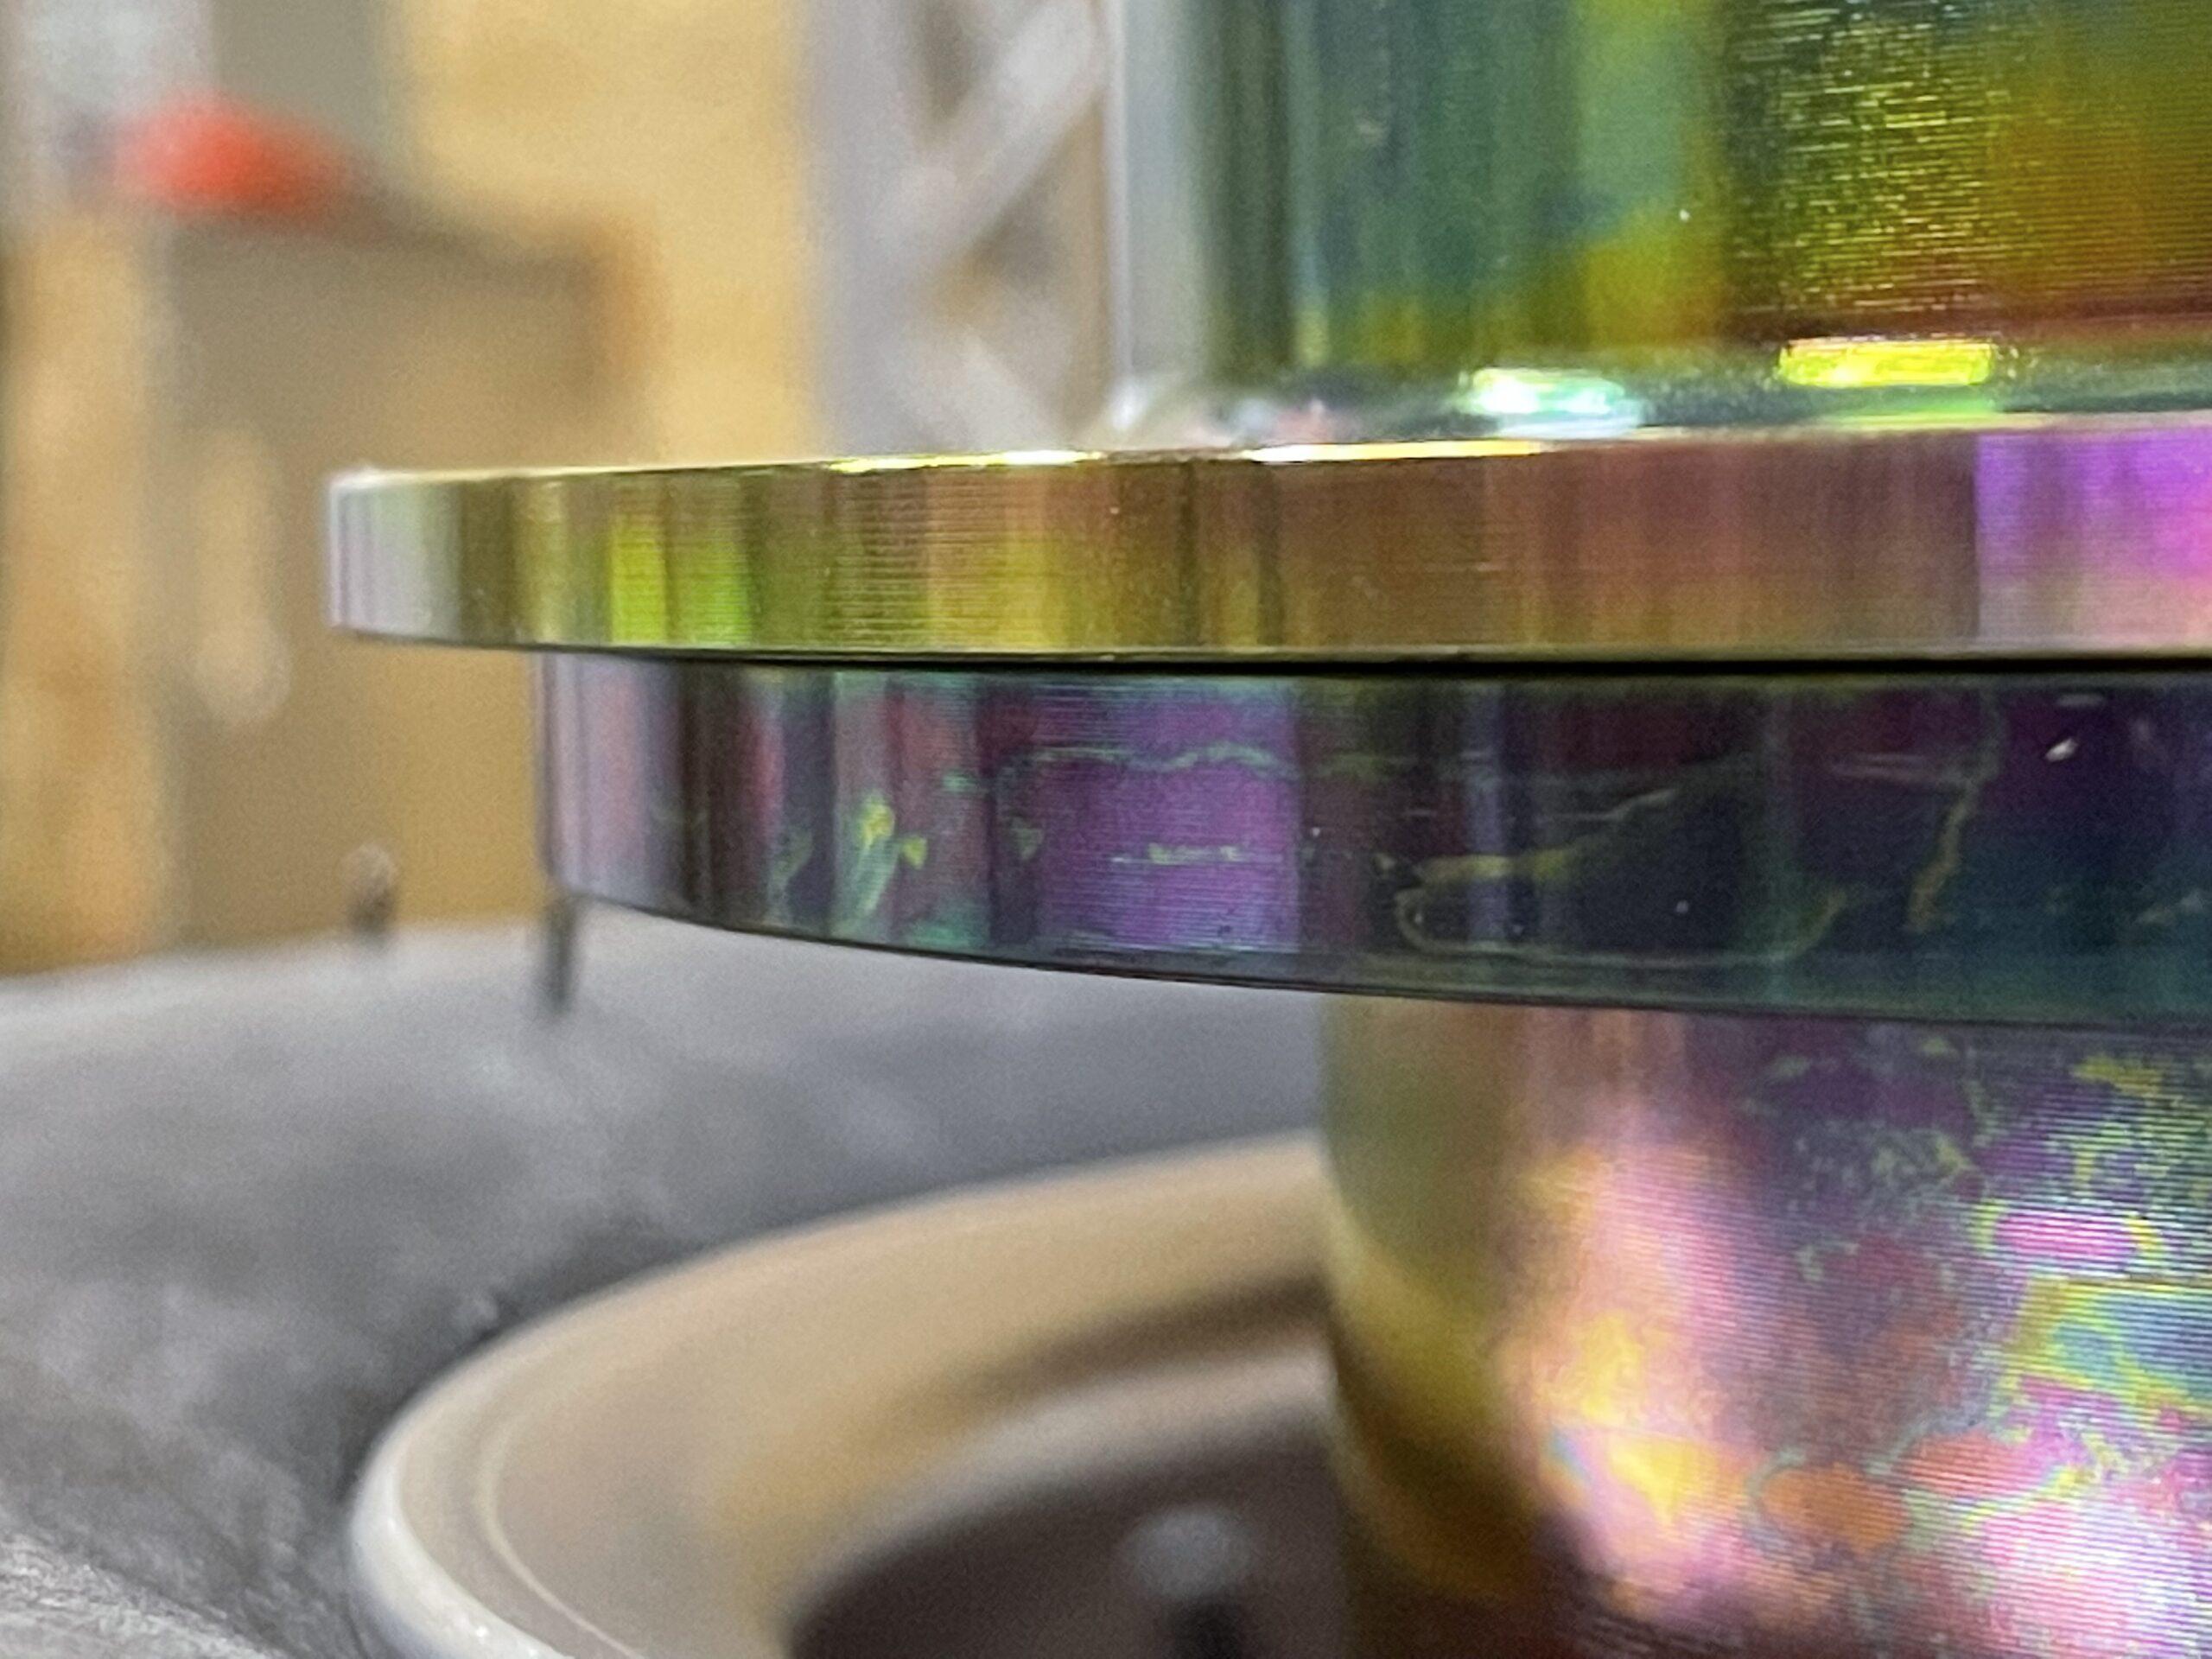
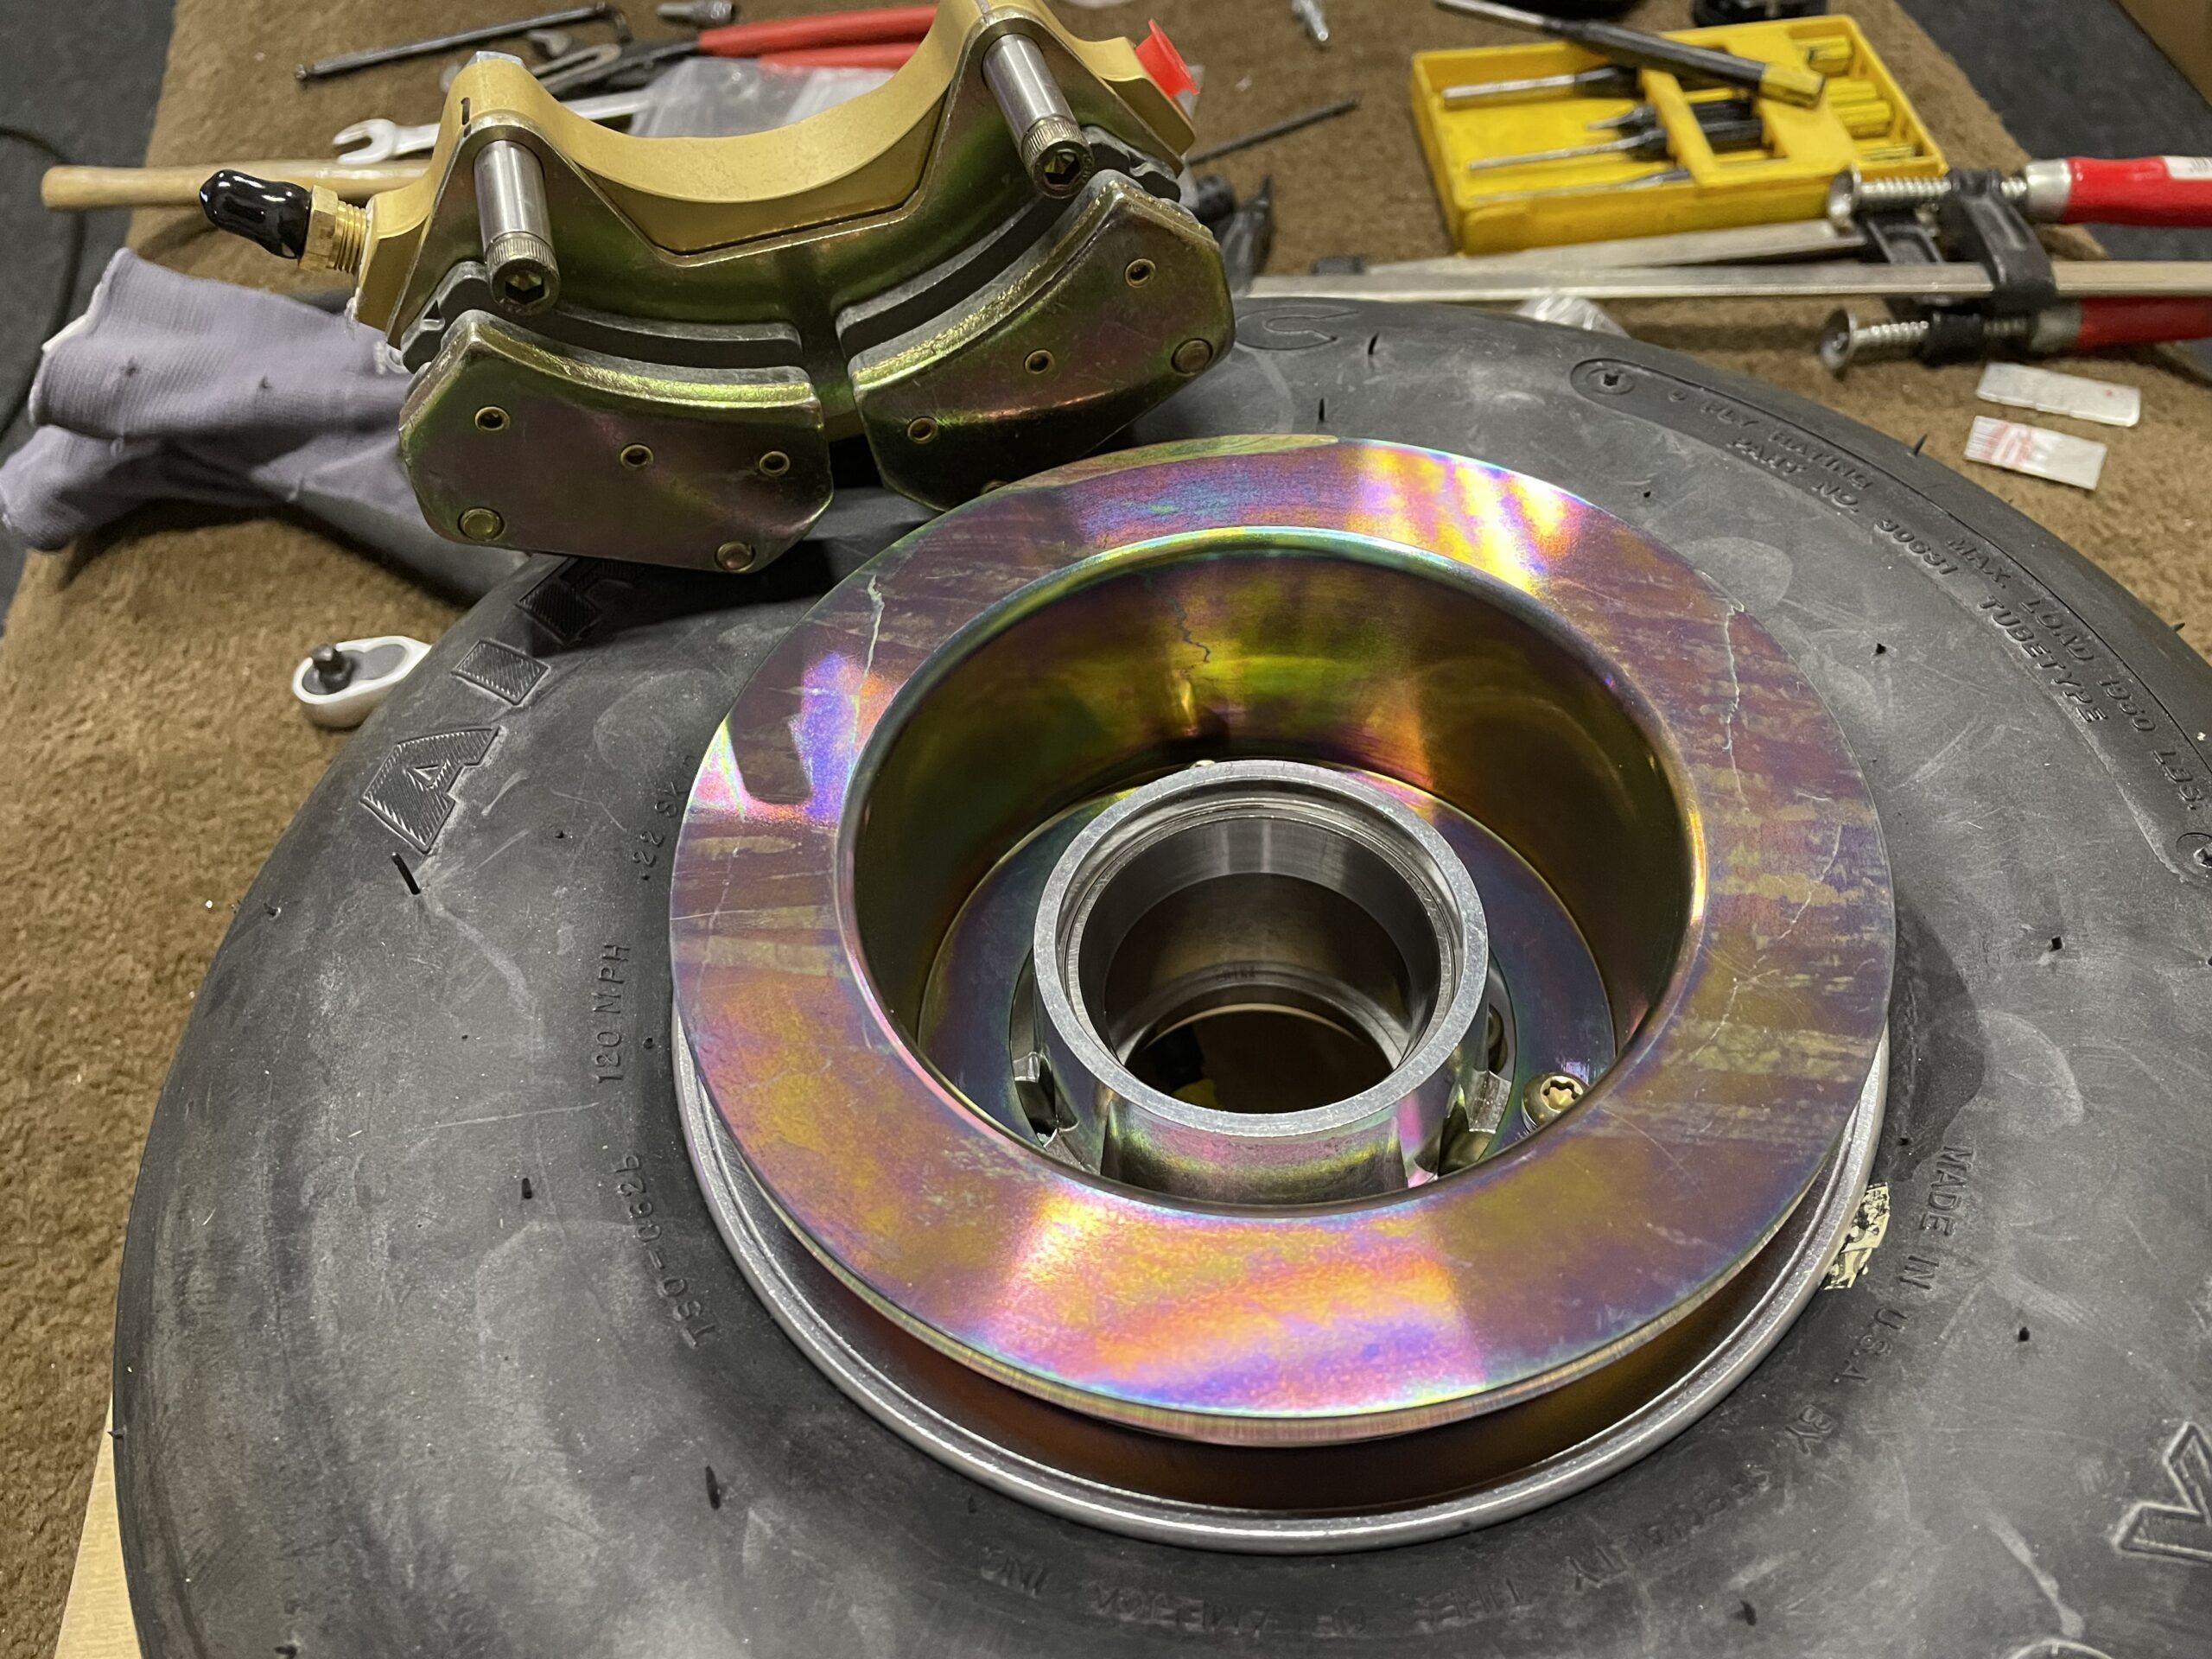
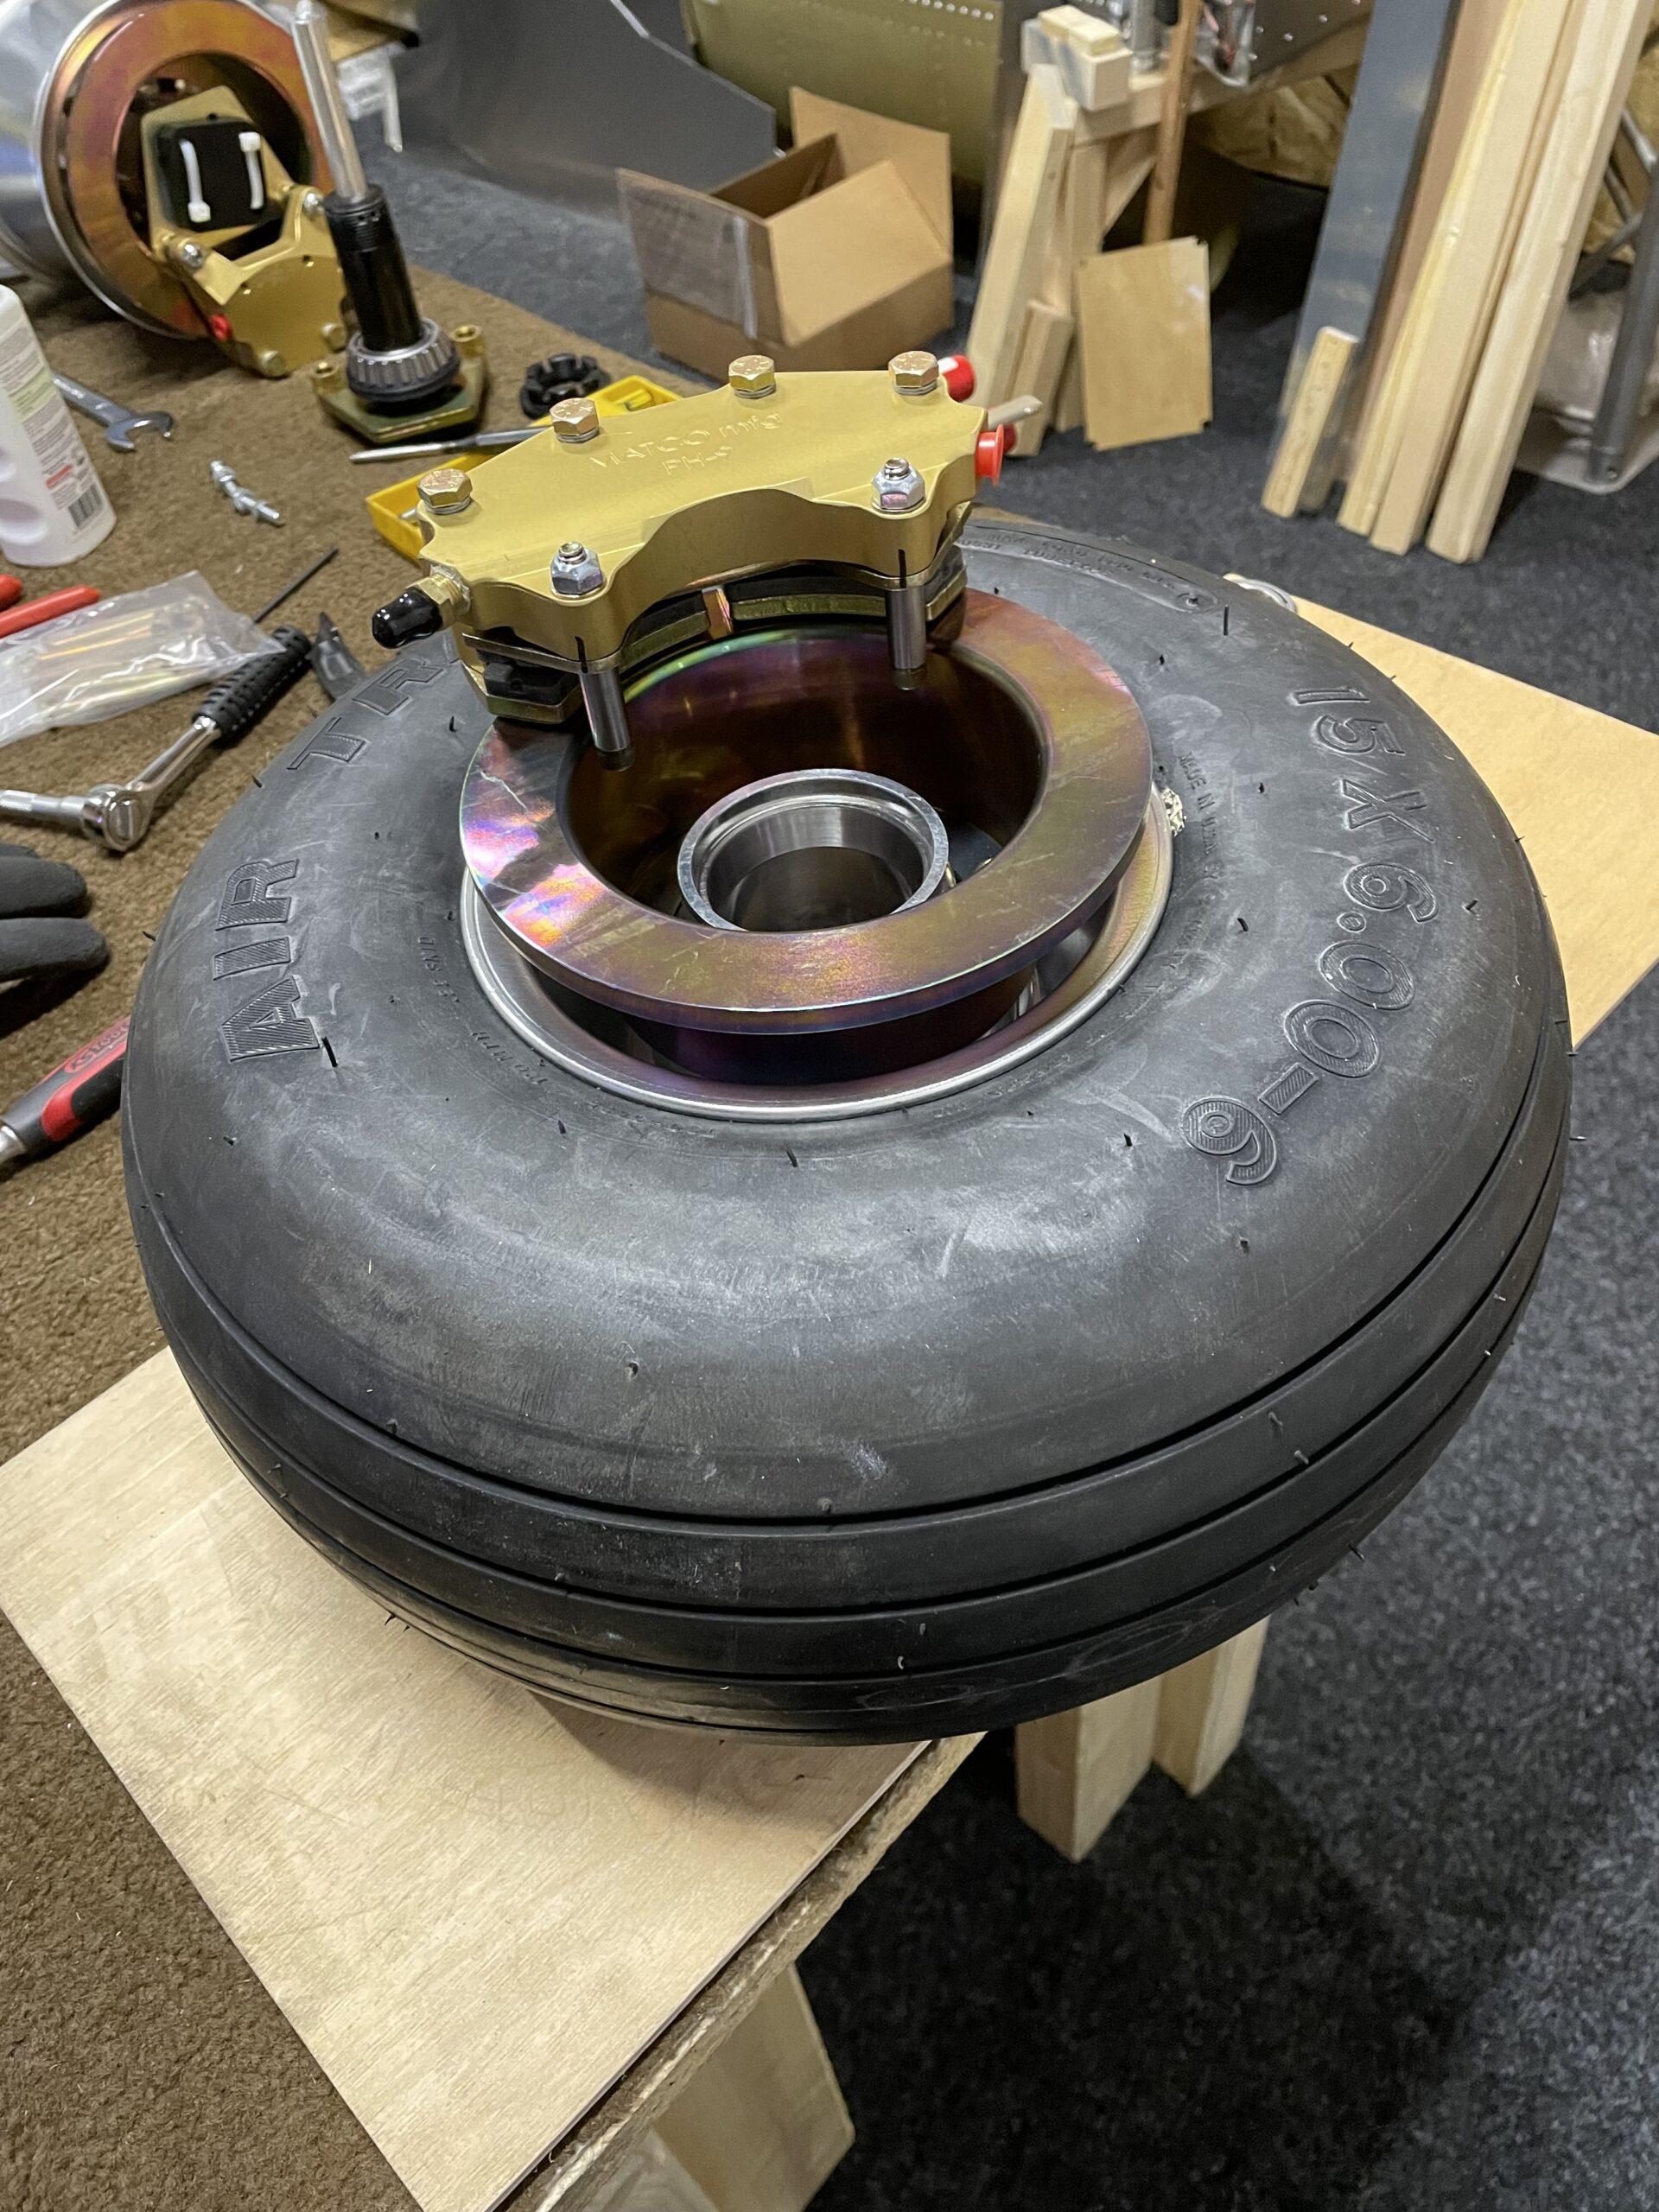
Assembling the split rims is not as easy as I thought (never worked on tires before). So it took some time to assemble the wheels and the new stronger Matco brakes. The upgraded Matco BE9 brakes have two calipers and the brake disk is thicker (see picture). That really looks much more efficient to me. This conversion doubles torque from the original BE5-1 caliper and 60% energy increase from WHLD164-017 disc (statement from Matco). The complete kit is available from Matco for about $1000 (Sep. 2021).
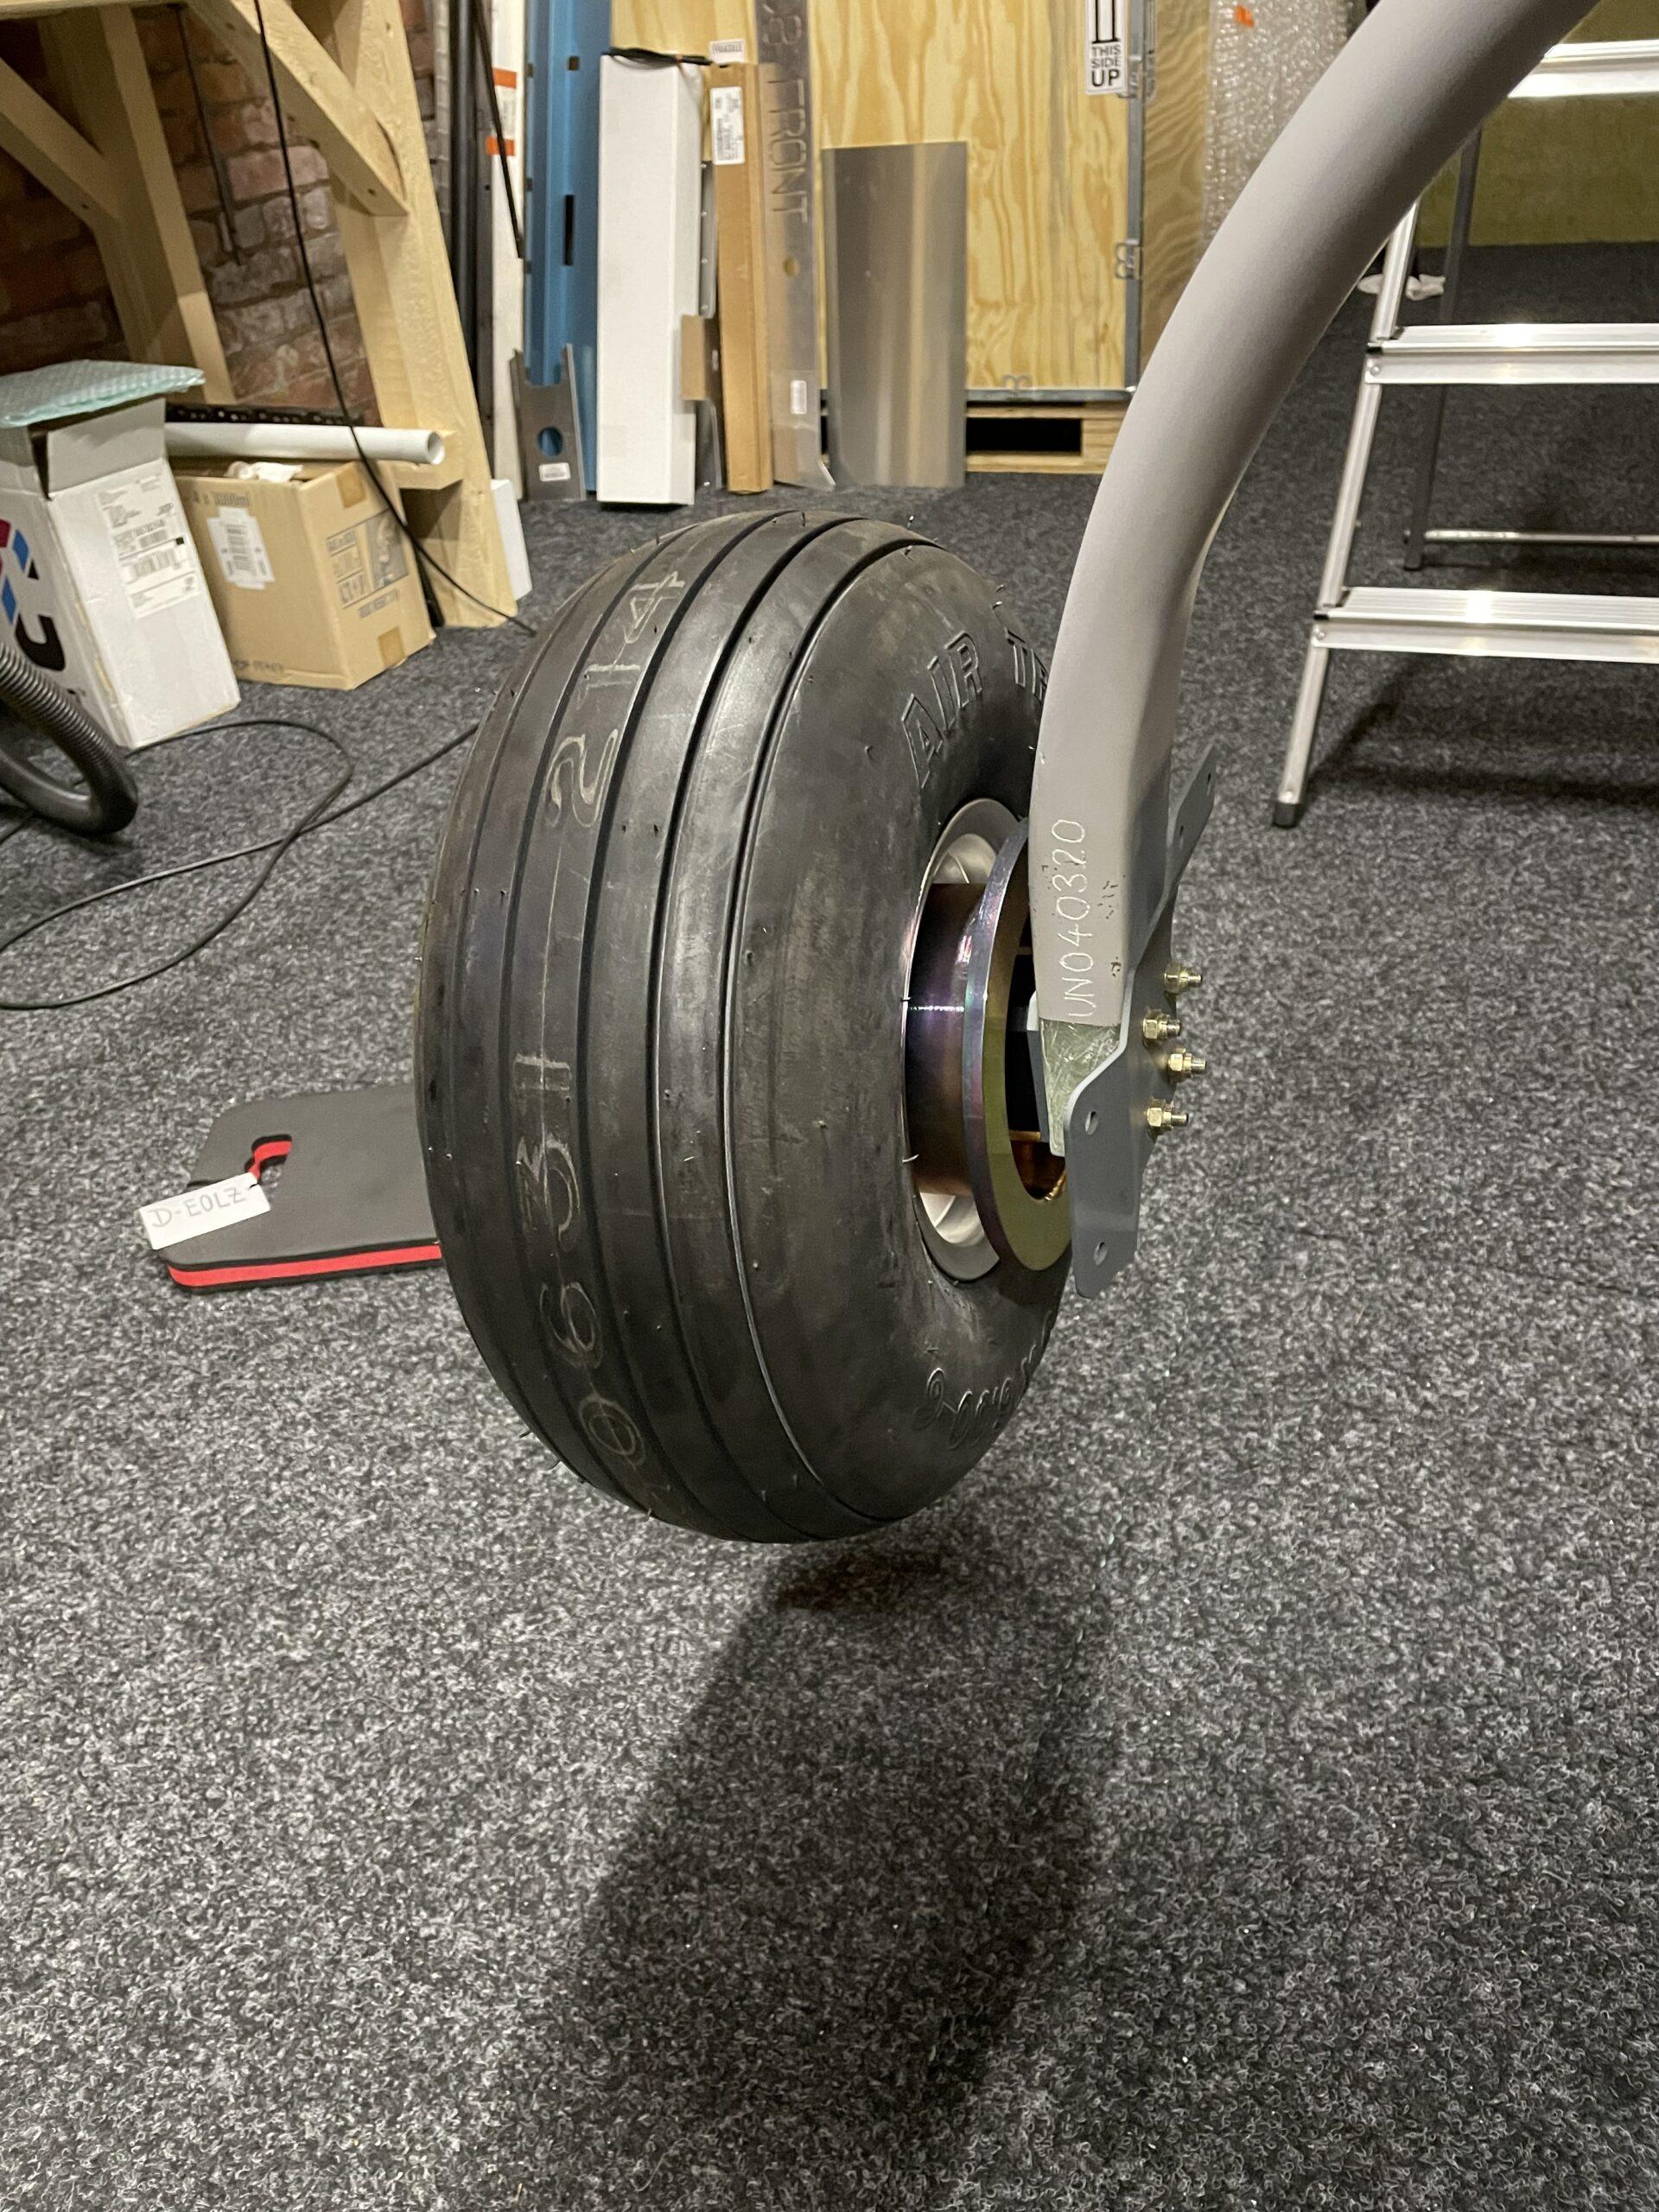
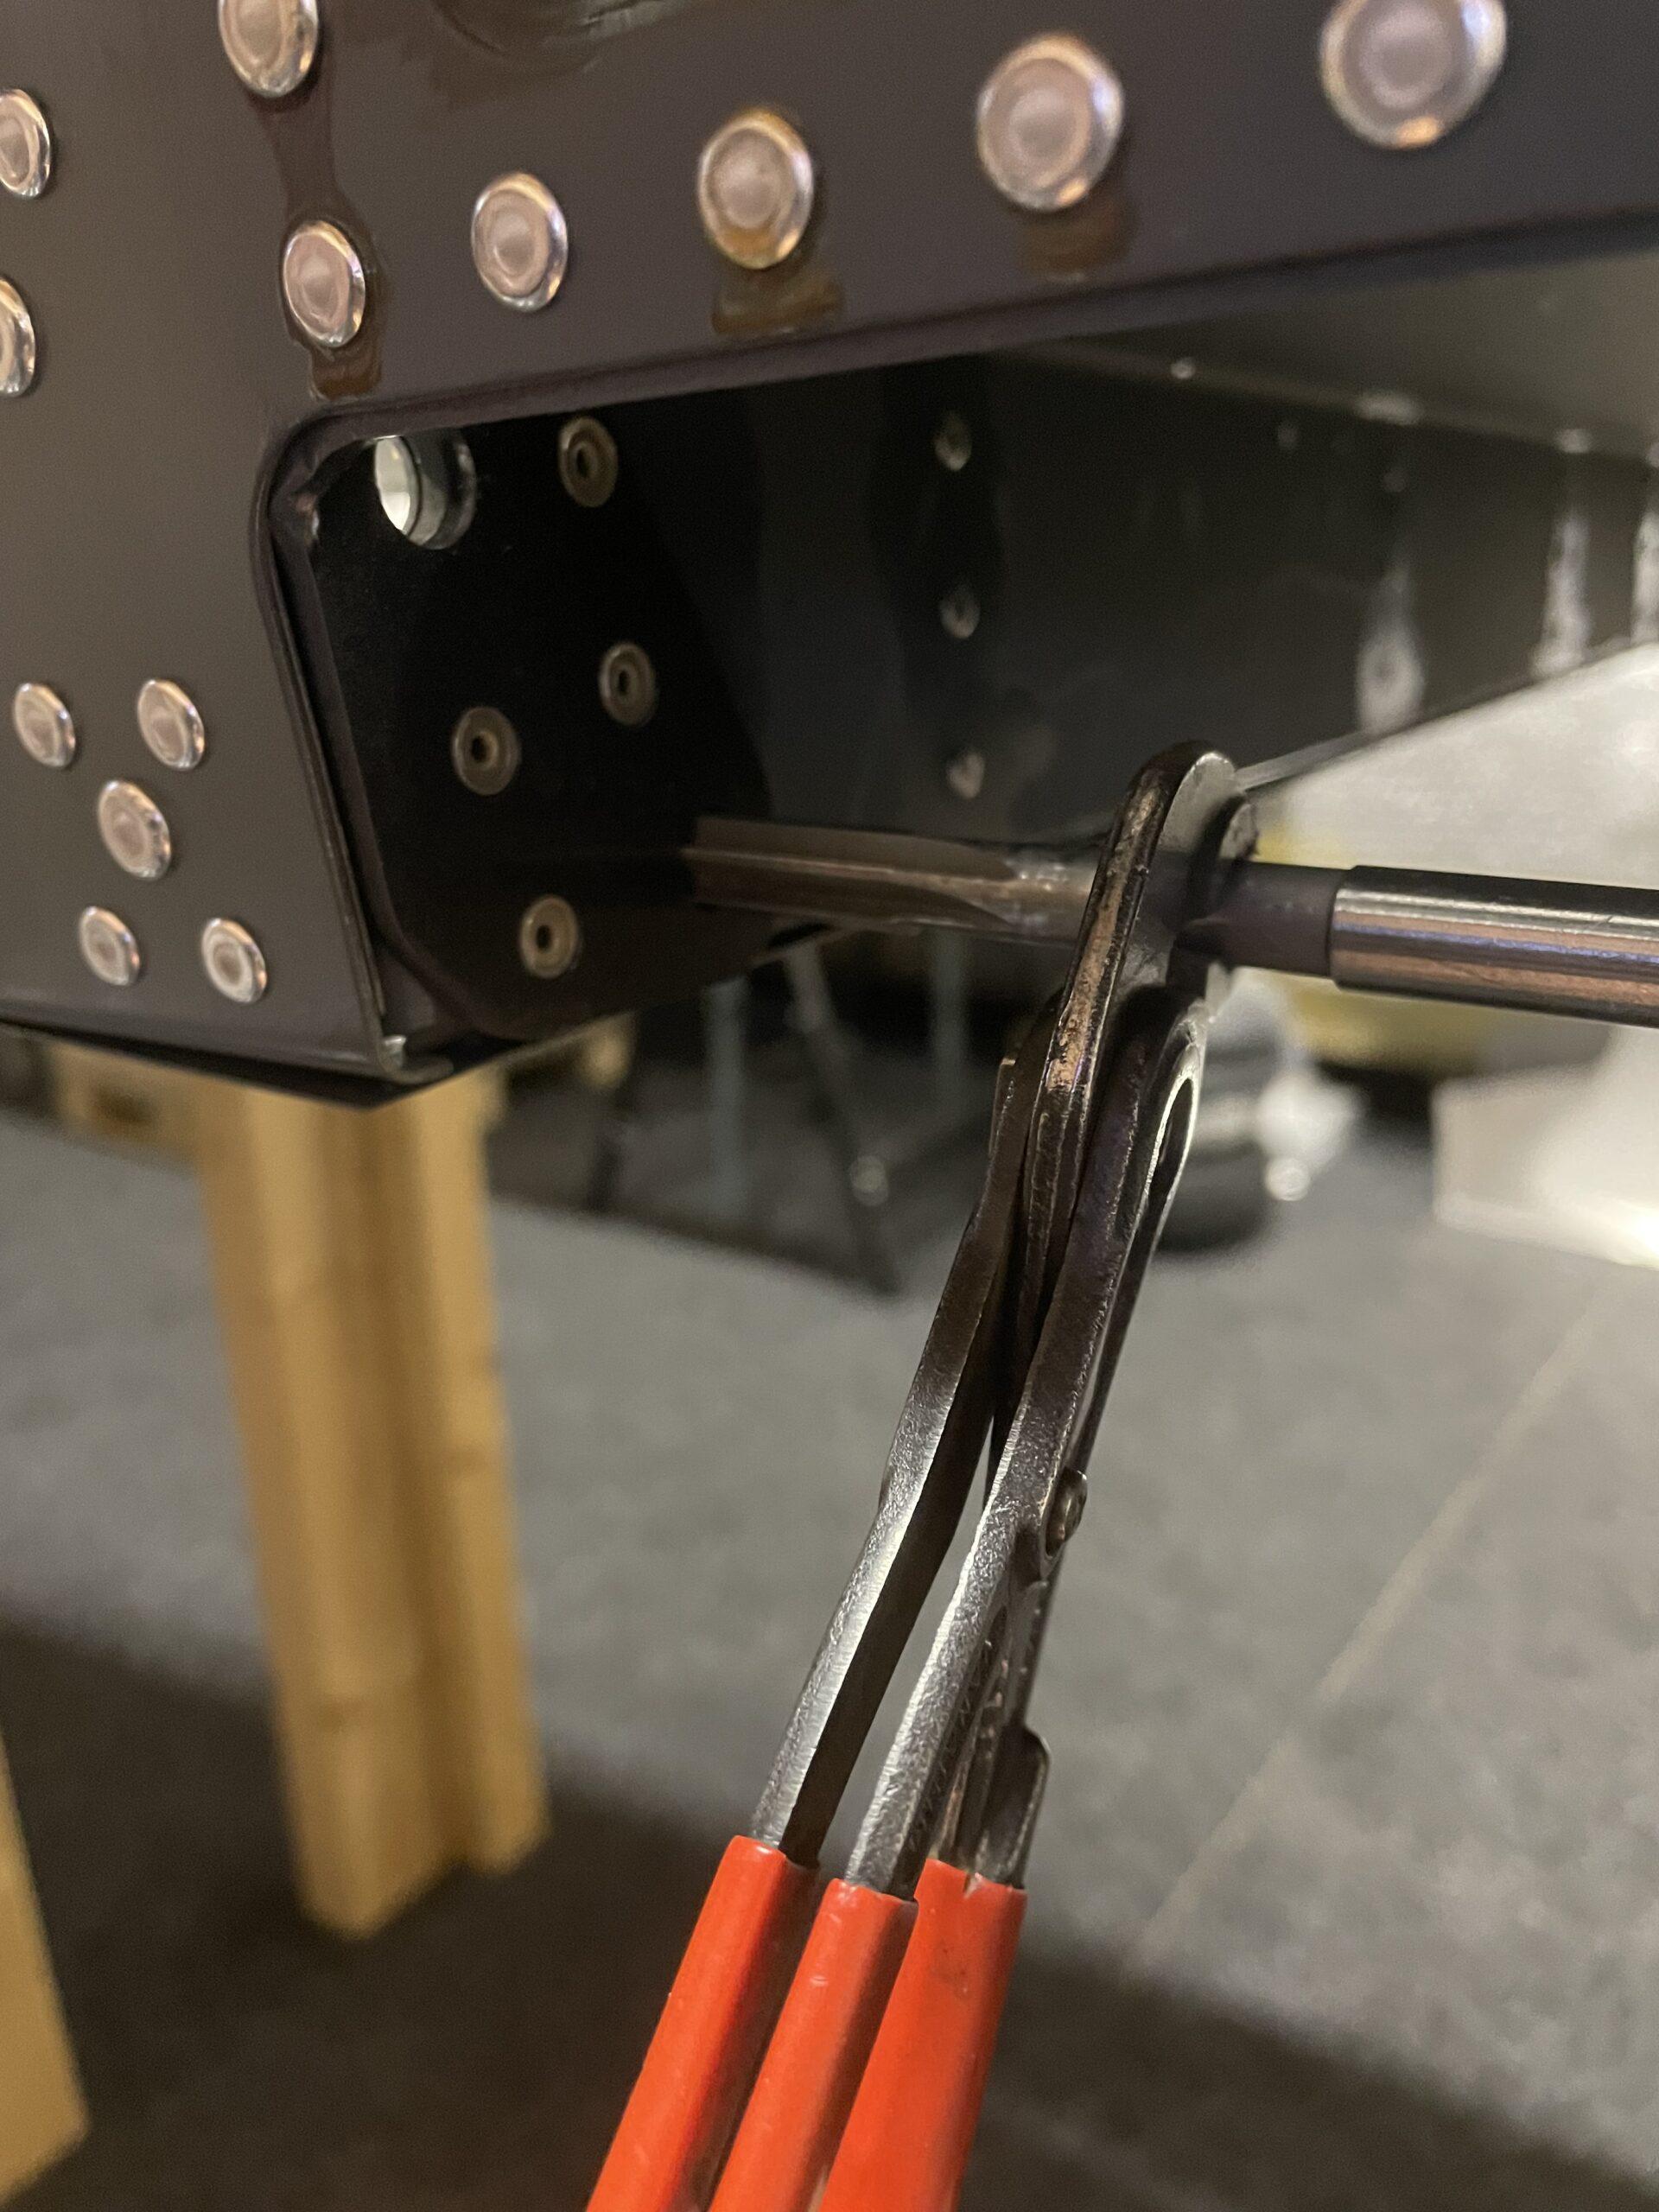
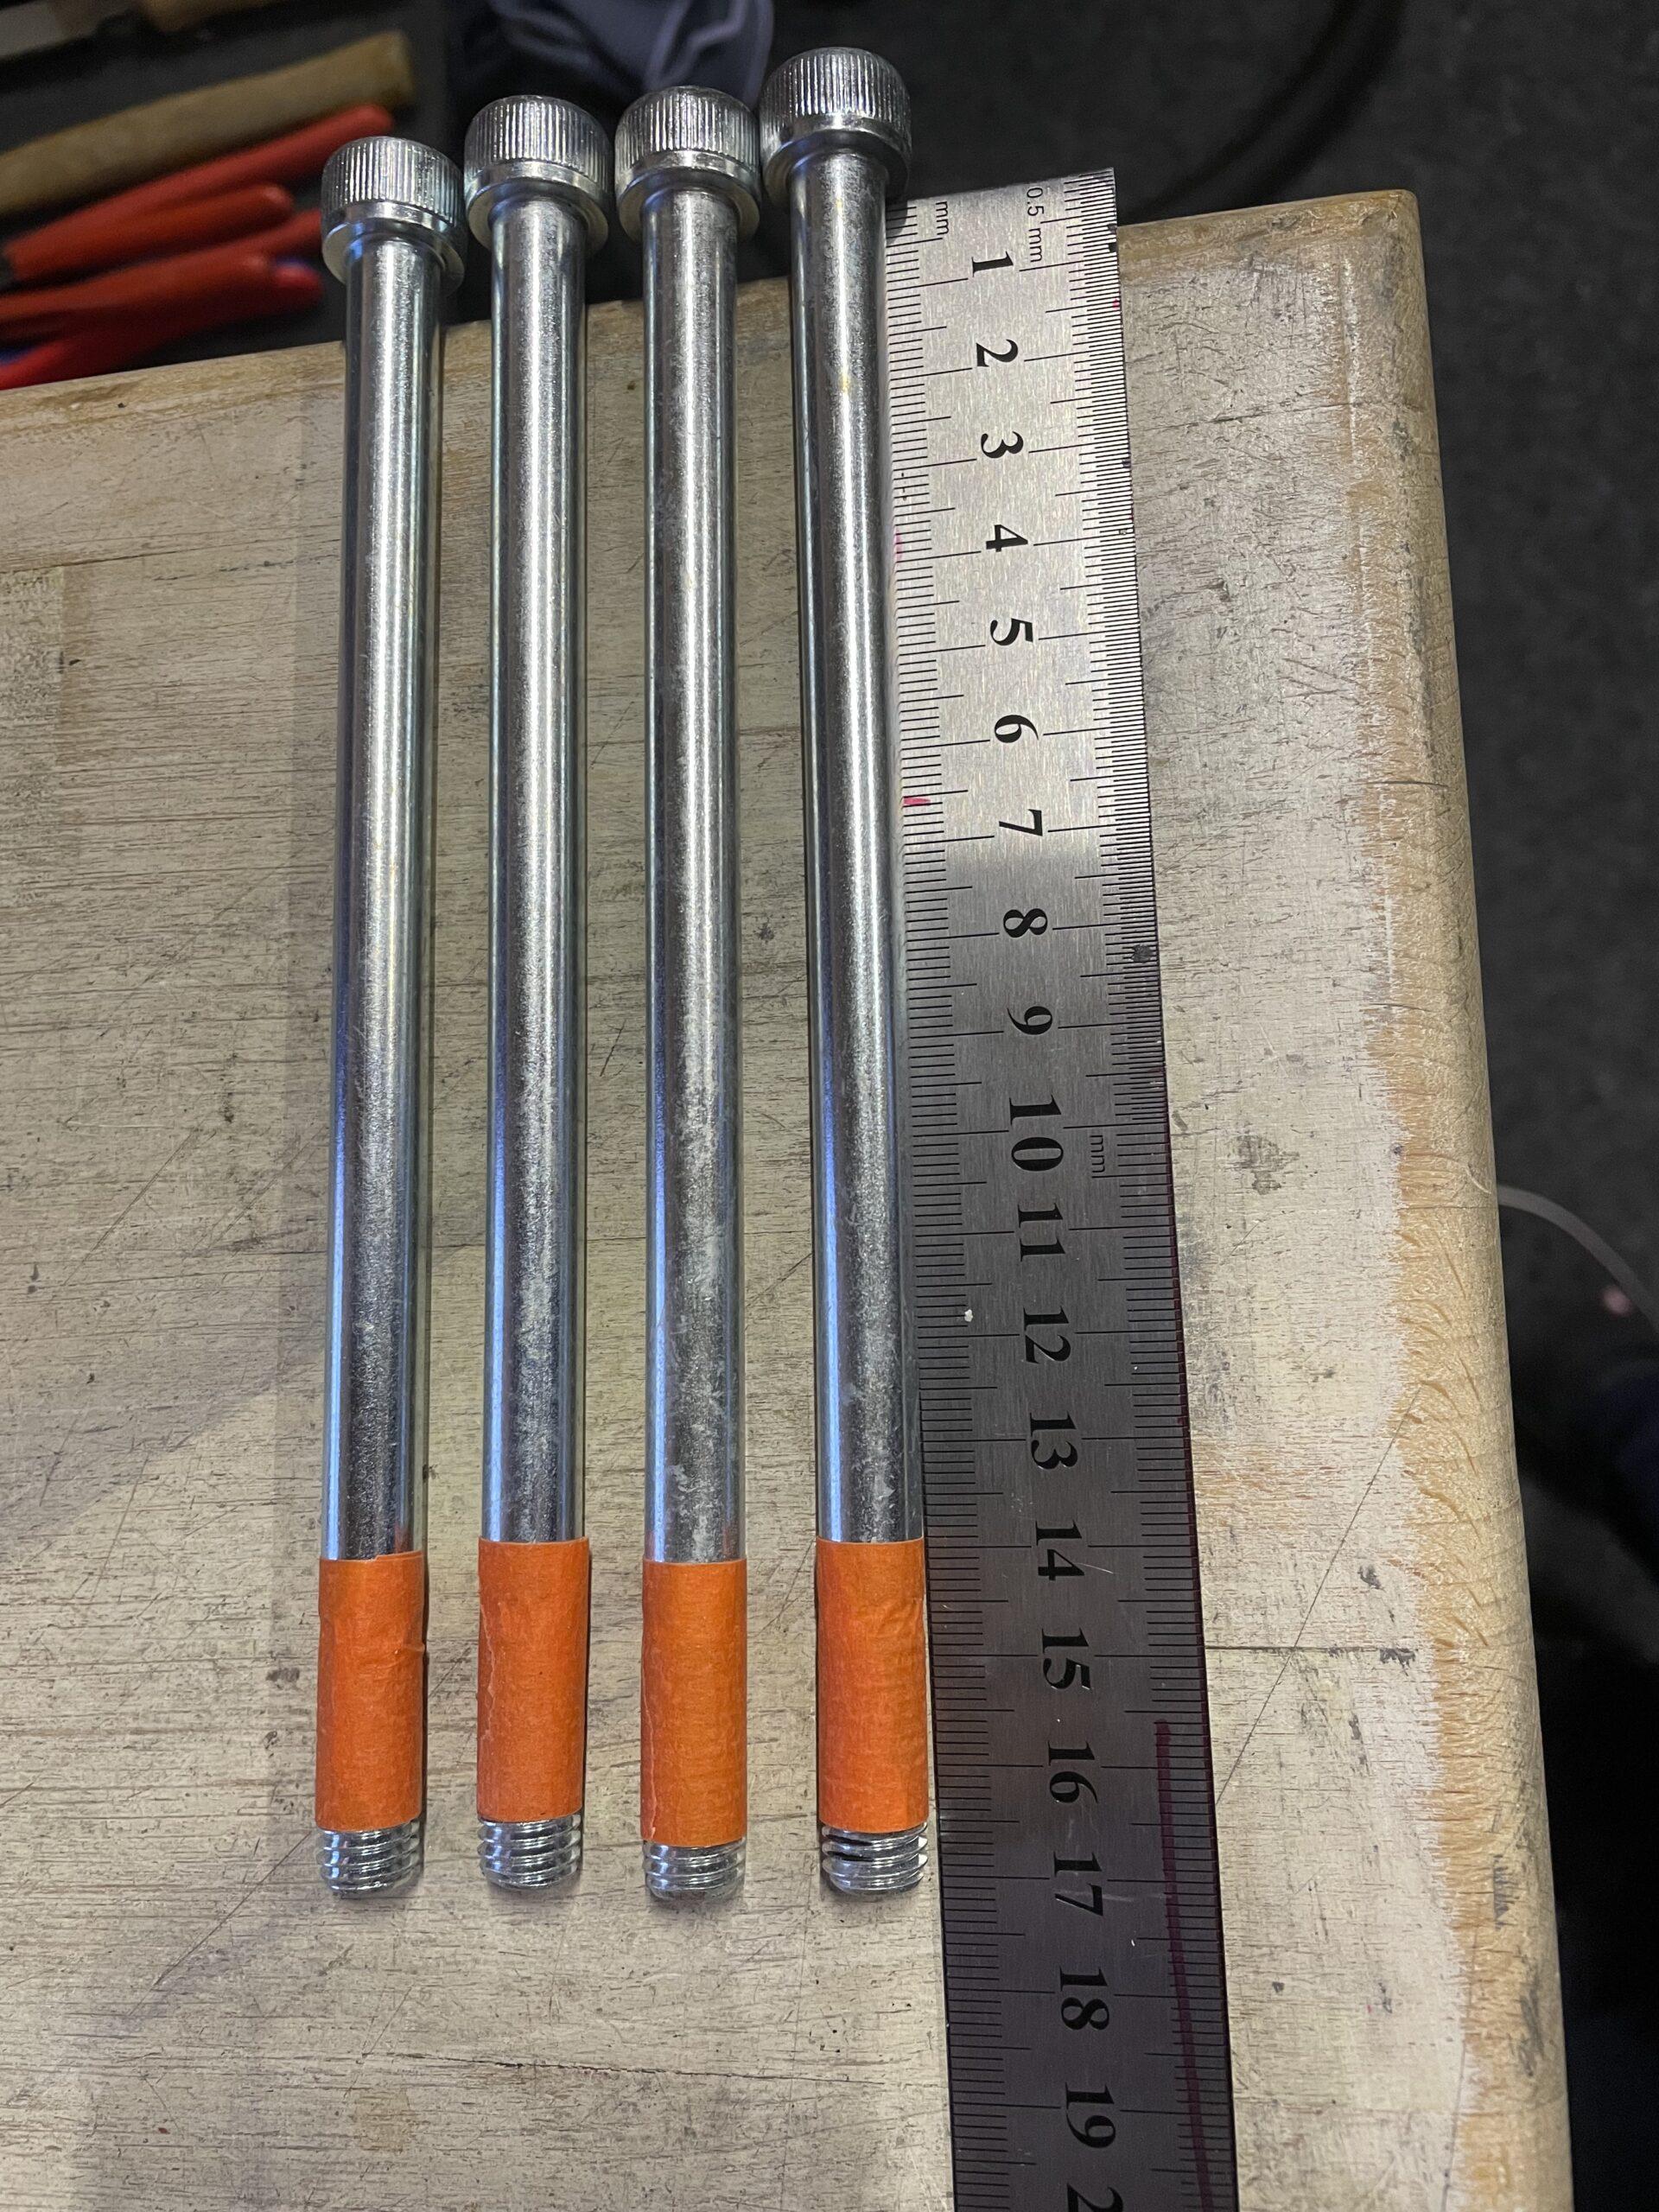
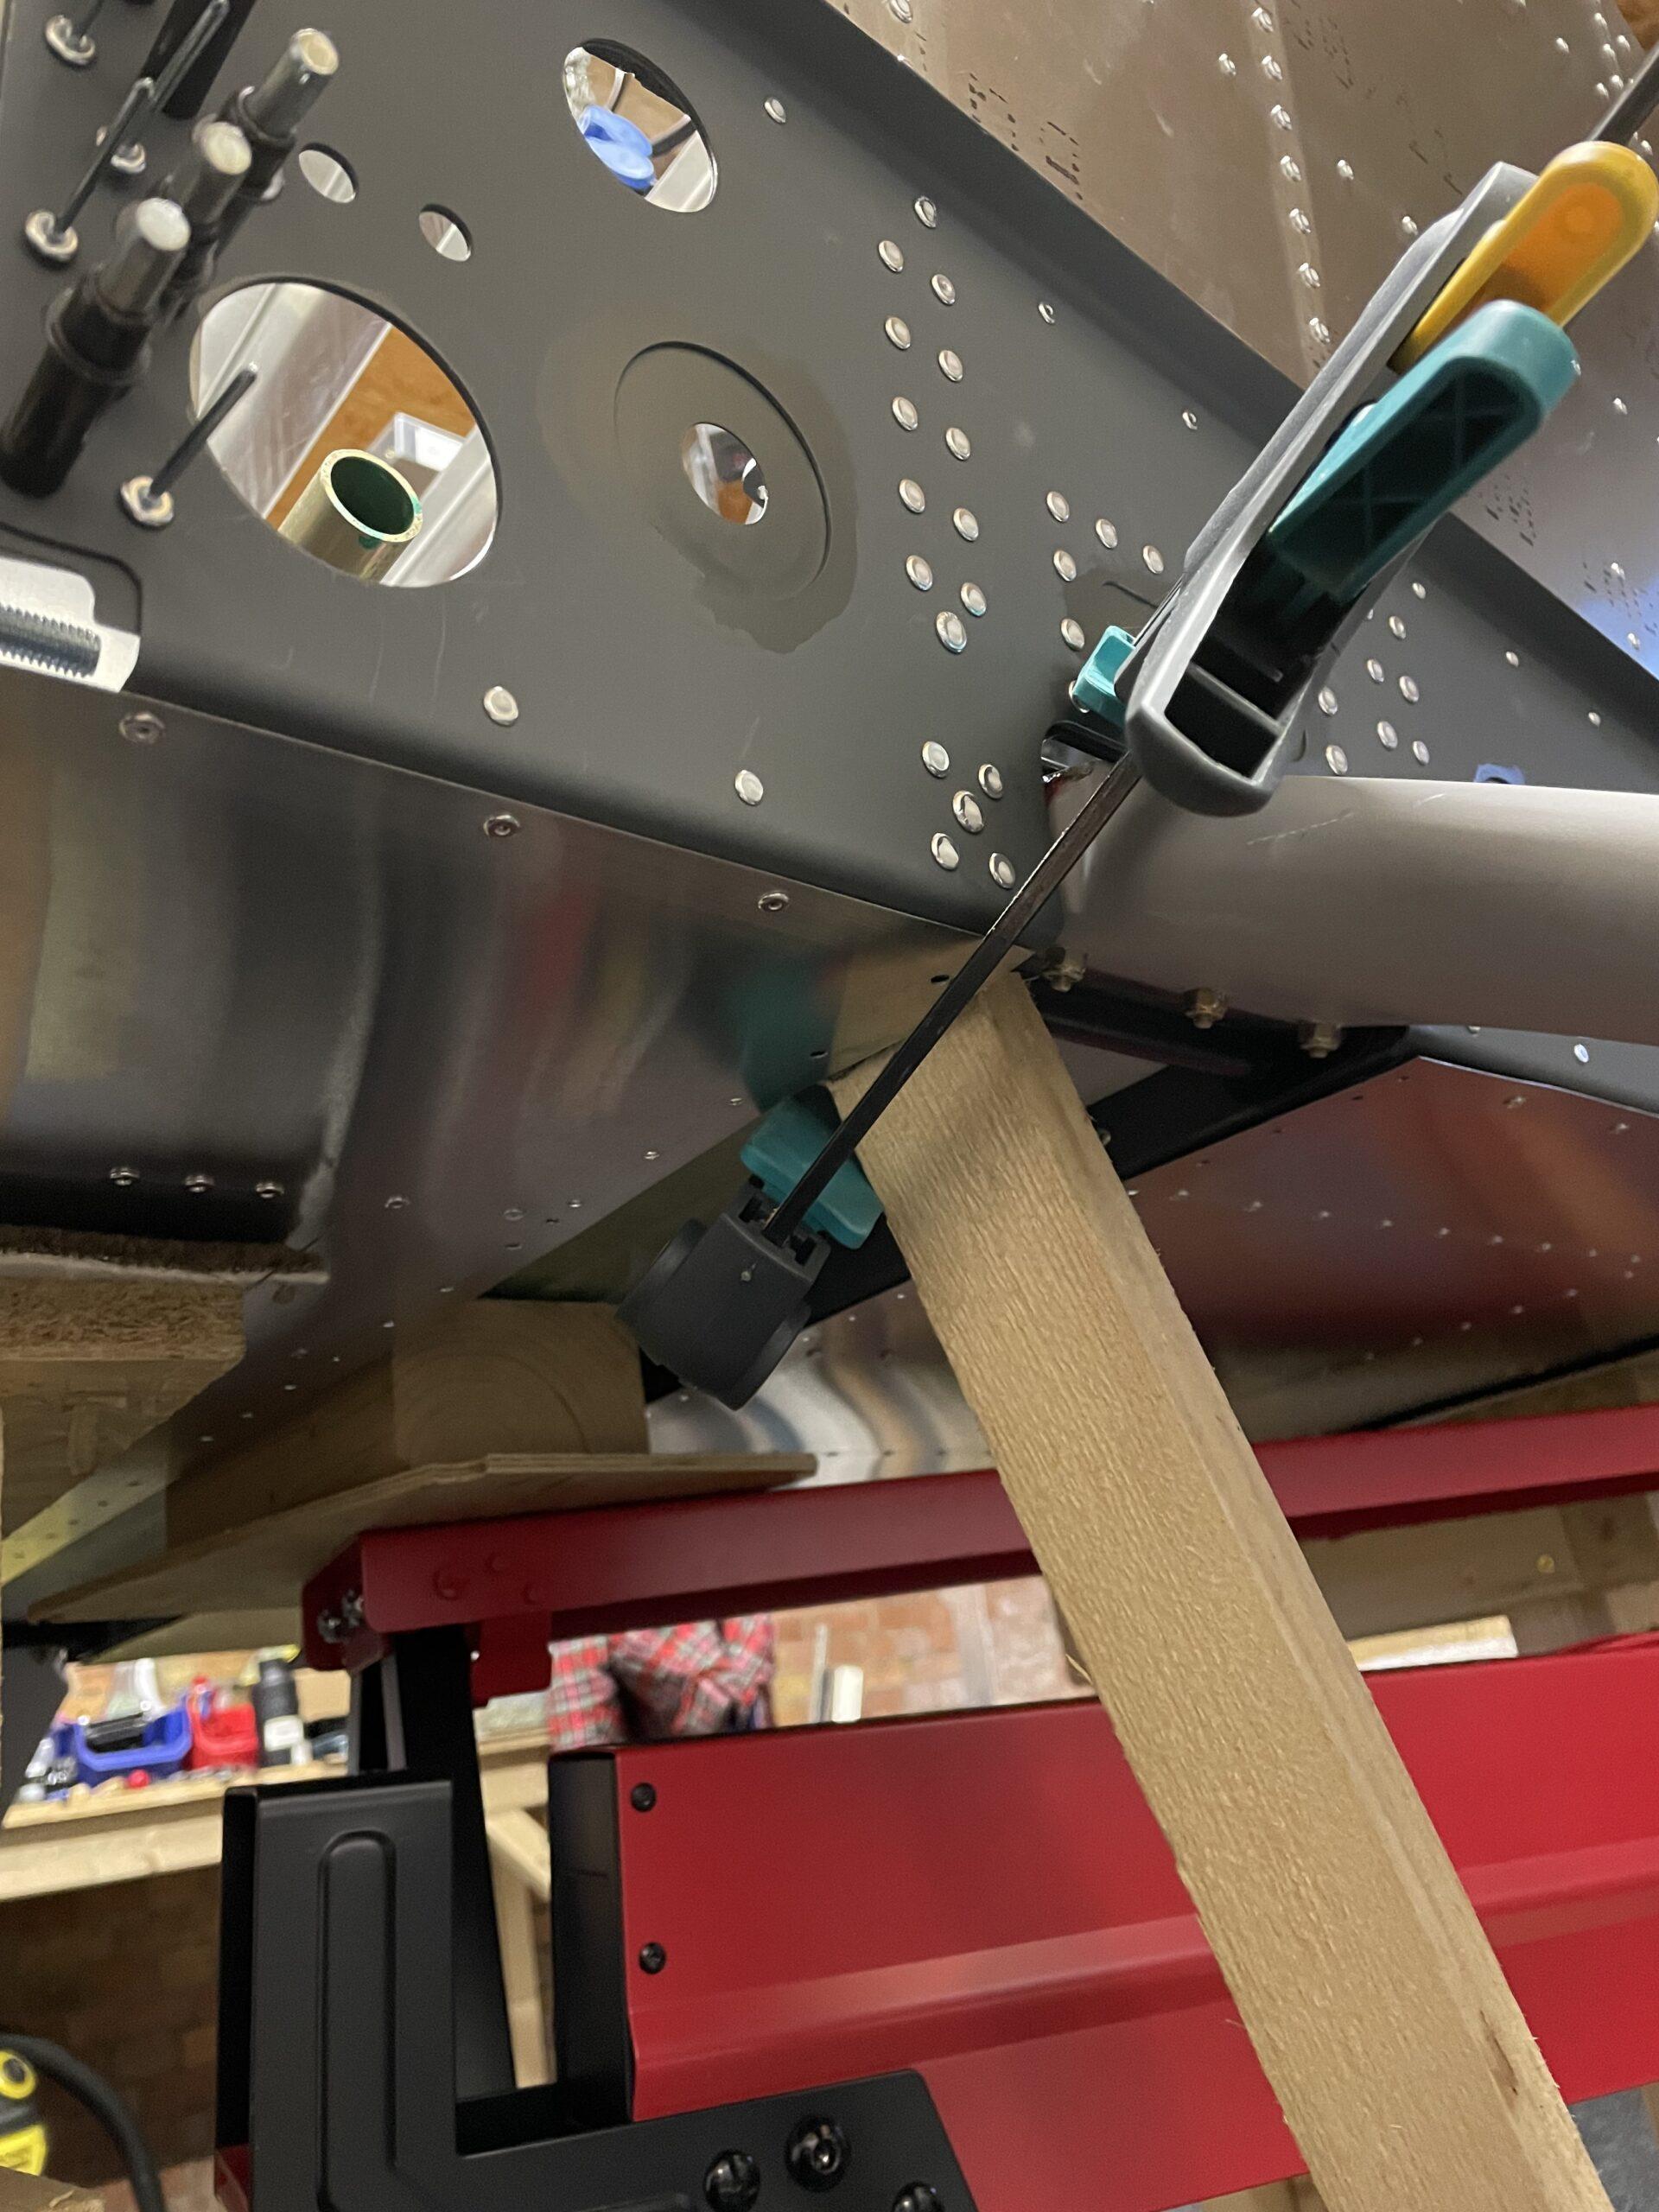
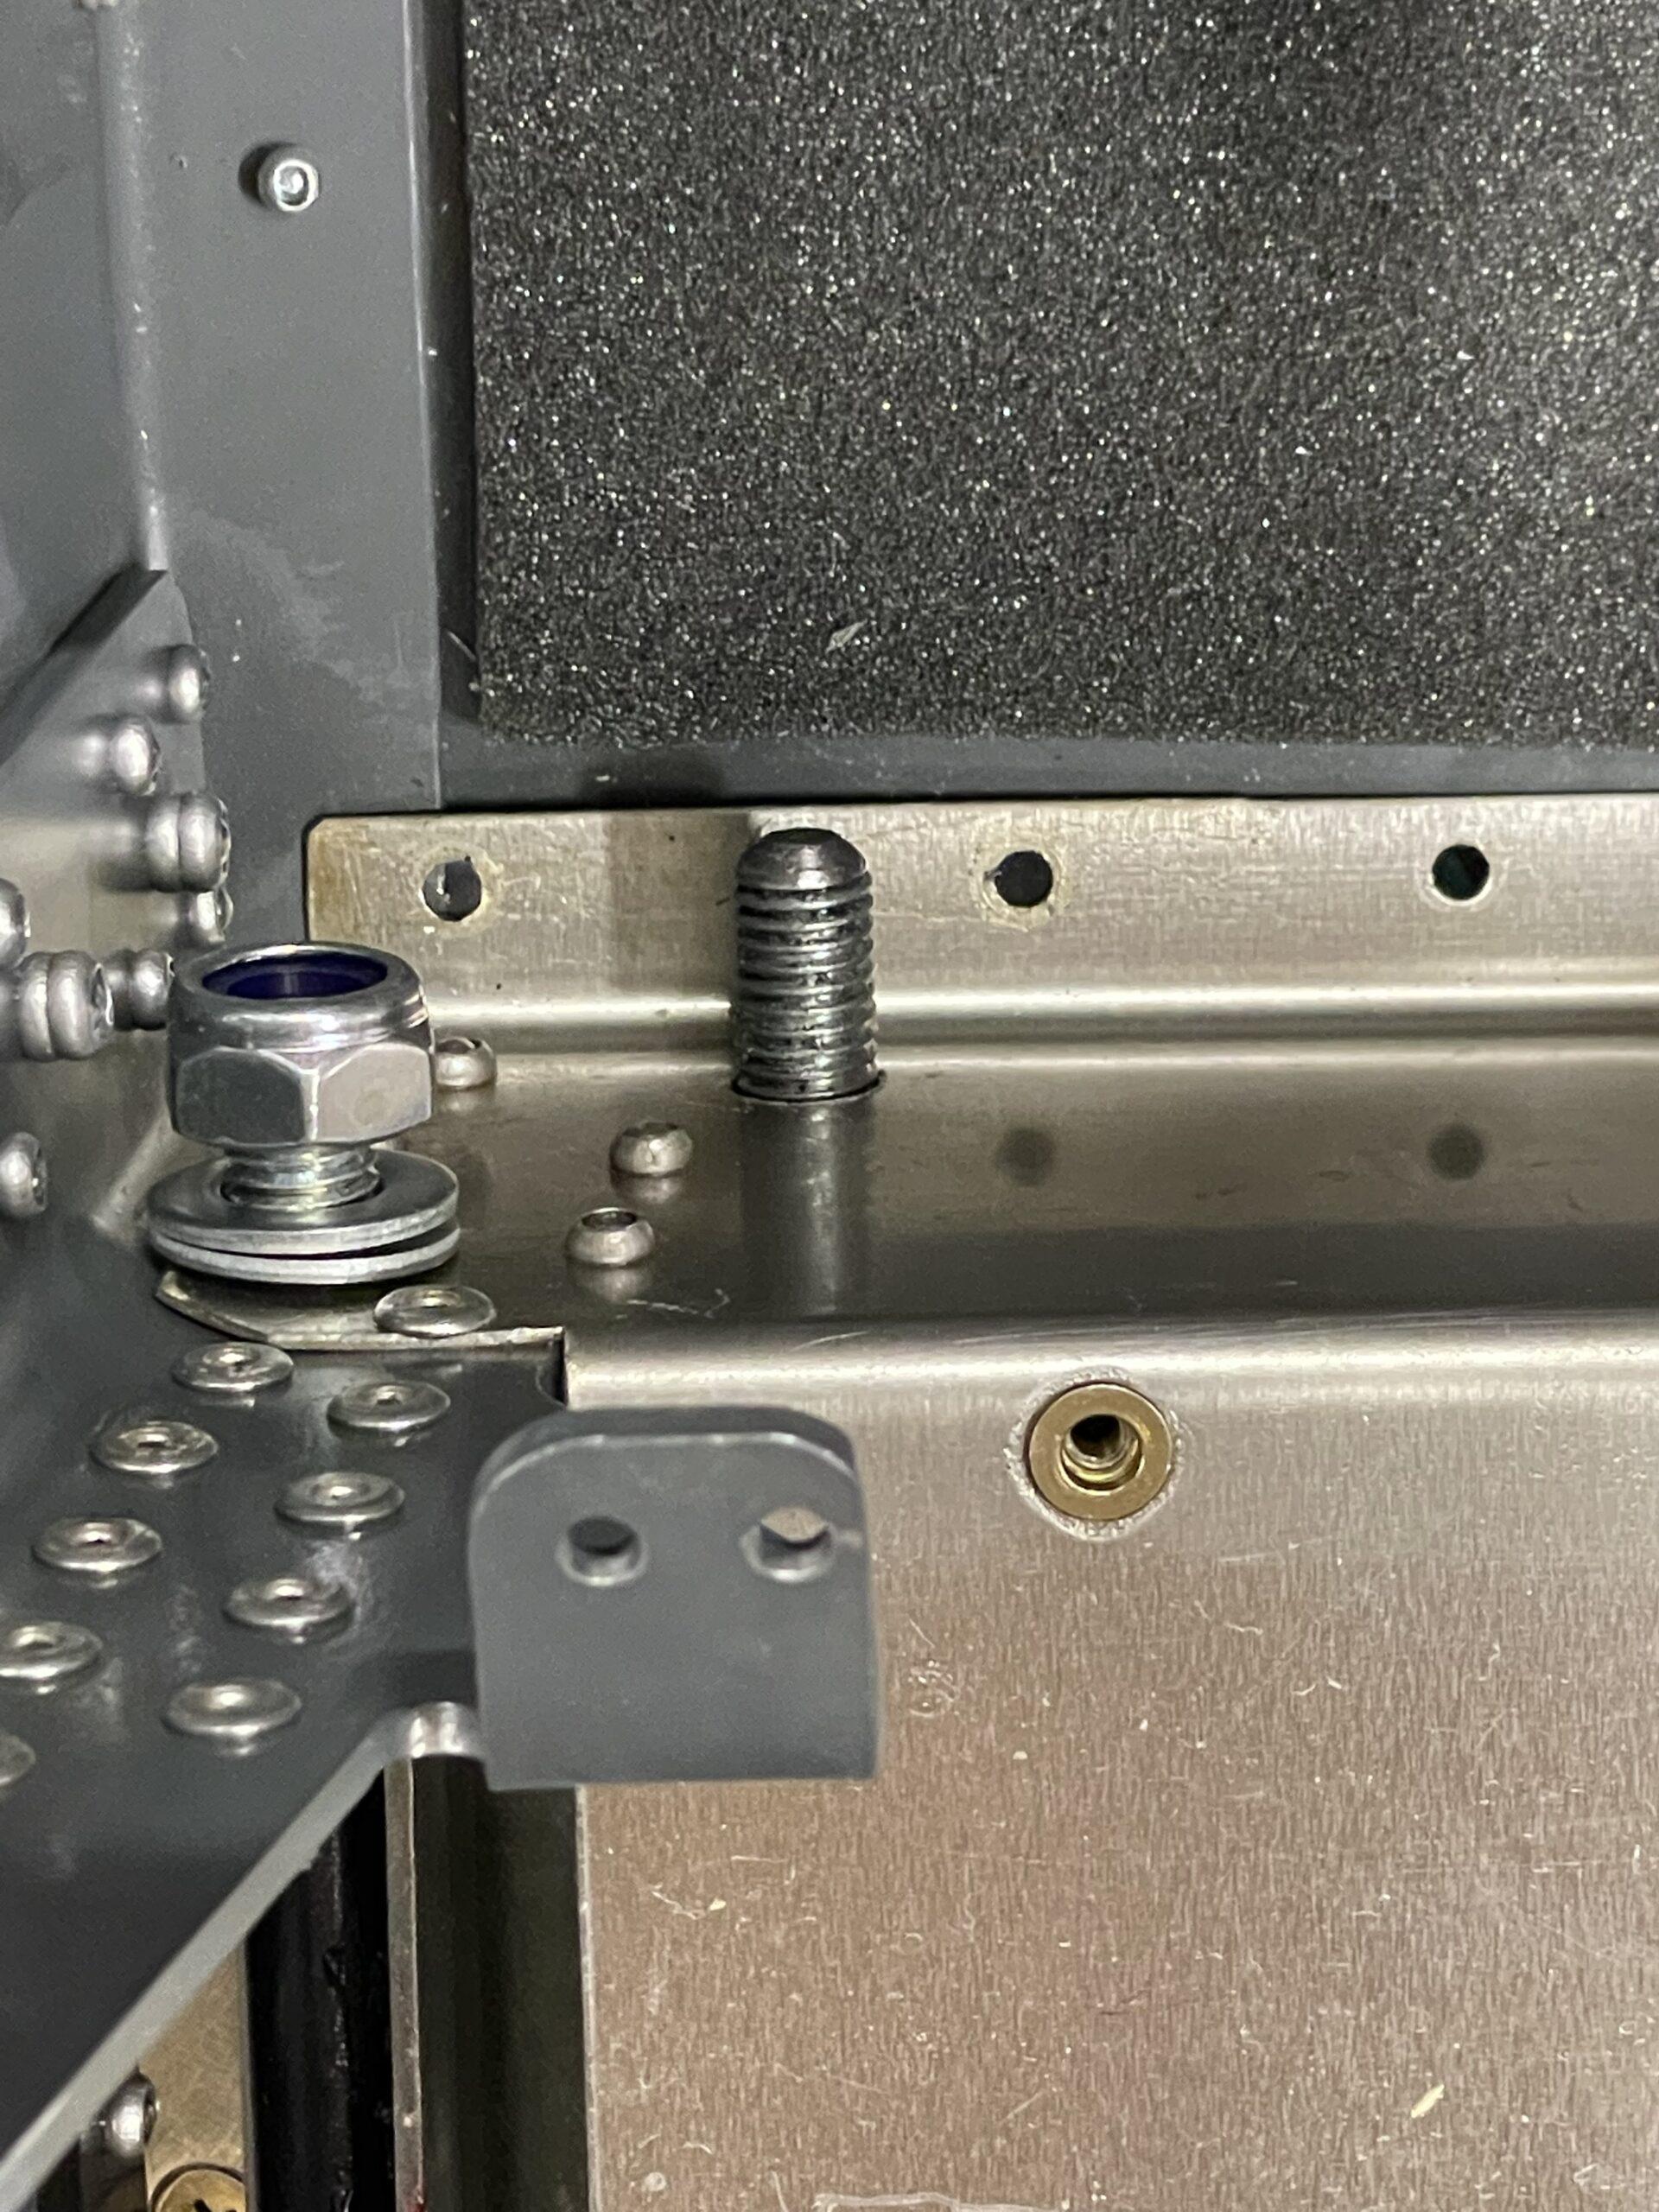
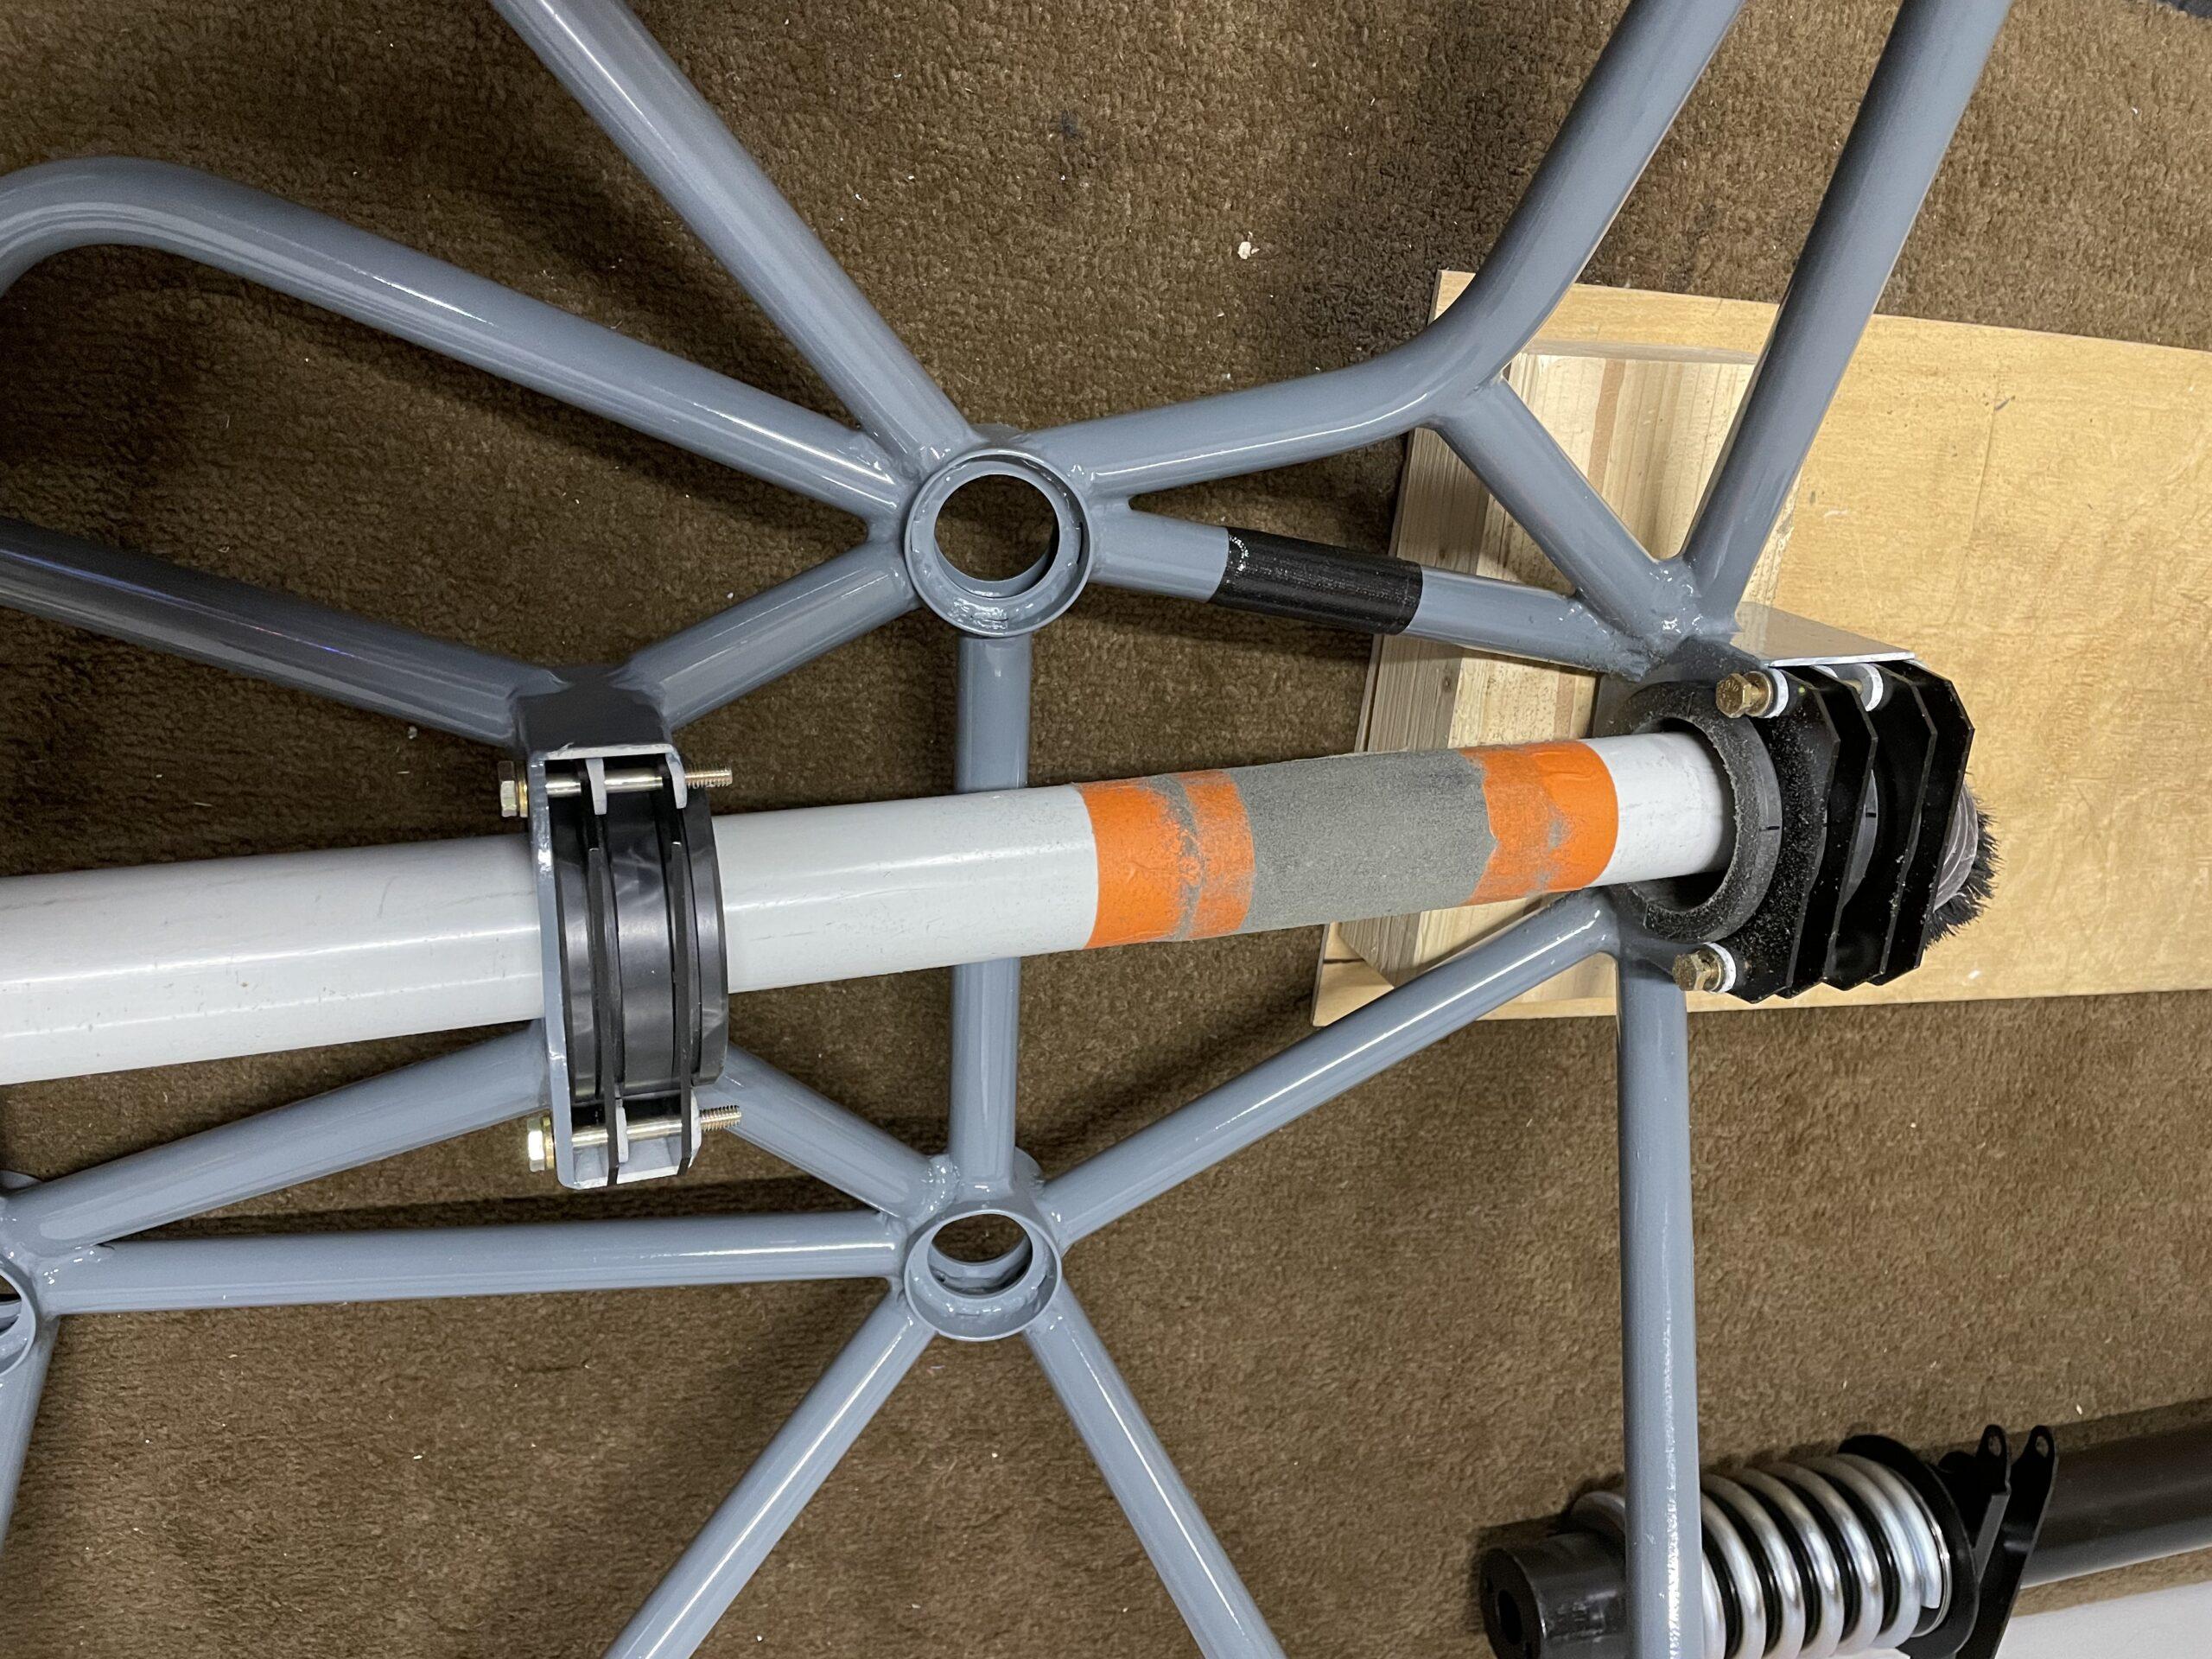
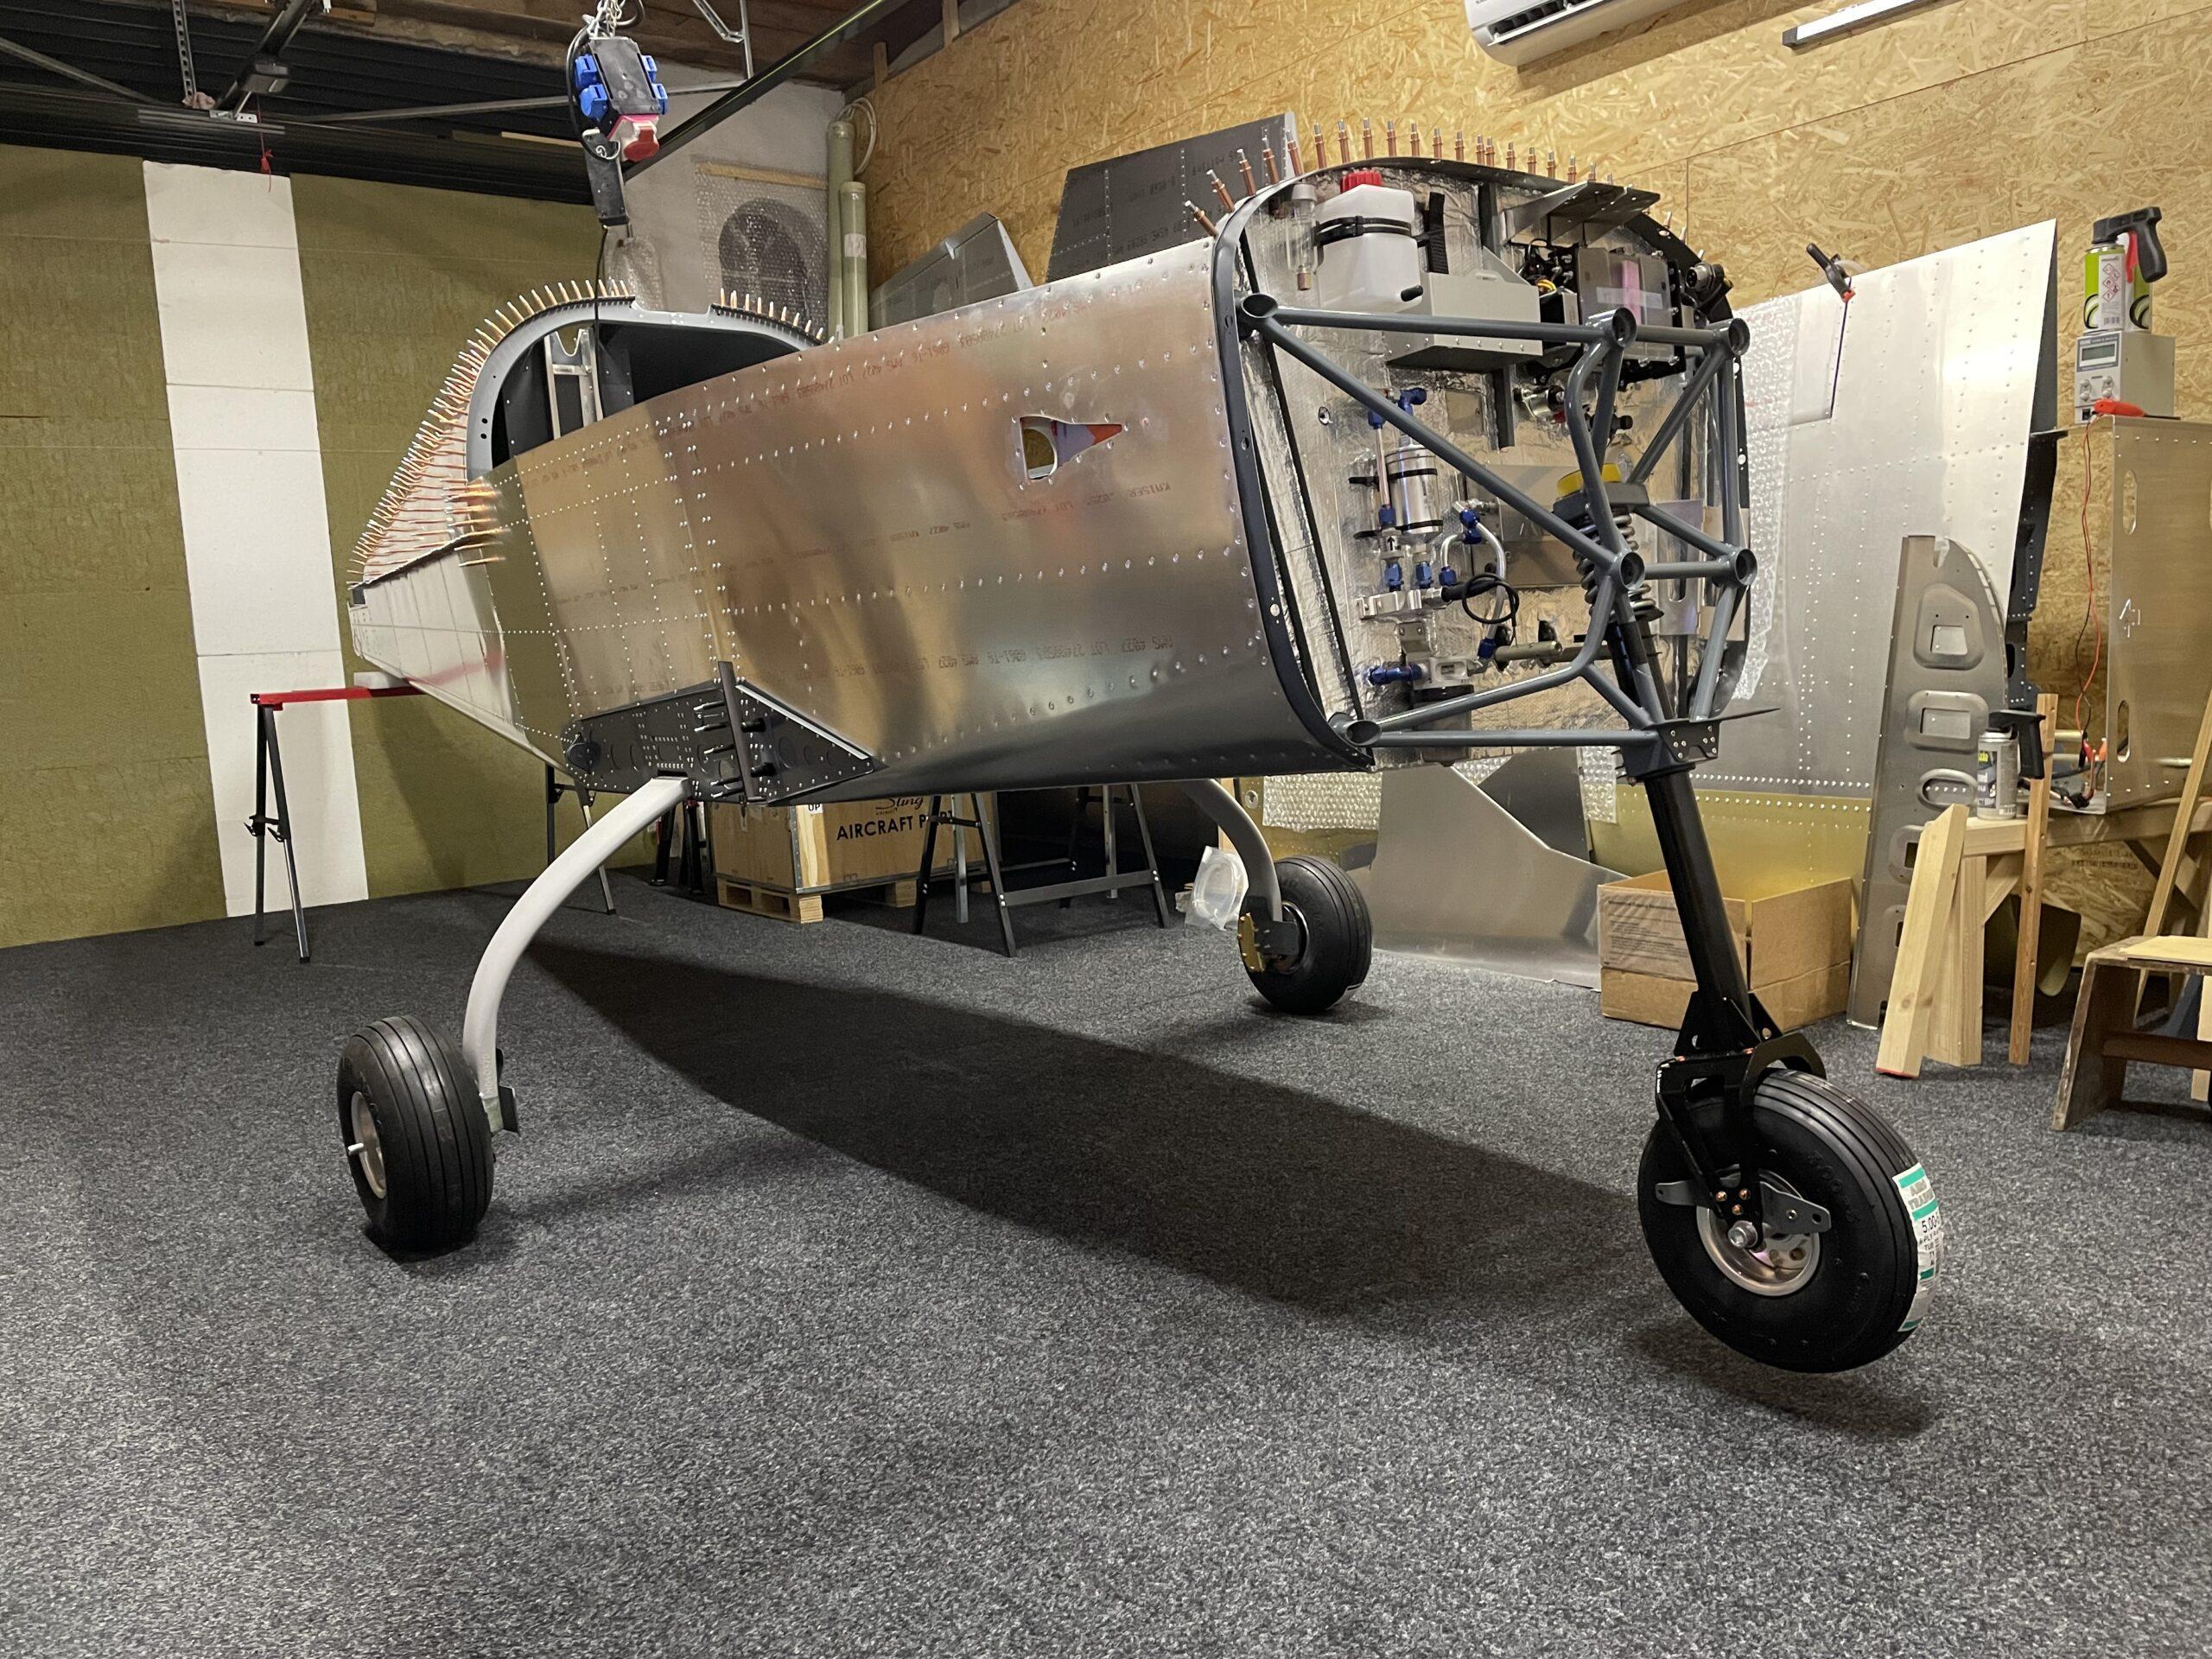
The main landing gear is a really tight fit (as it should be). It took me several hours to mount it and get the bolts through. As a first step I cleaned the holes with a 10mm reamer. I would recommend that you grind down the tip of the bolts in a 45° degree angle after shortening the bolts to the right length of 163,5mm. This will make it much easier to locate the hole on the other side and get it through with light tapping and screwing so that you do not damage the threads of the bolt. Since you can’t work on the bolt and hold it in posotion at the same time with a set of to arms, I had to use a piece of wood and a clamp with quite some force to align the lower bolt to the second hole.