 by
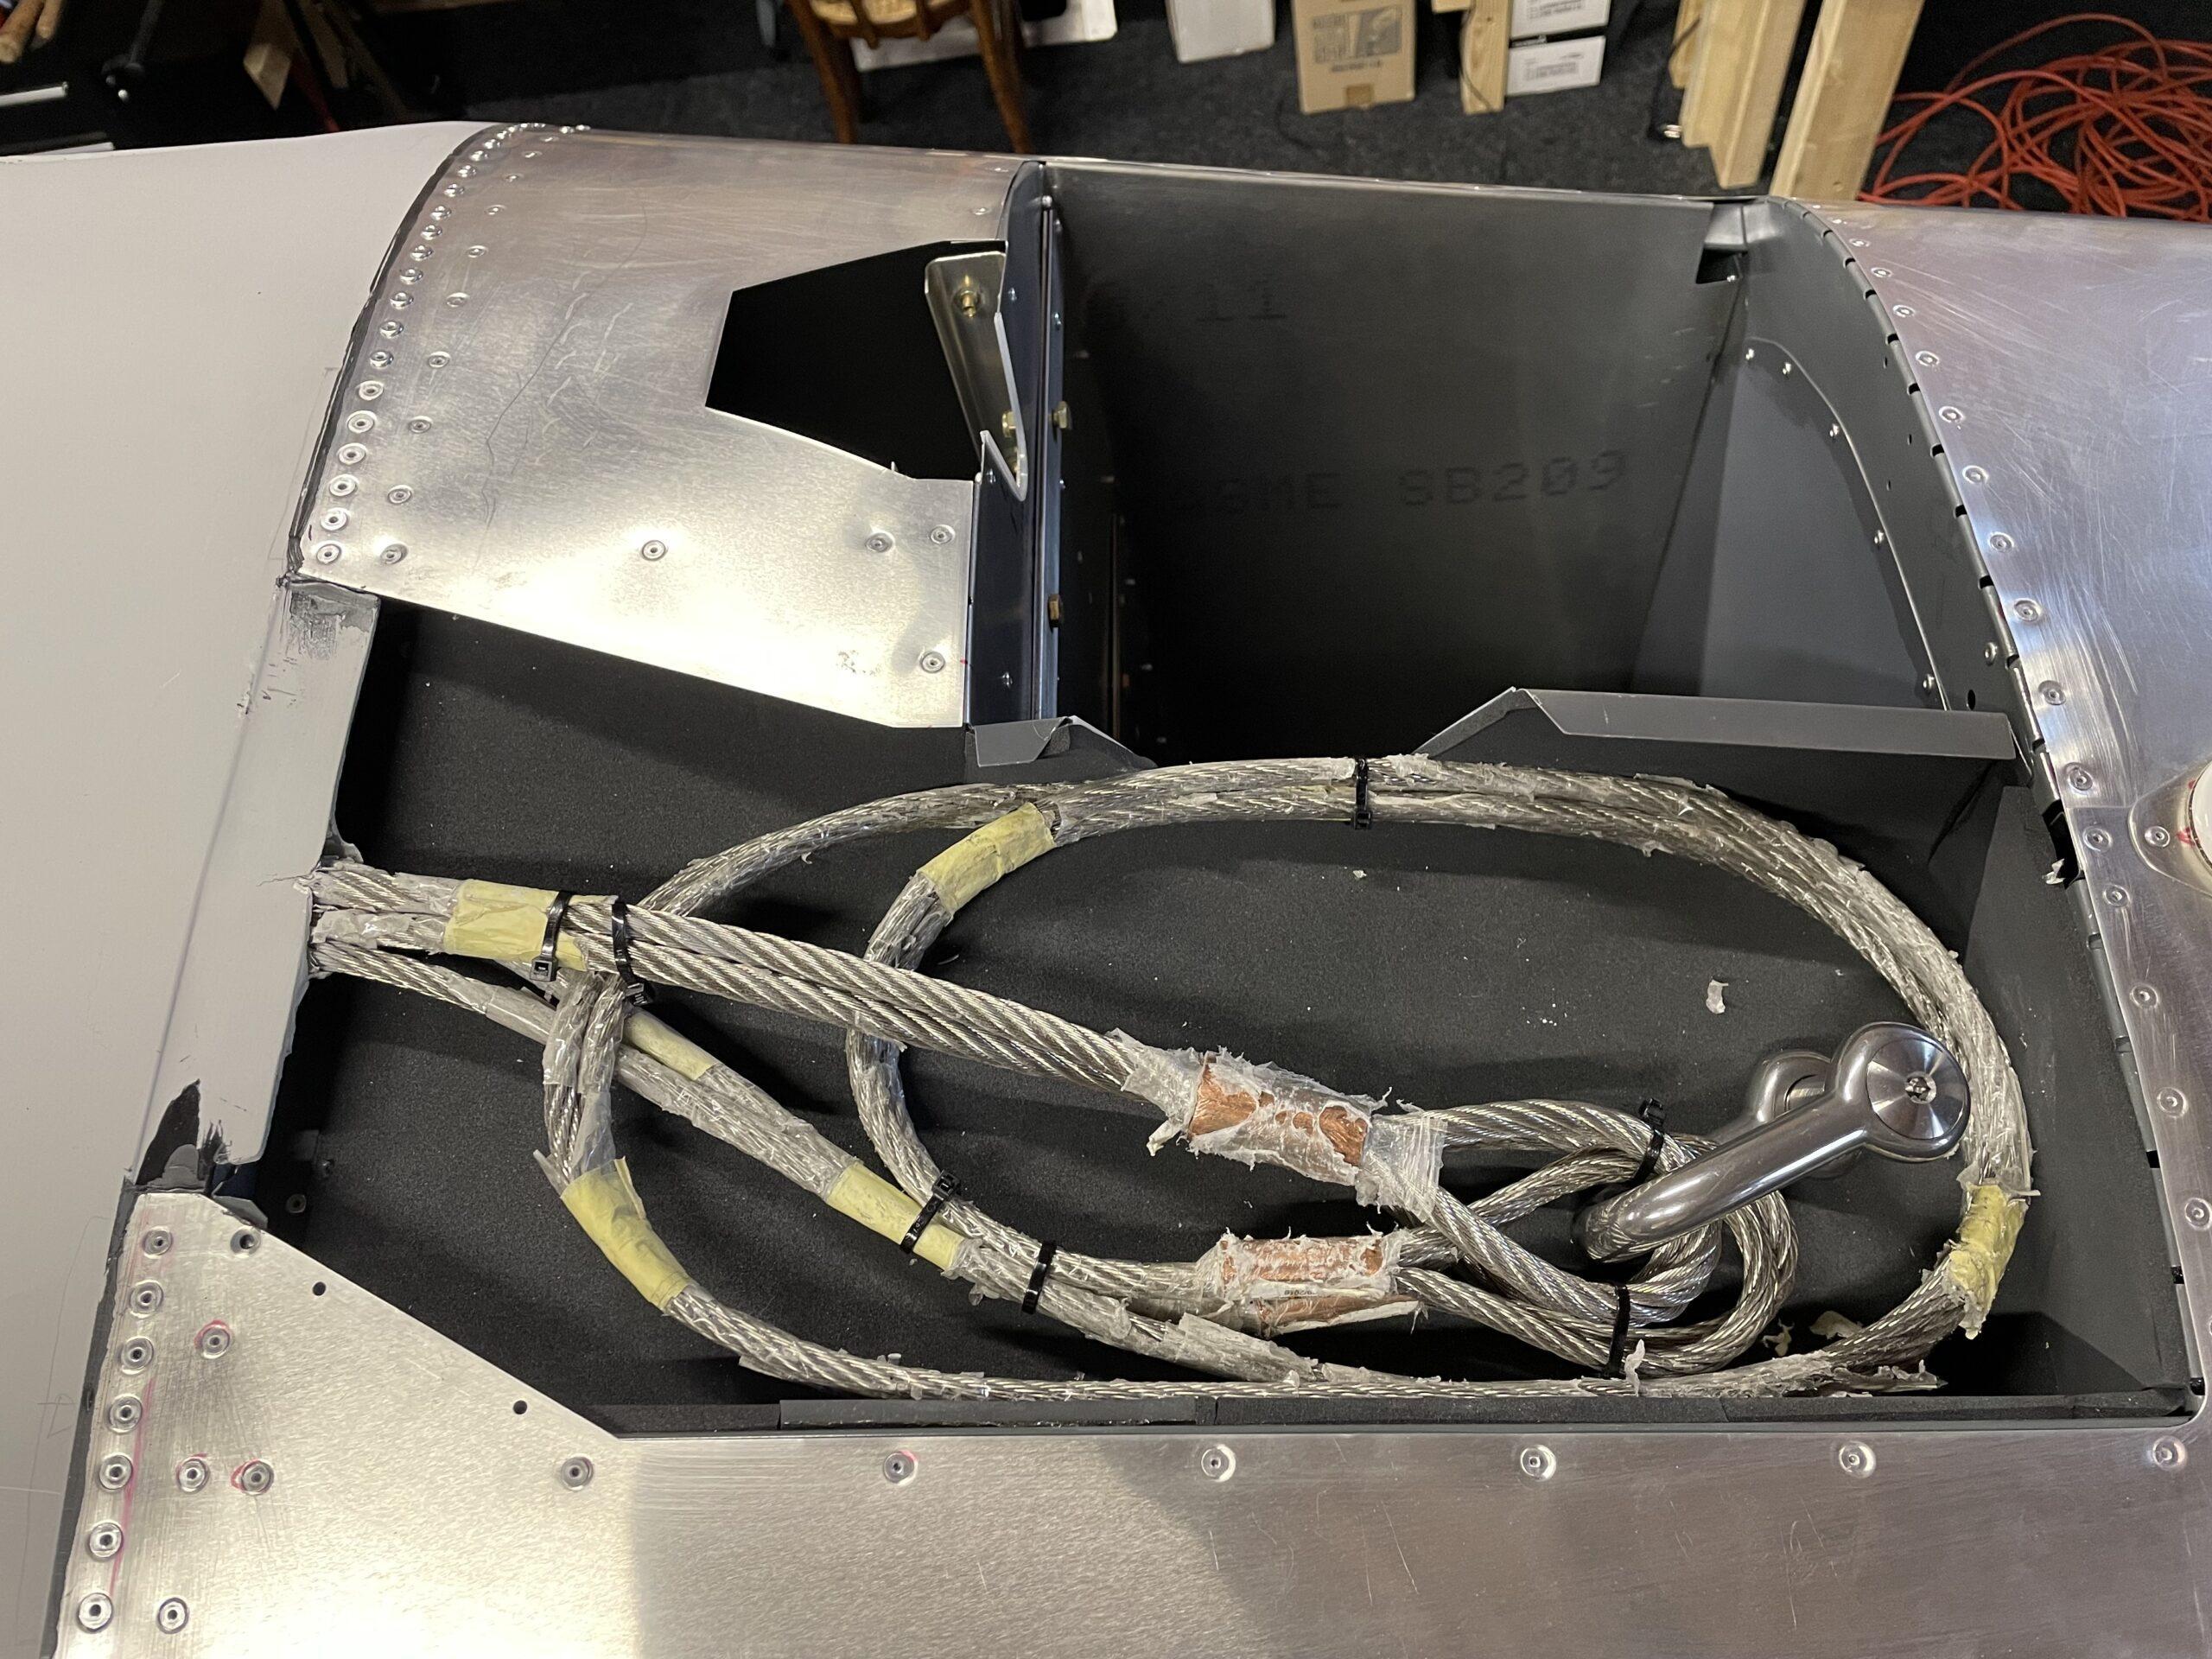
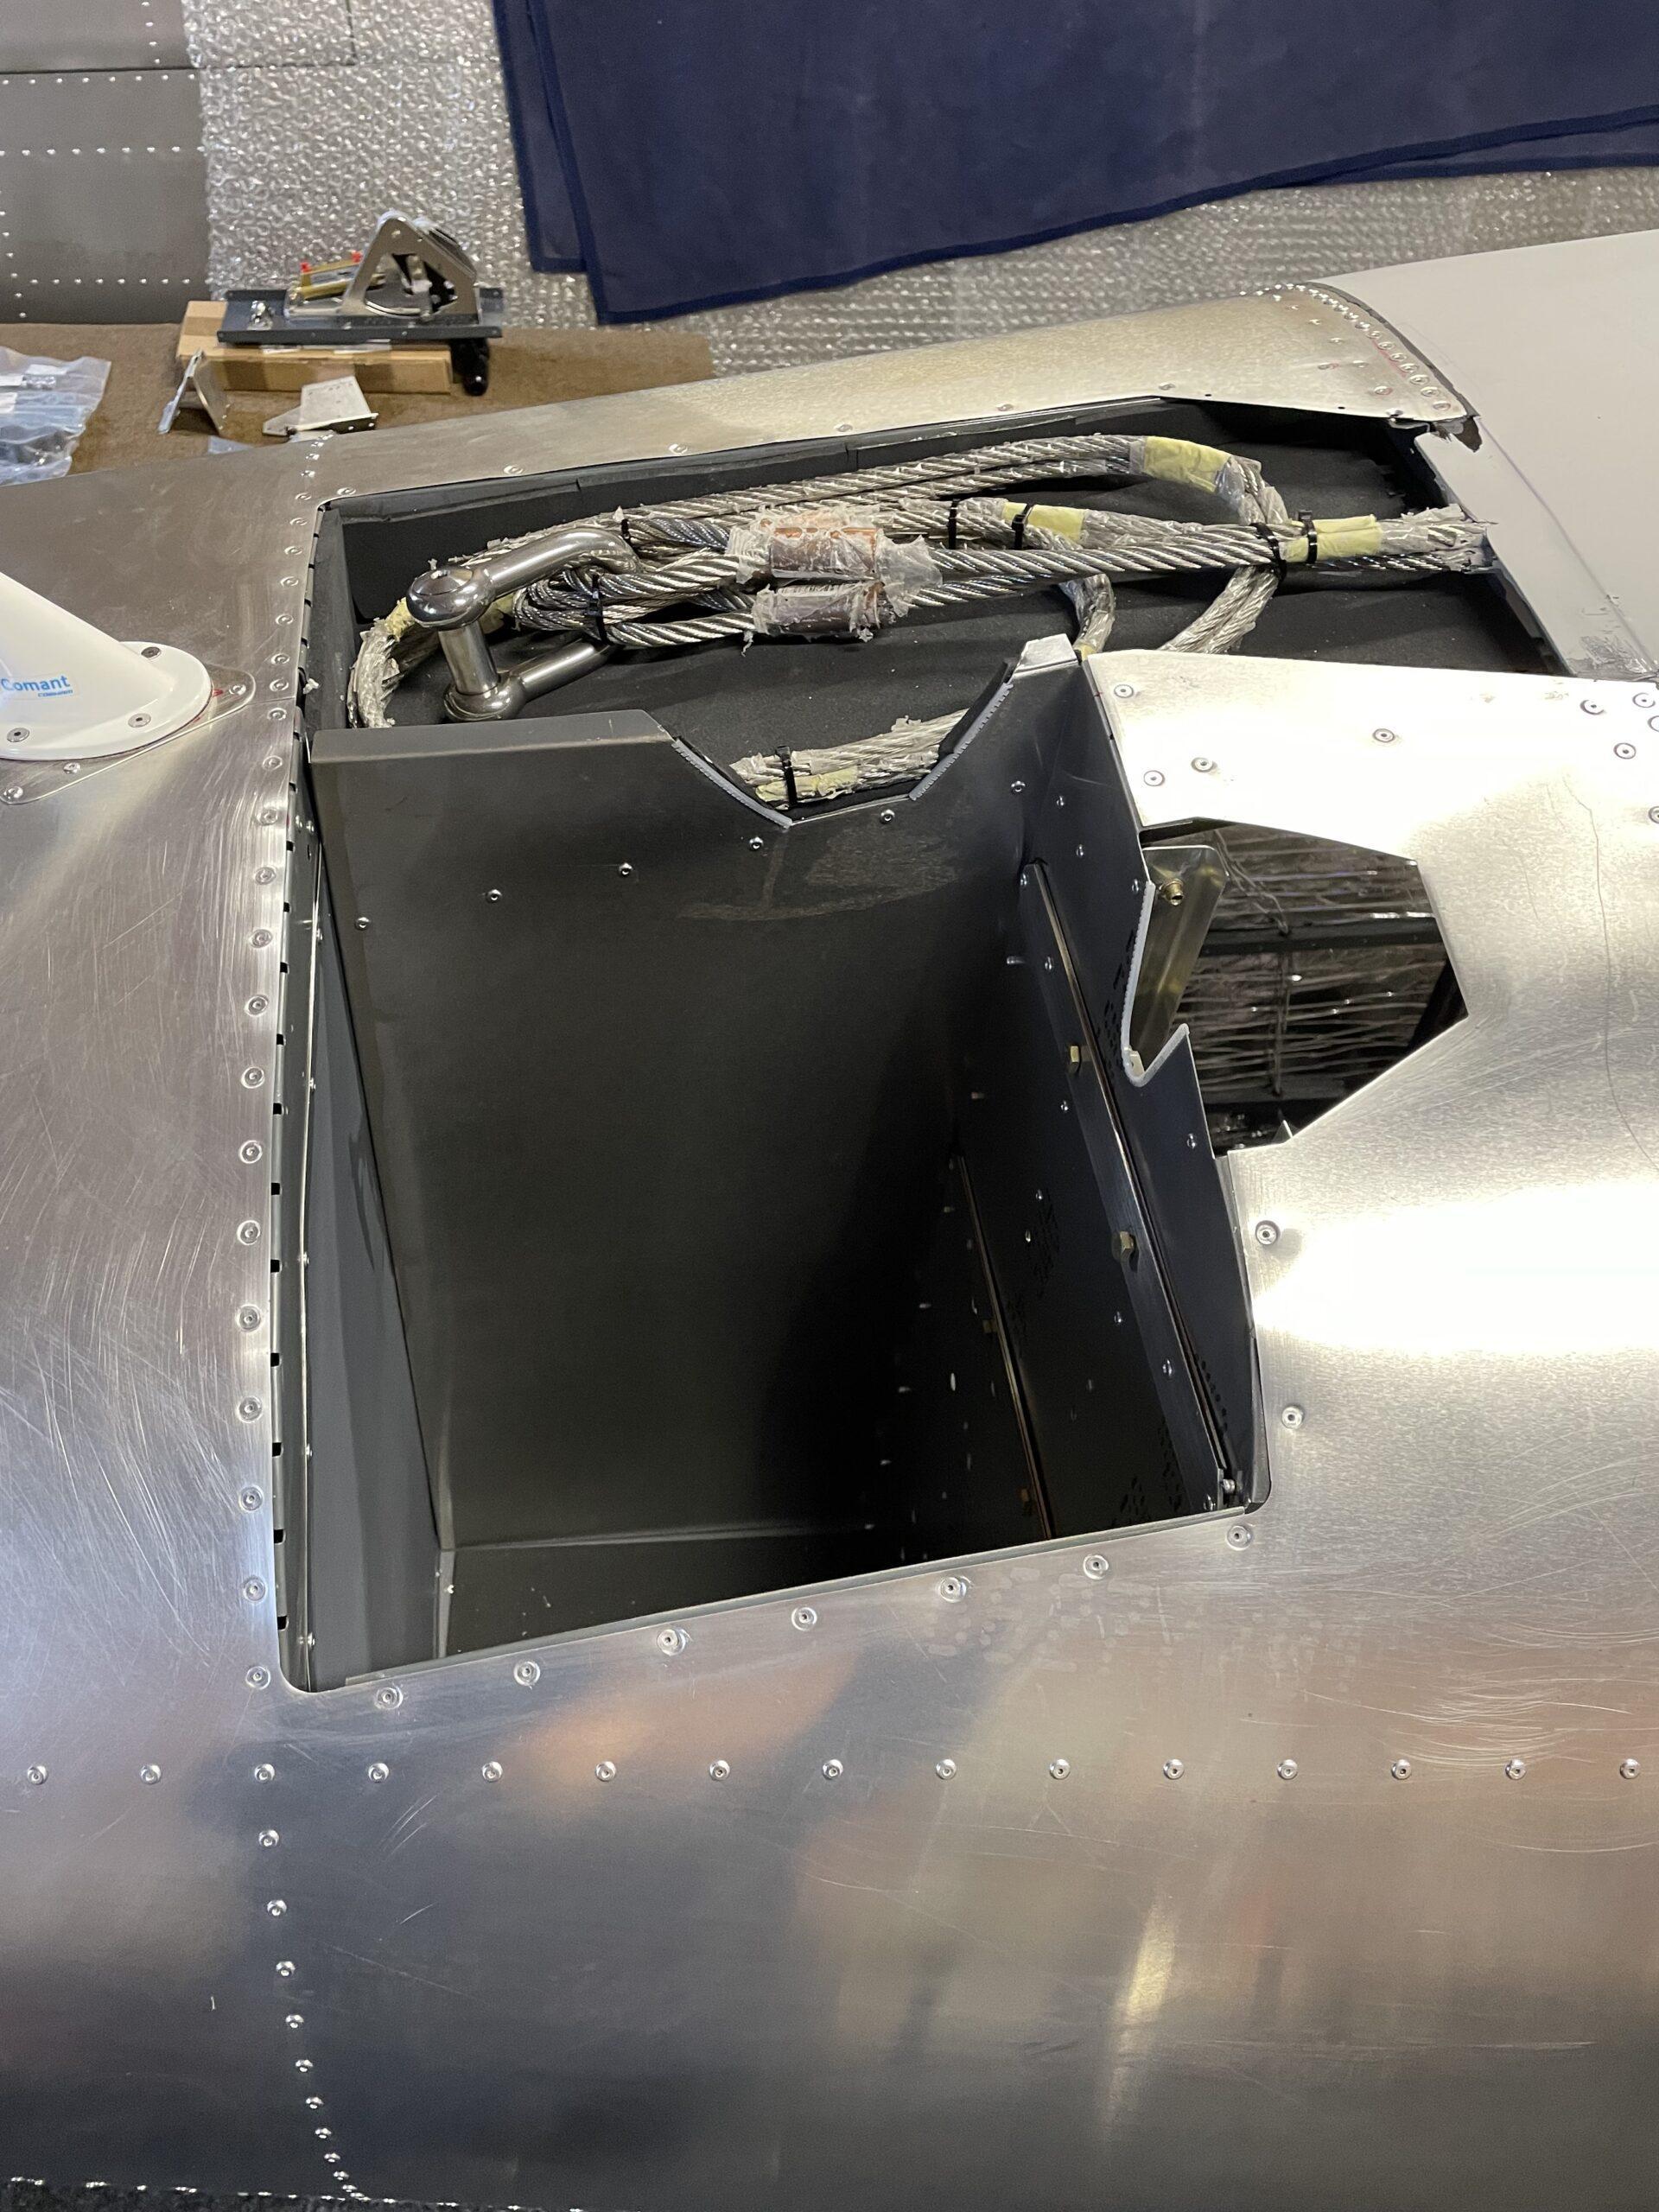
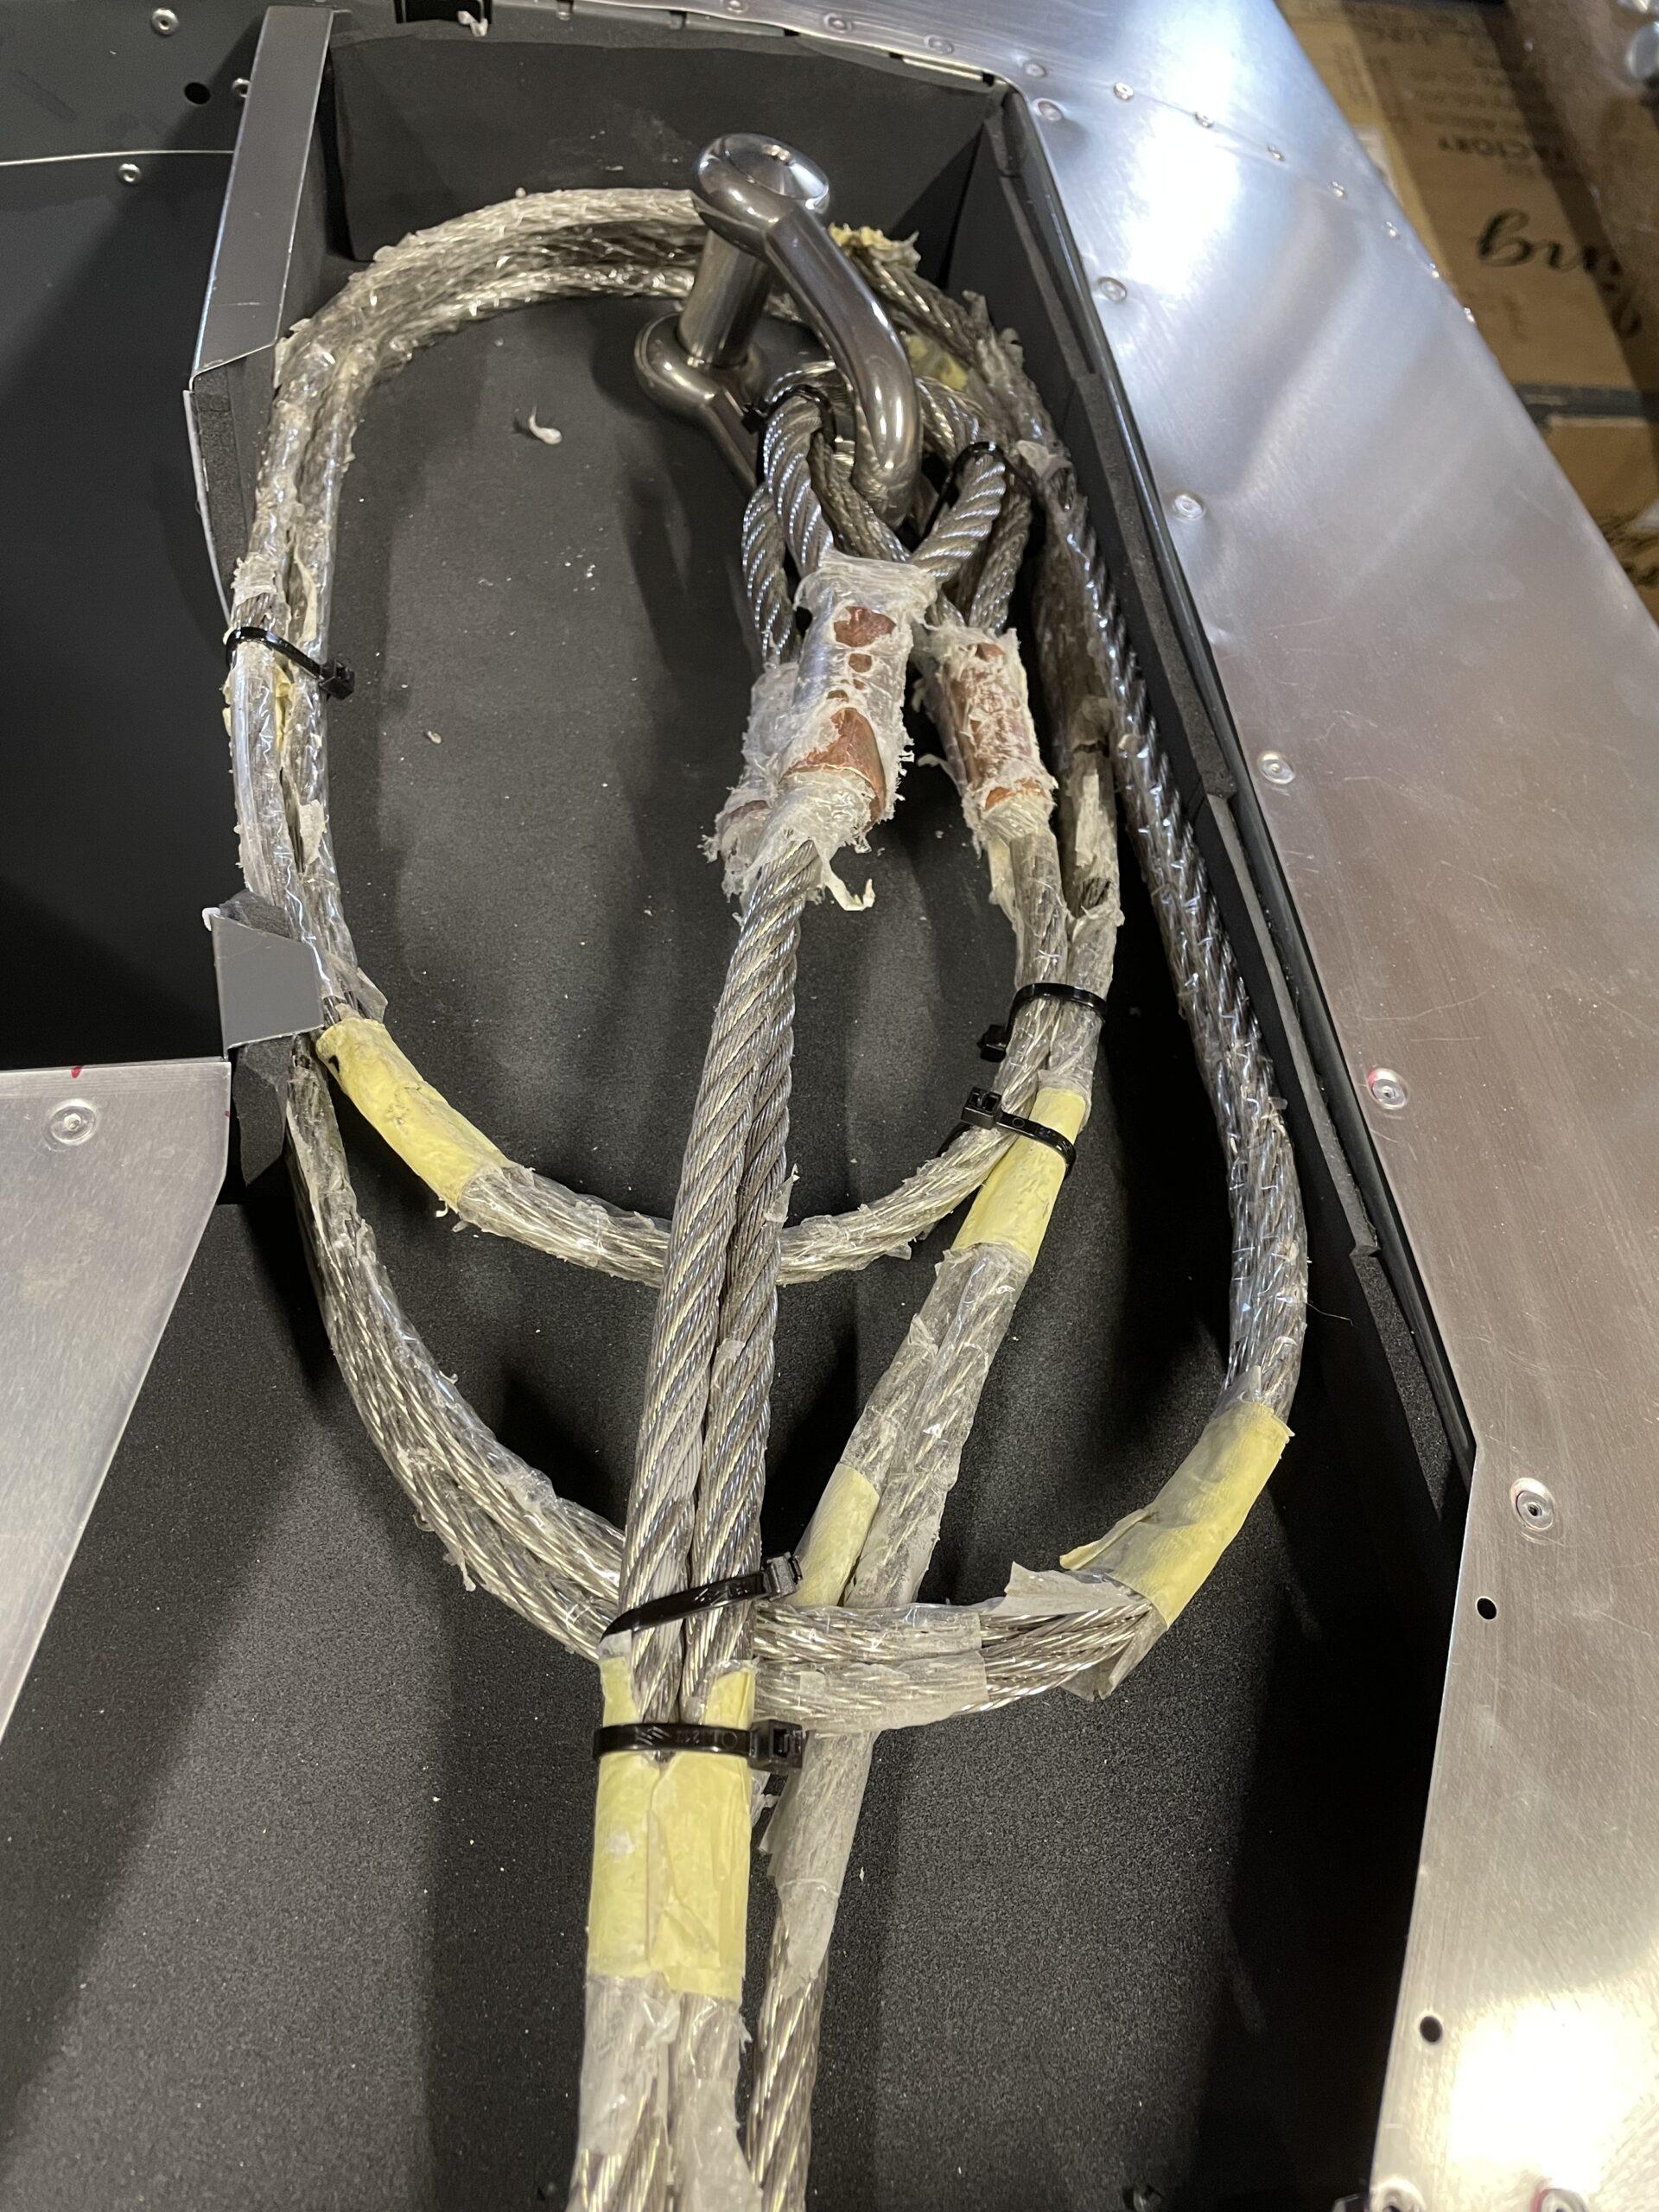
by The parachute cables need to rest in the right orientation in the cable storage box:
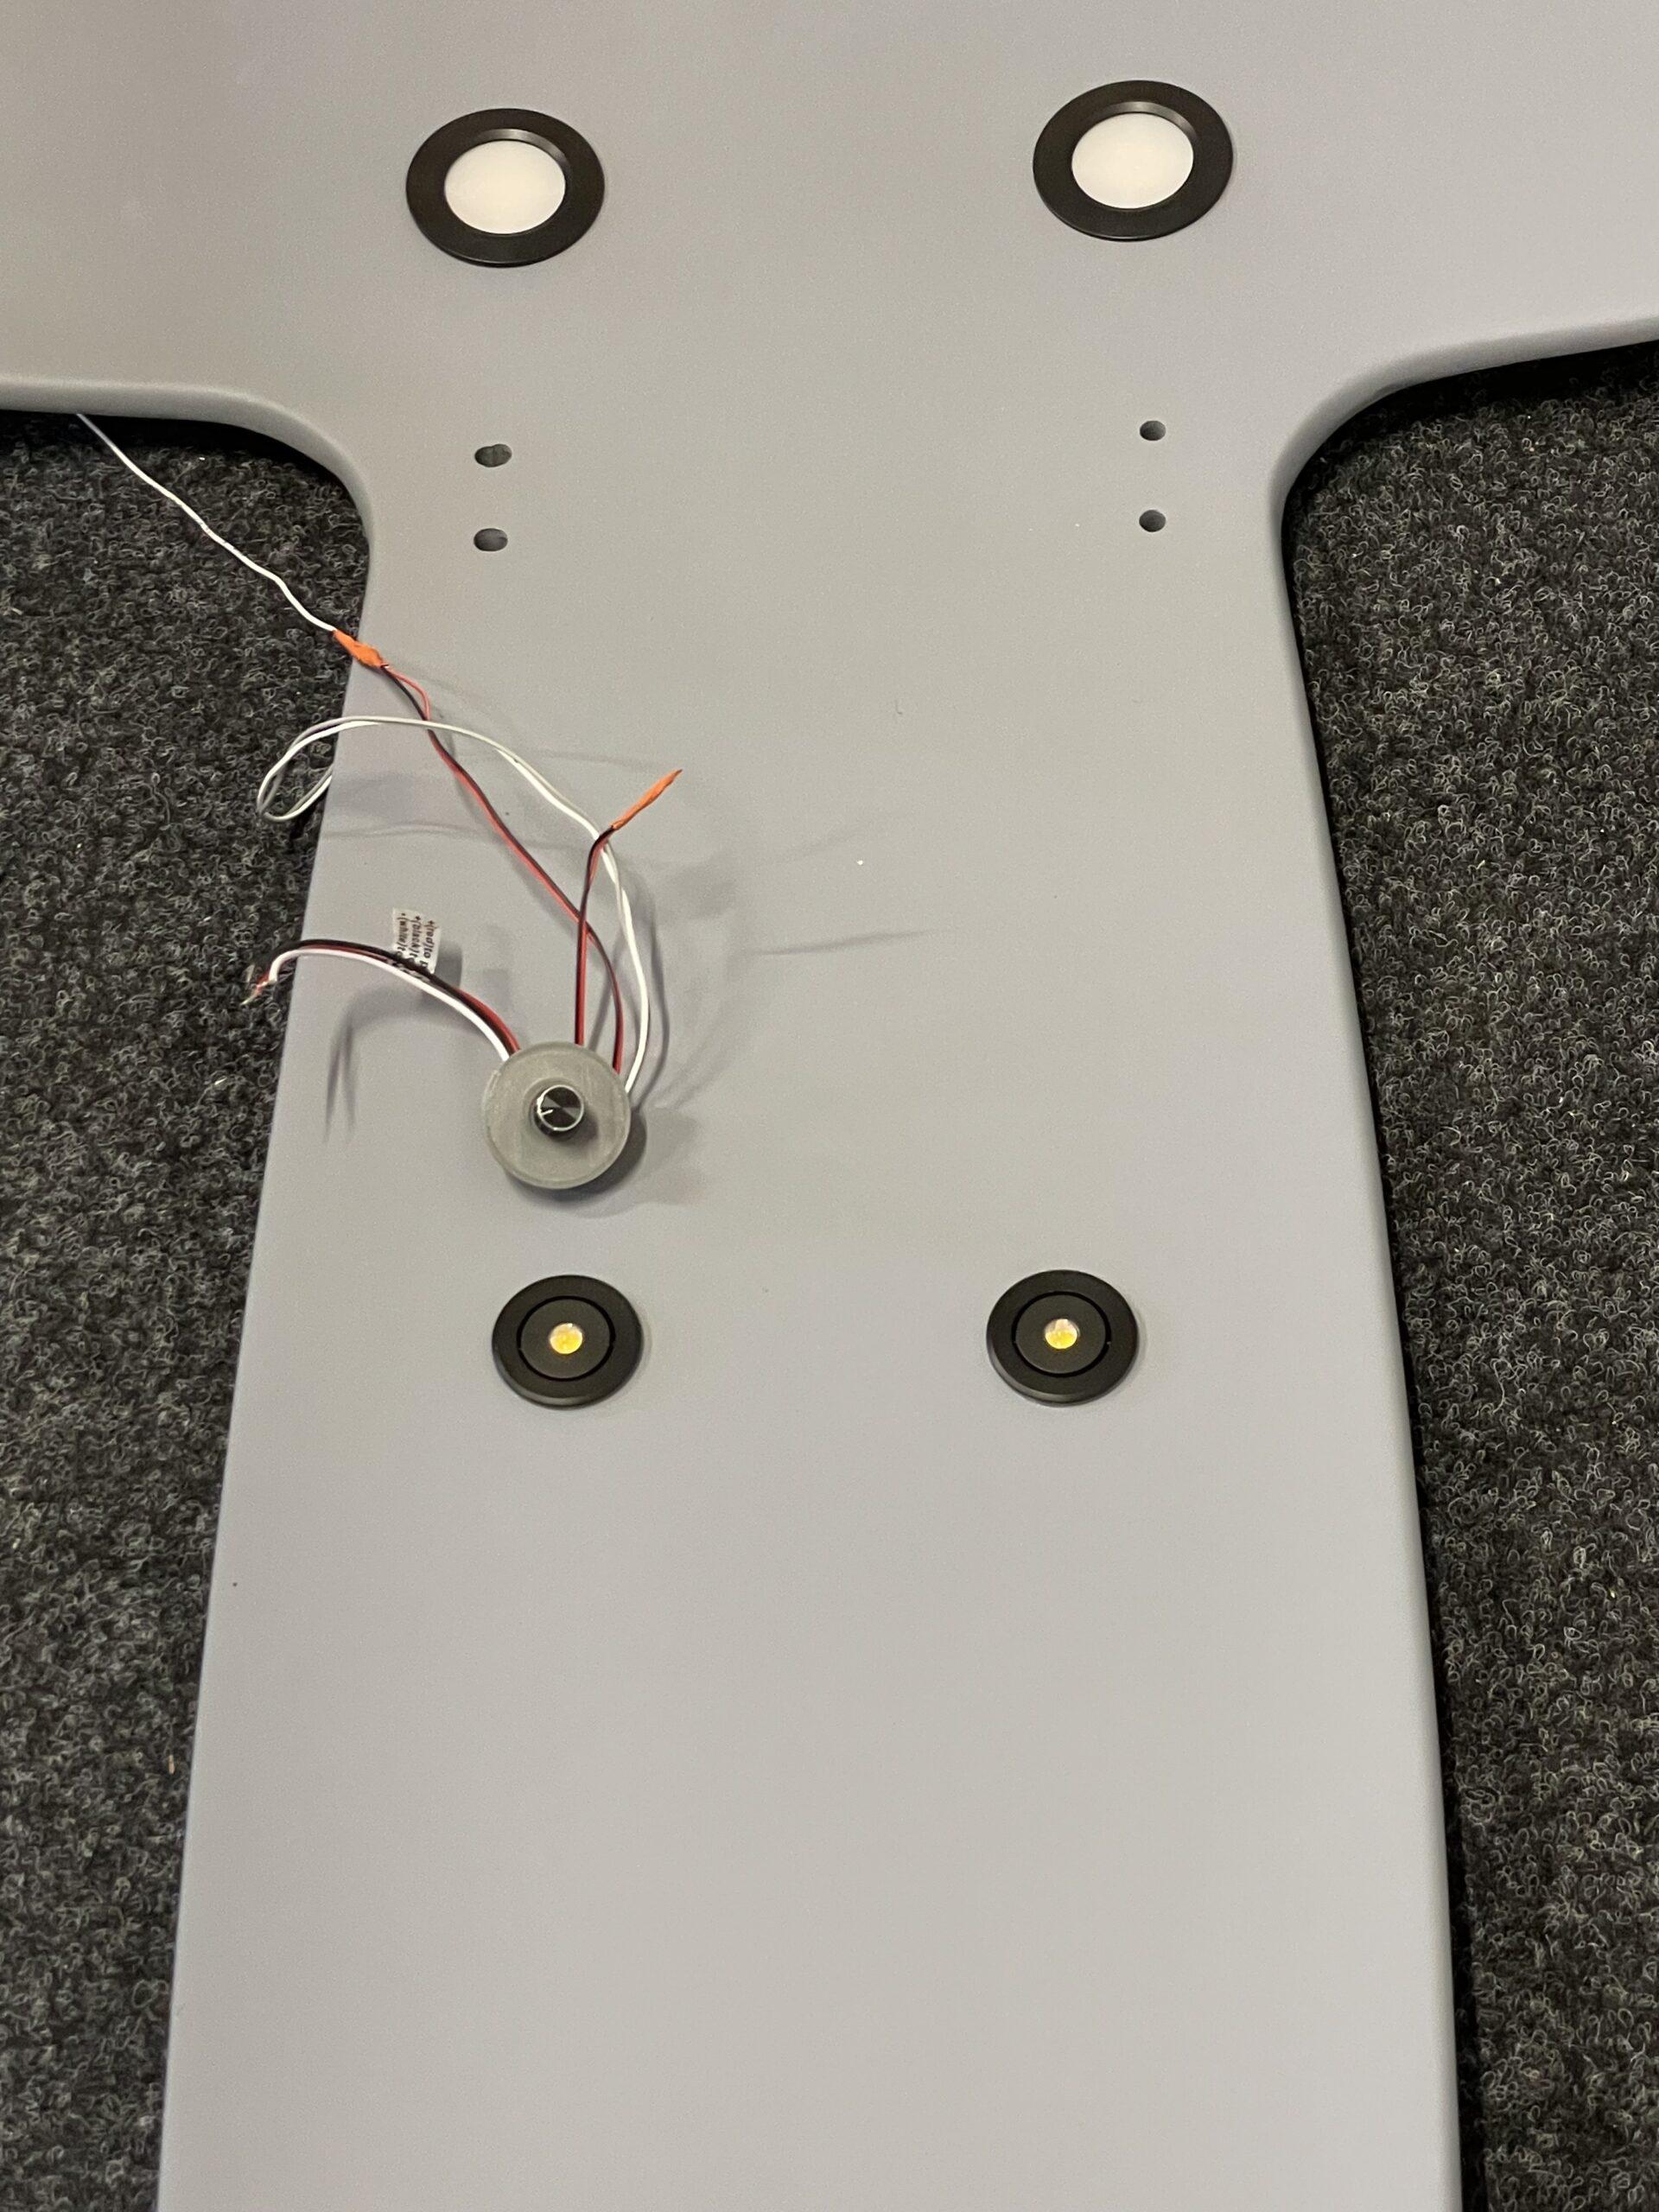
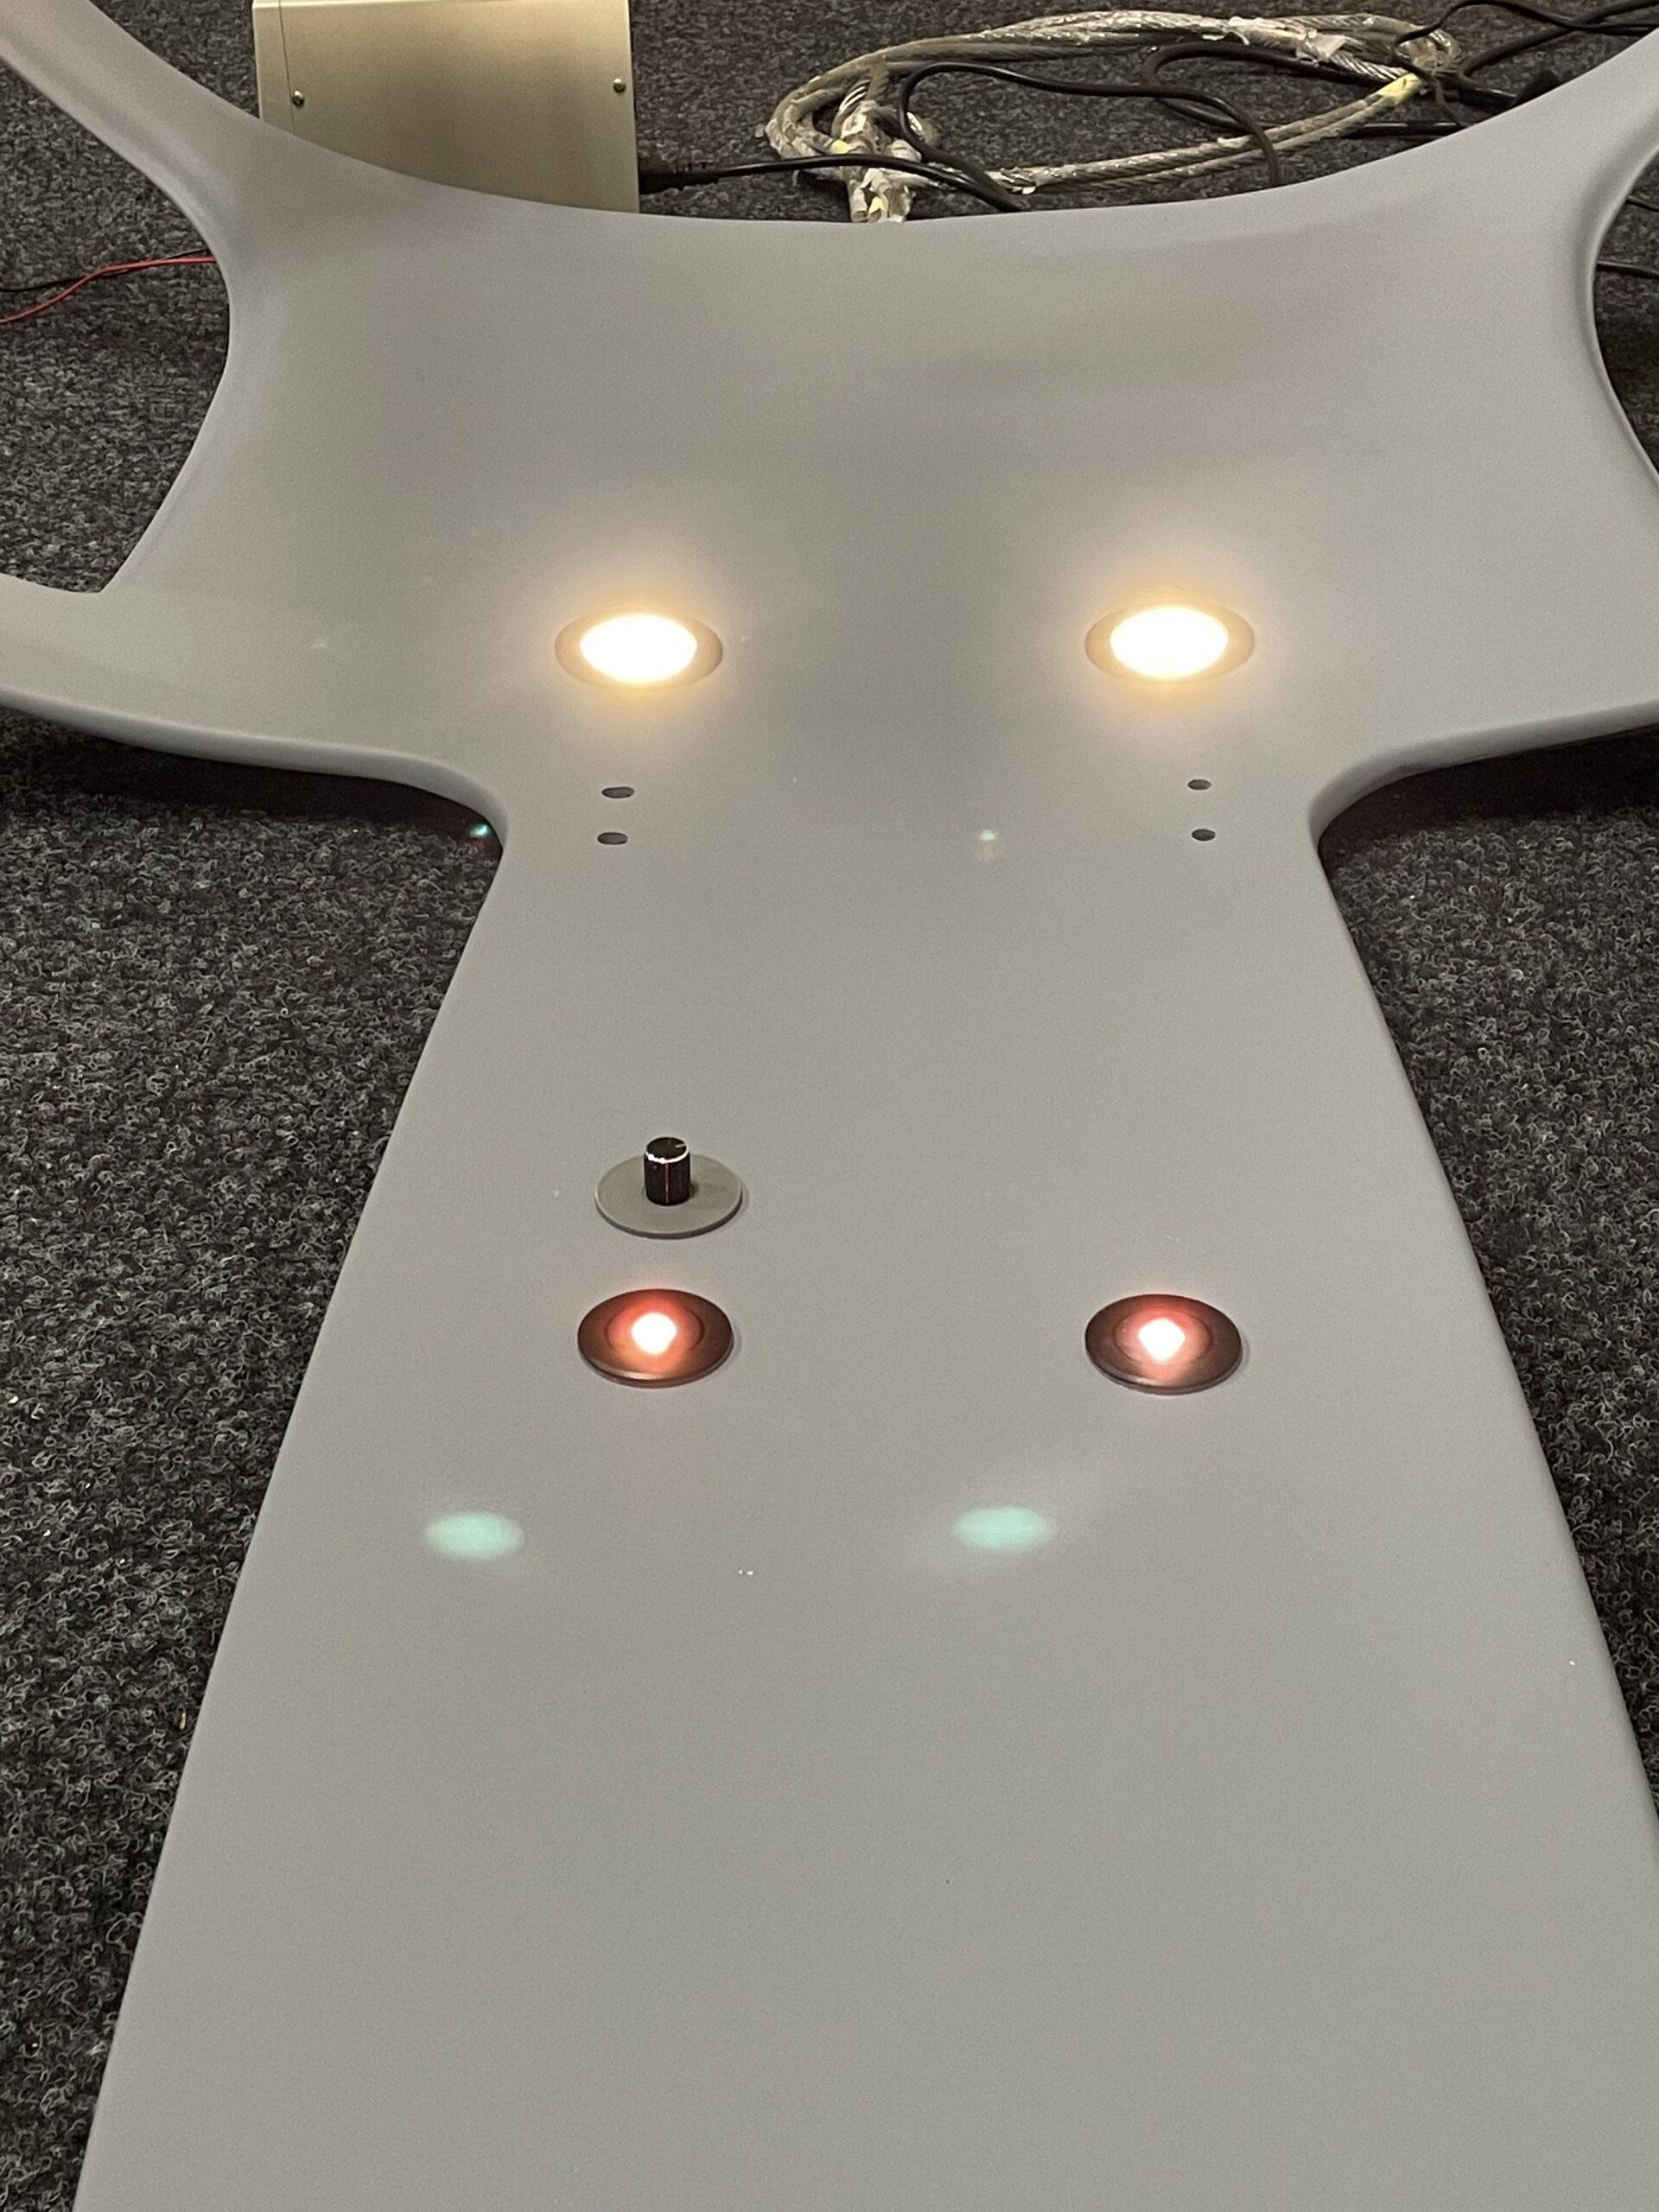
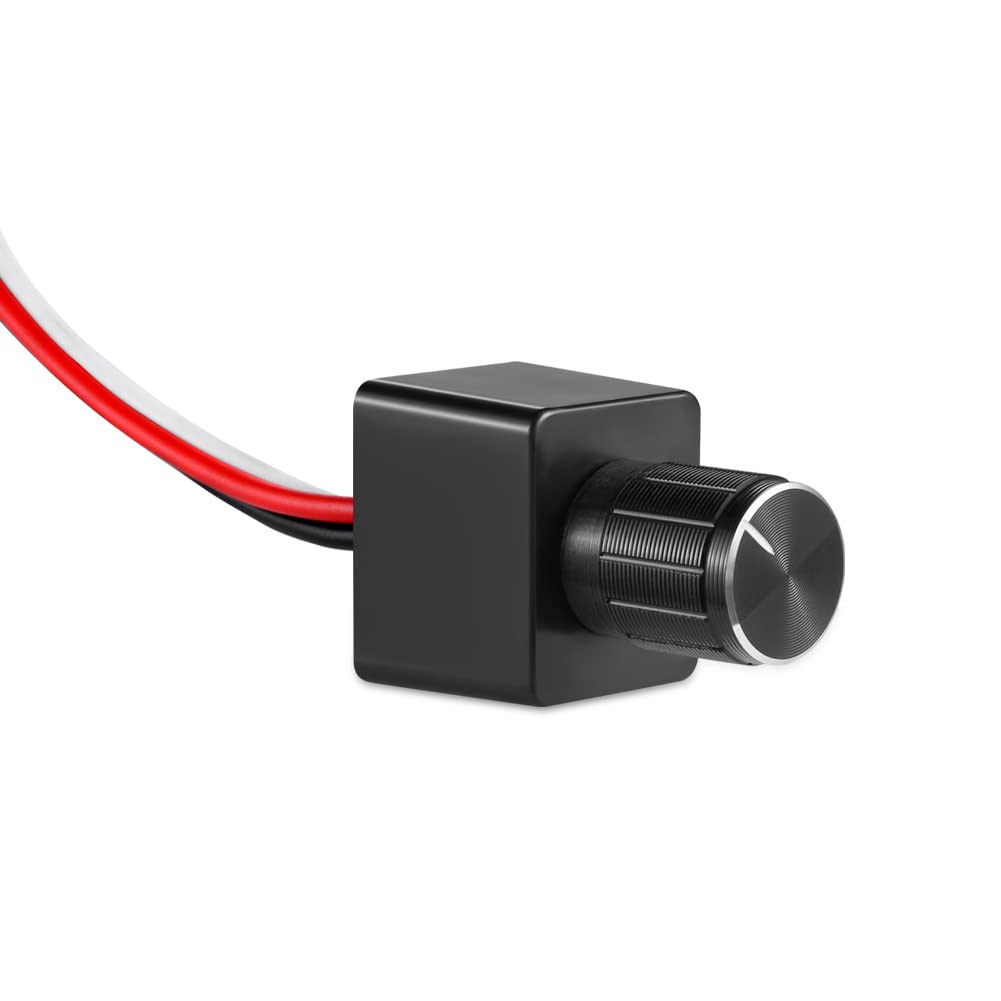
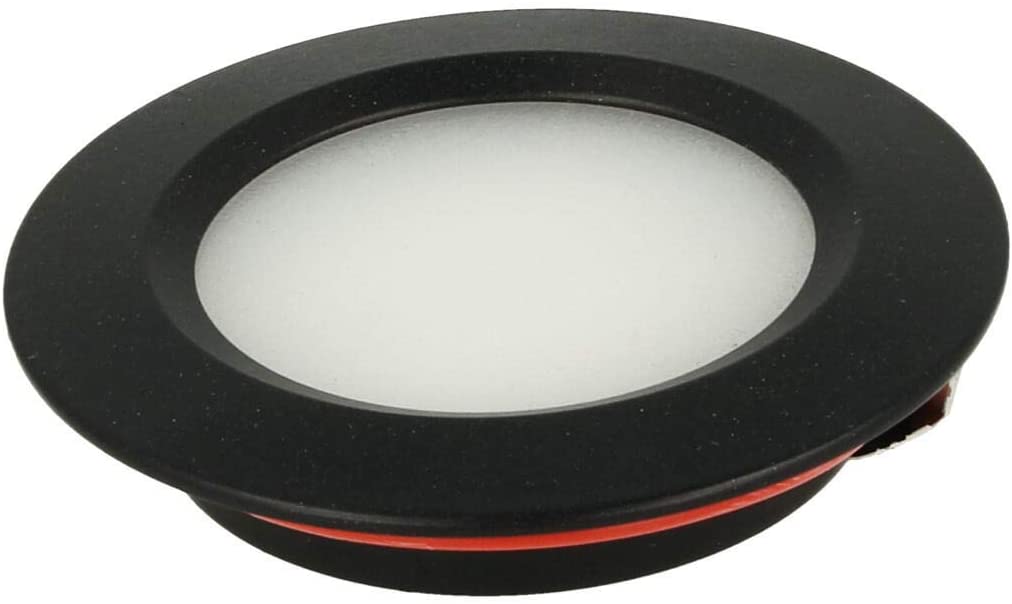
The LED cabin lights were no part of my kit and I sourced them myself. The third hole behind the red map lights needed to be filled with something, so I created a 3D printed cover and installed a PWM dimmer with on/off switch. To make the red map lights fit I created another 3D printed spacer to gain 2 more mm in depth. Before installing the lights, the inside canopy has been painted with “Telegrau 2 (RAL 7046)” matte .
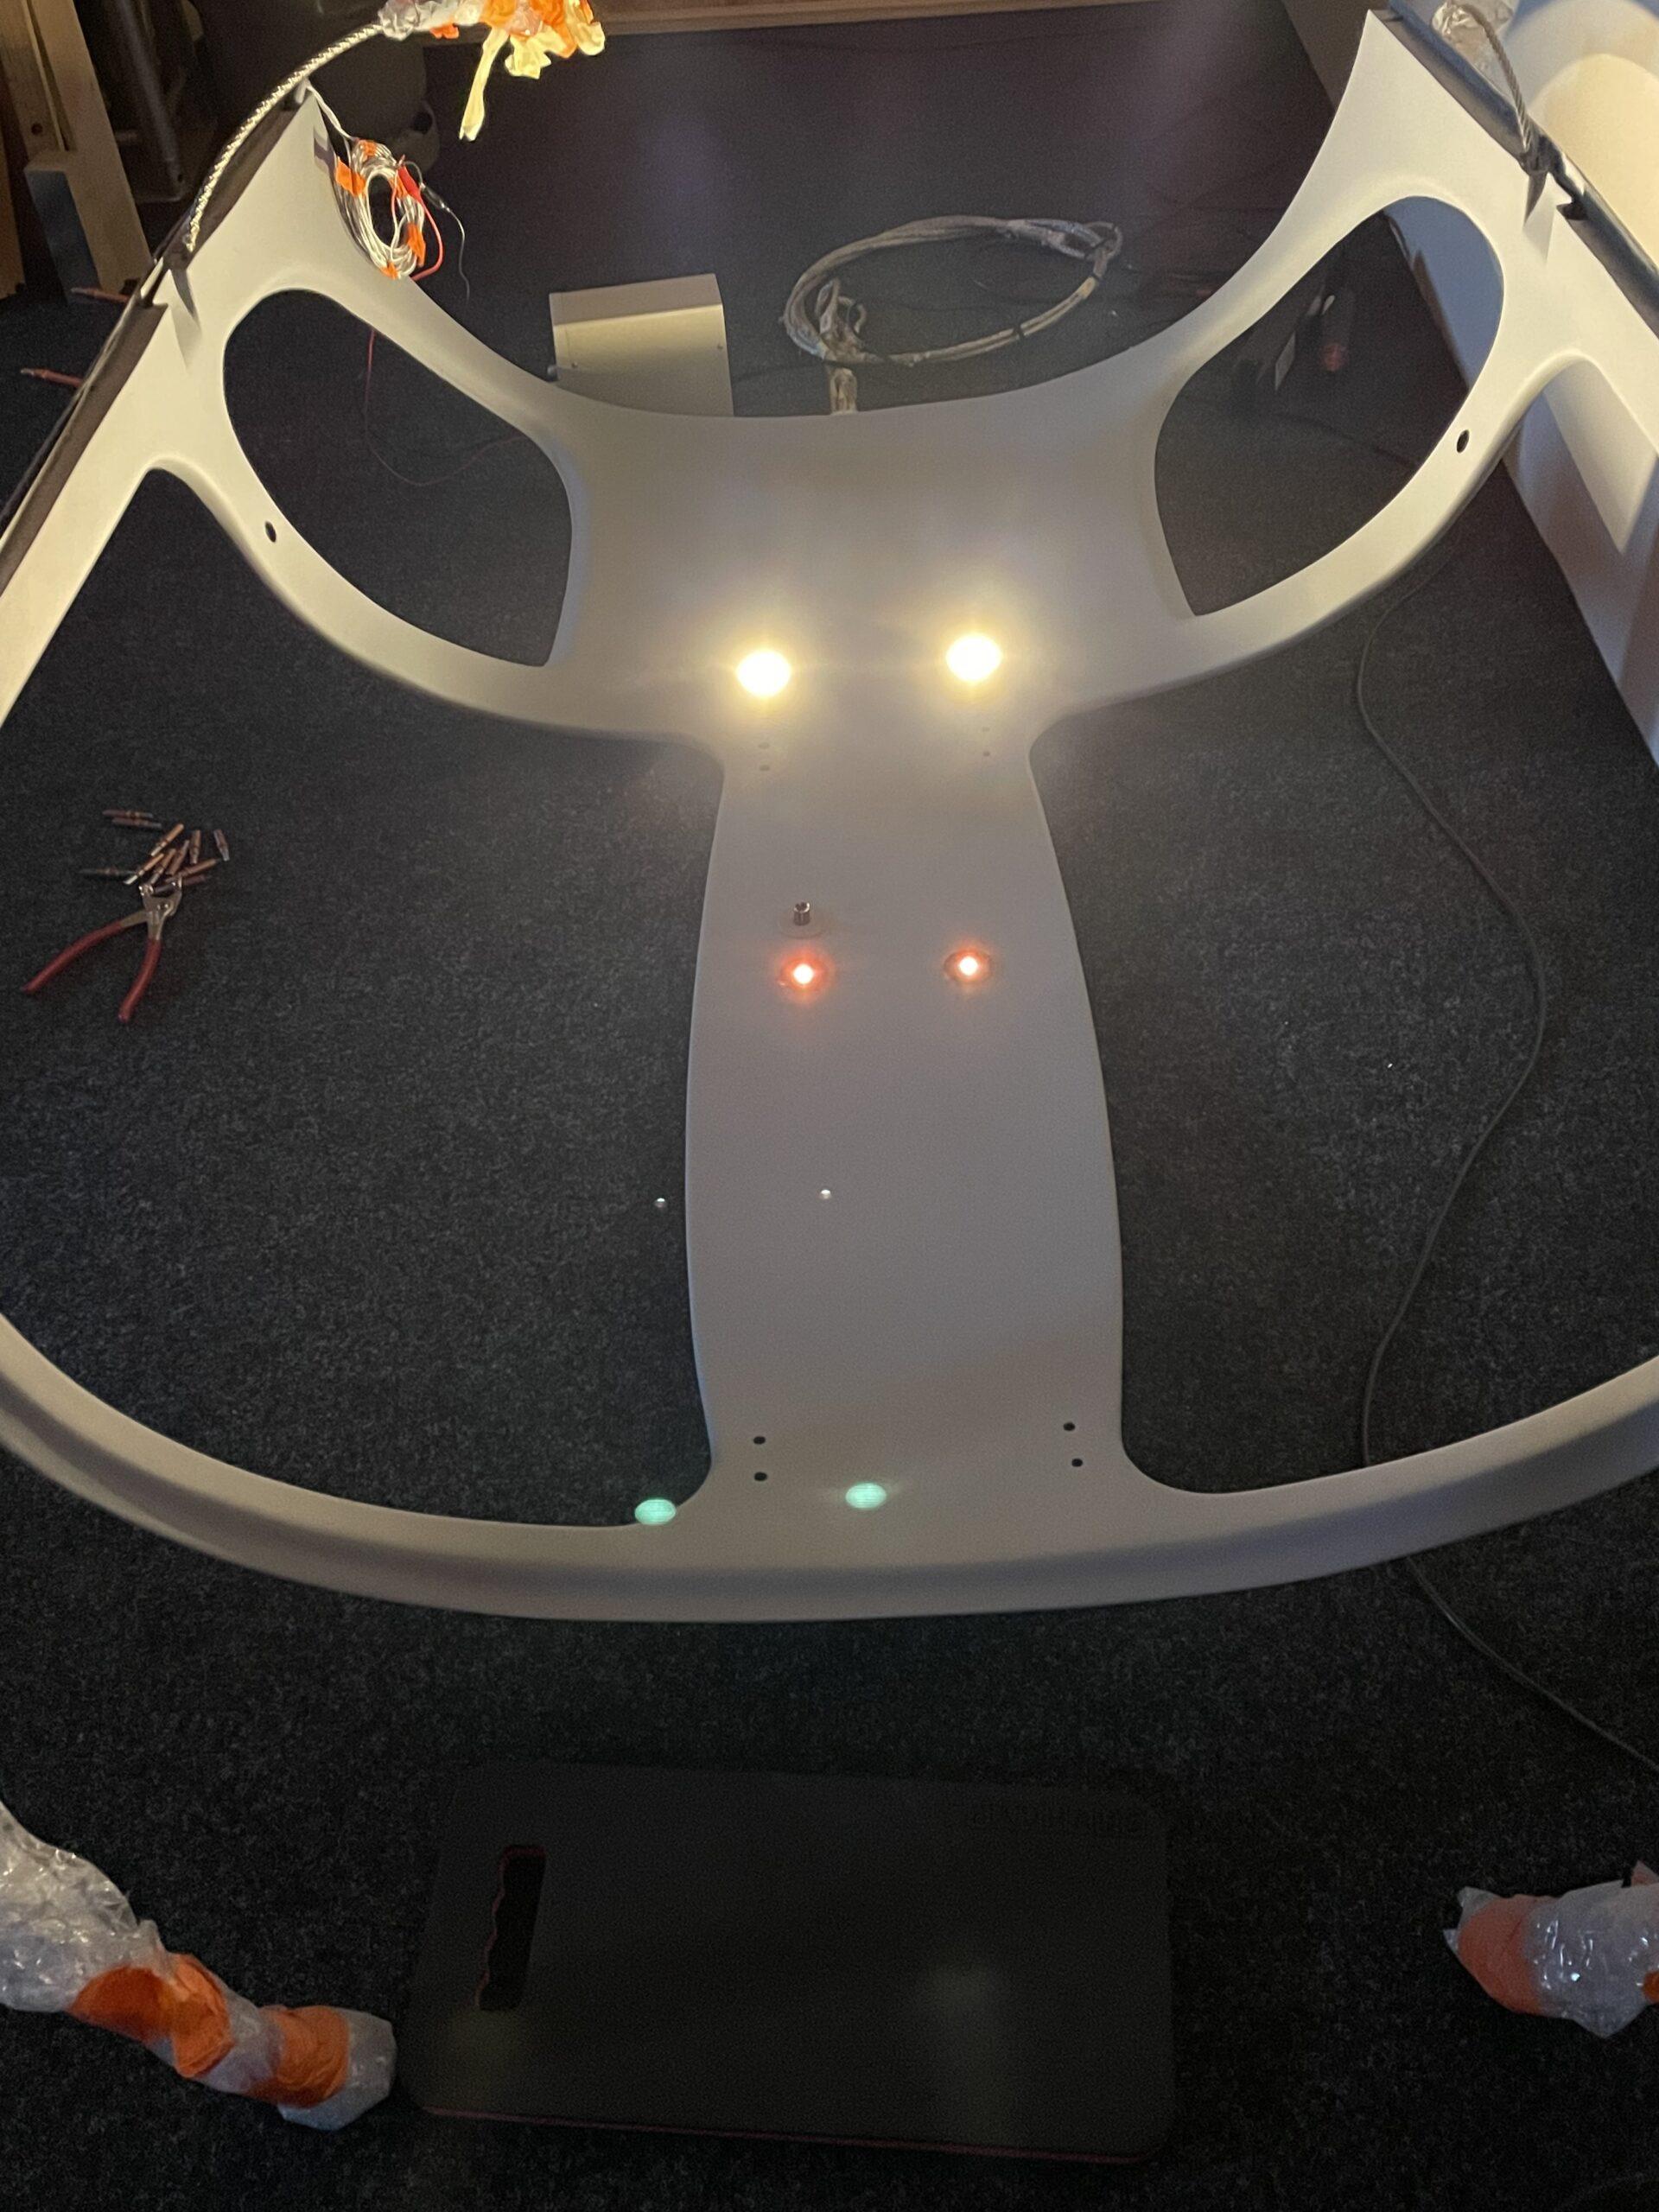
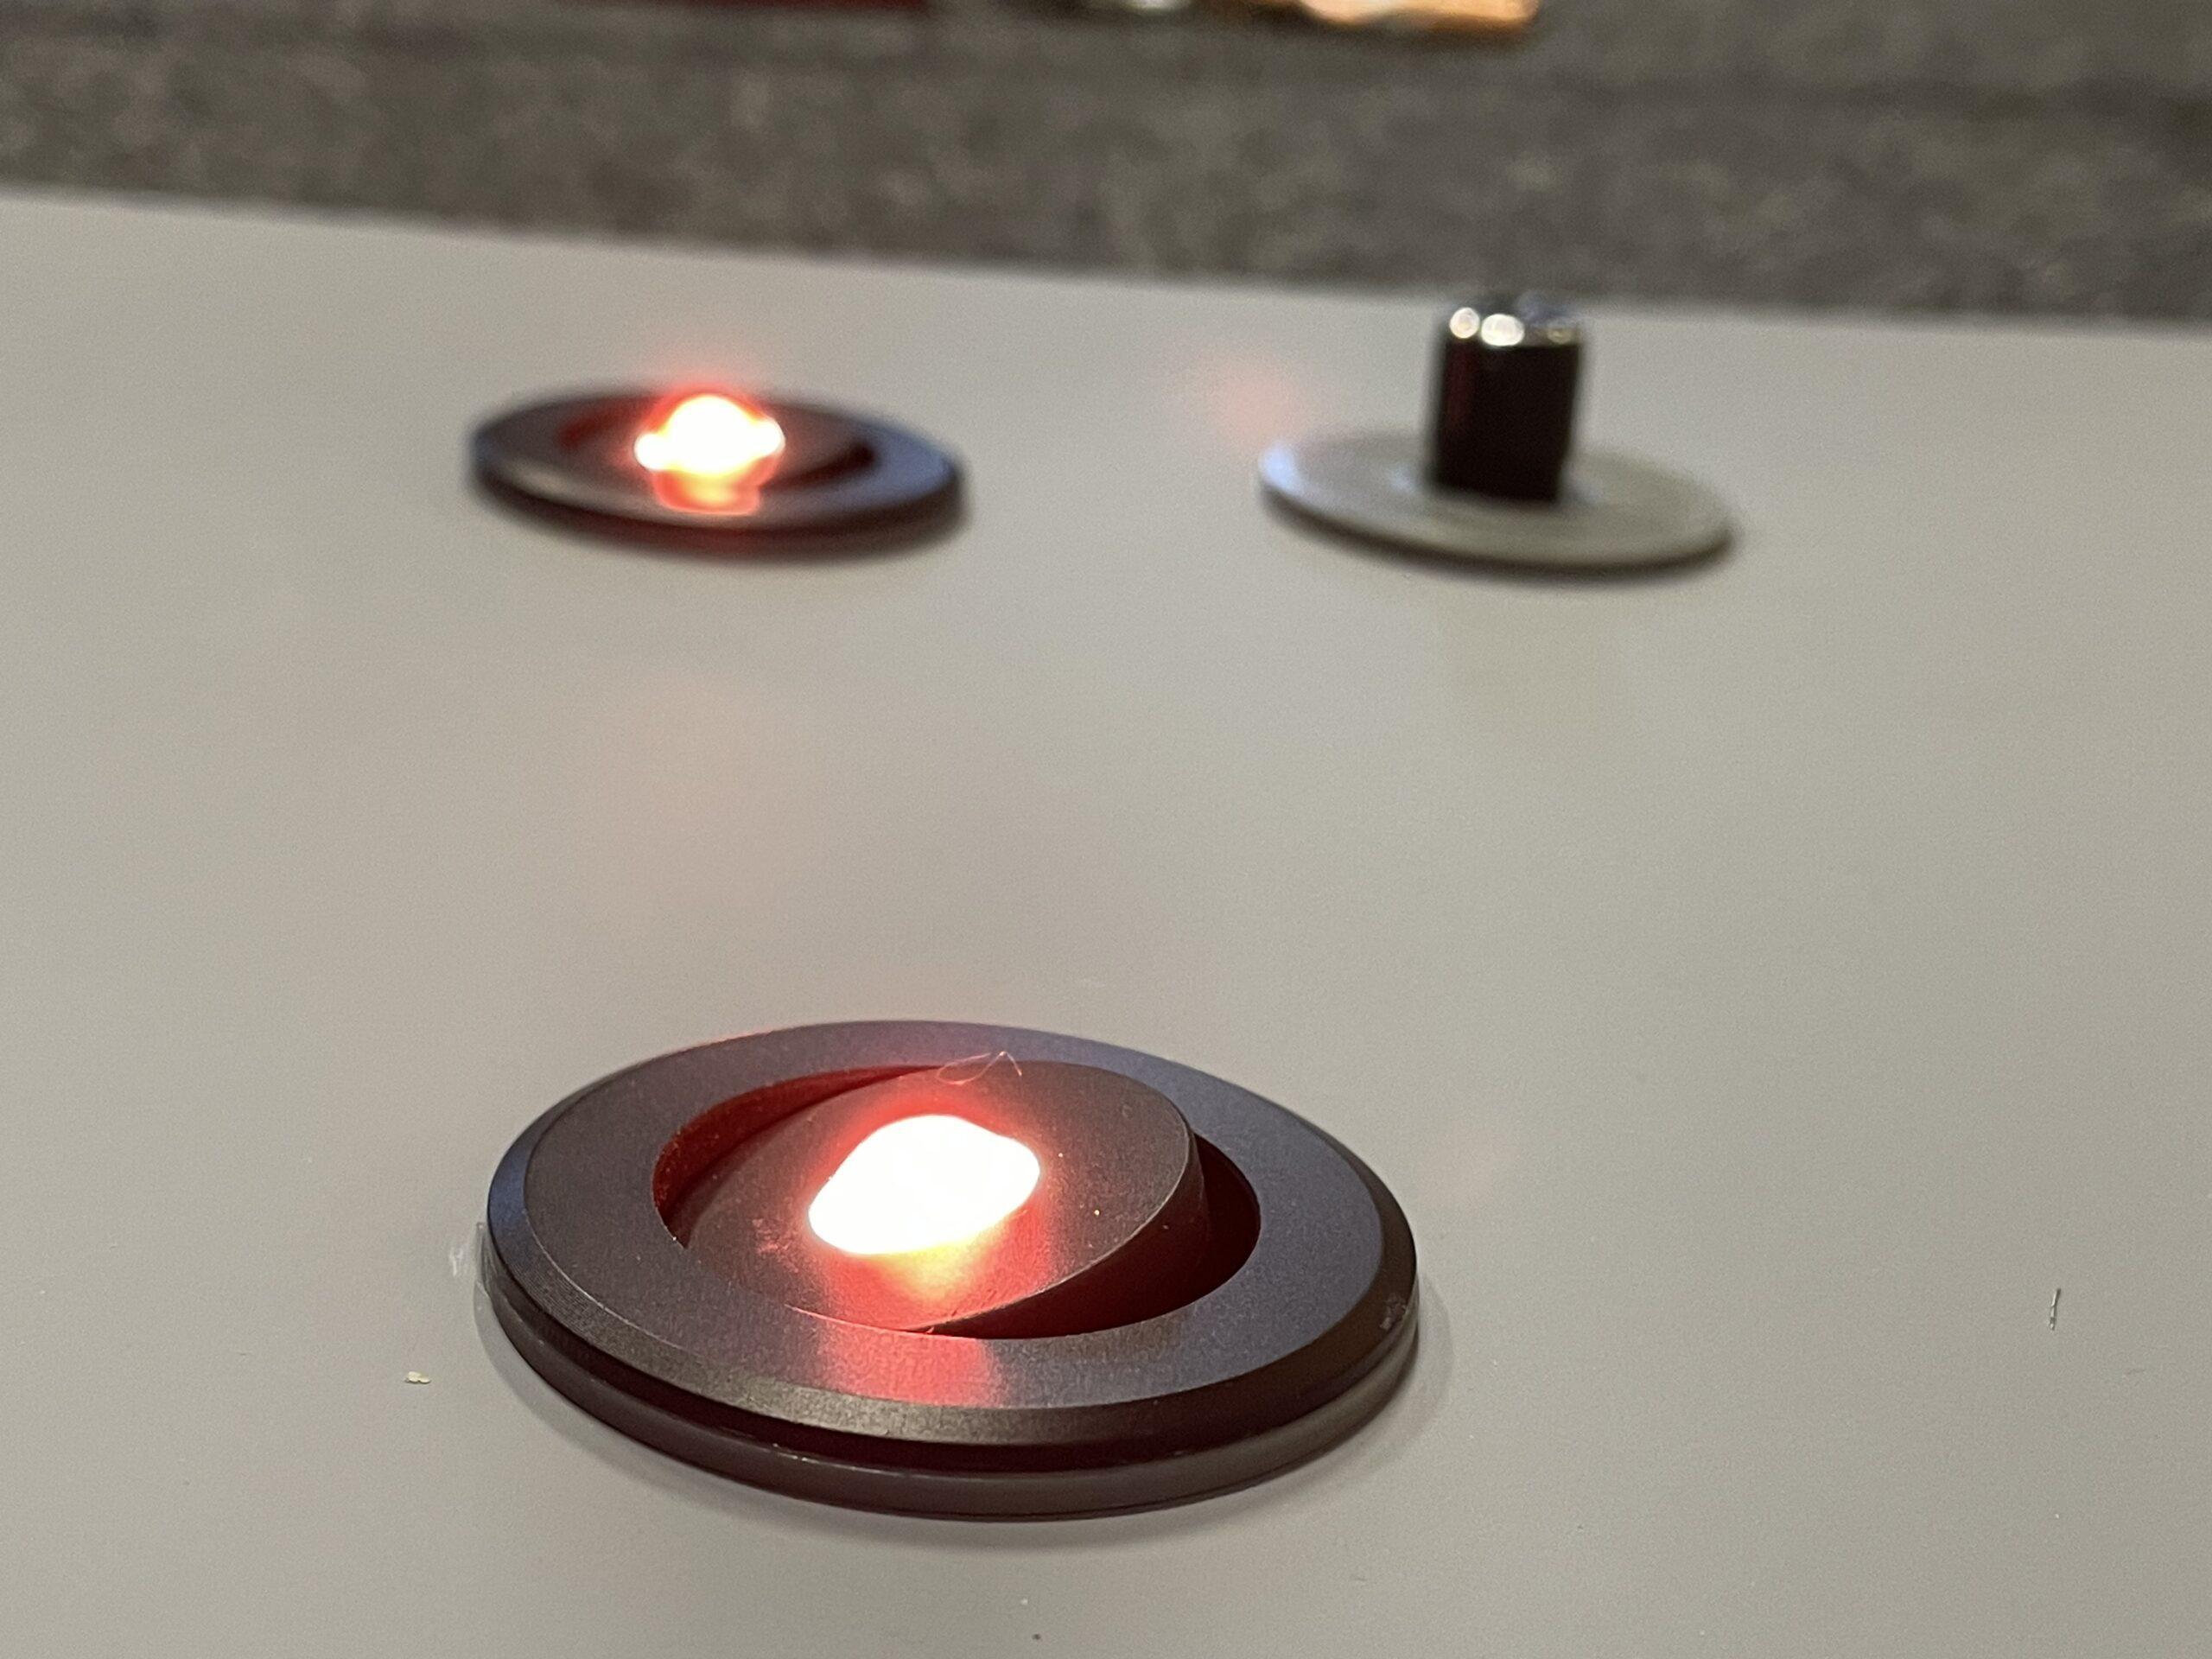

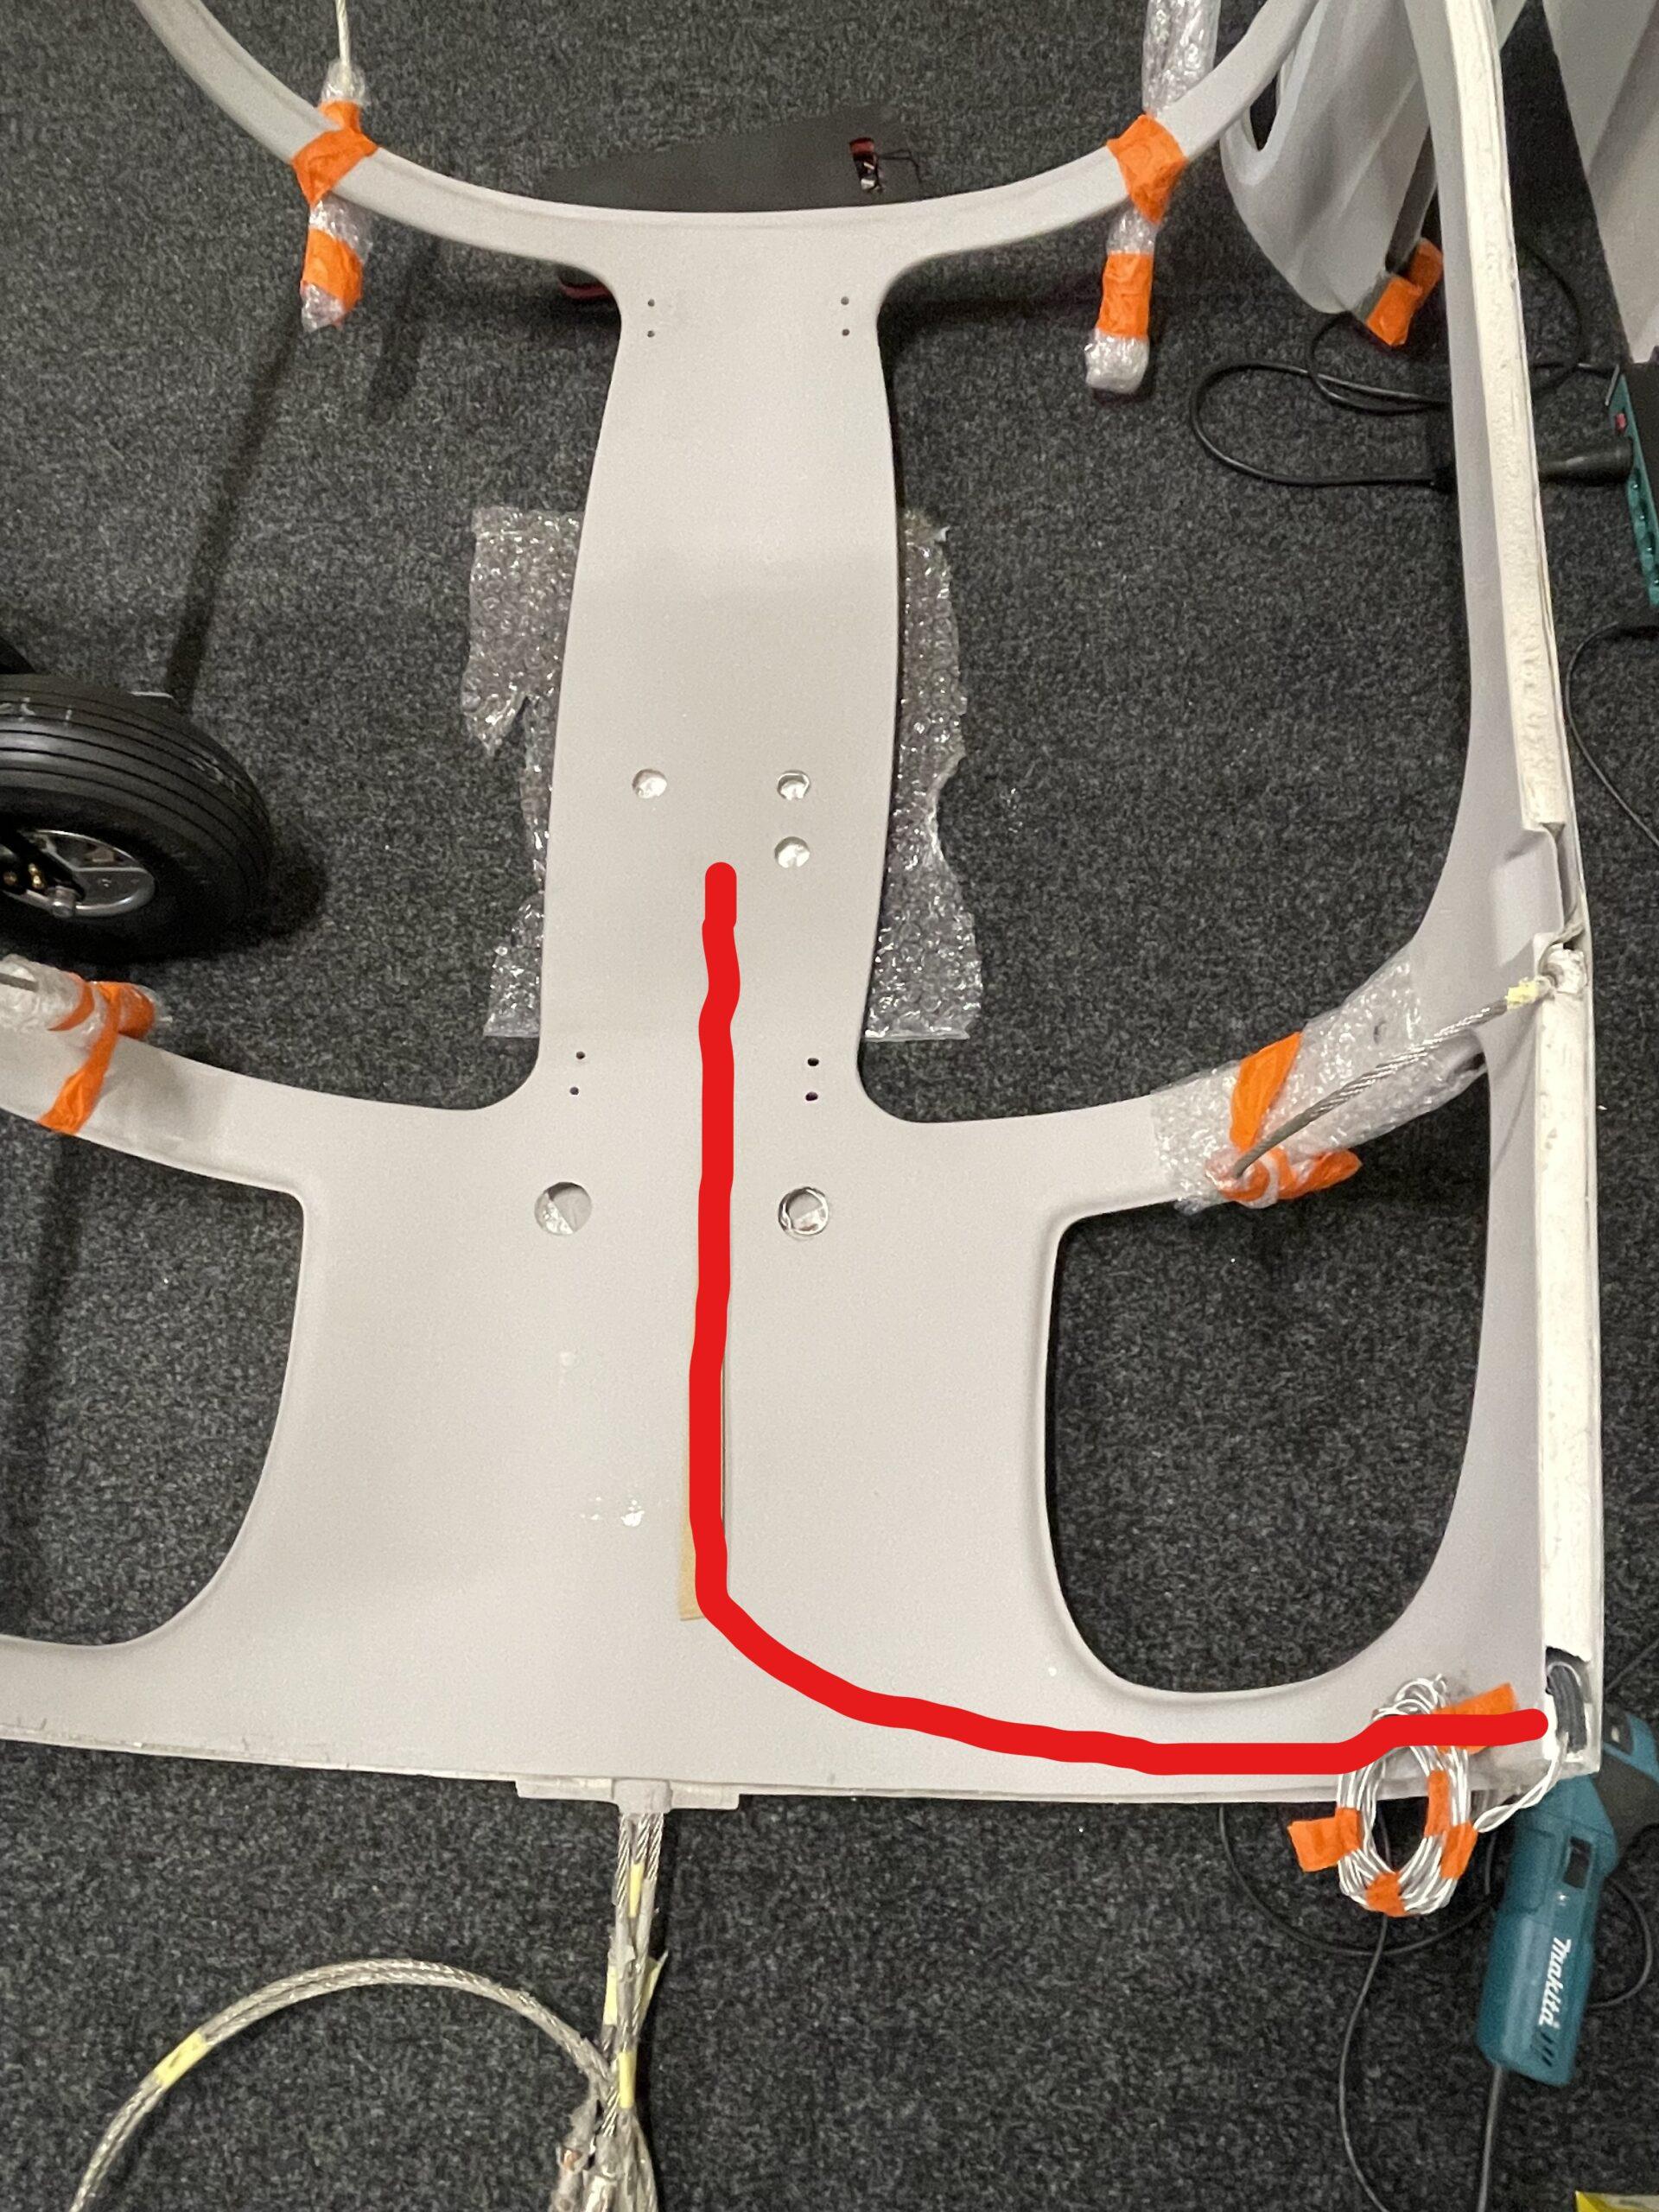
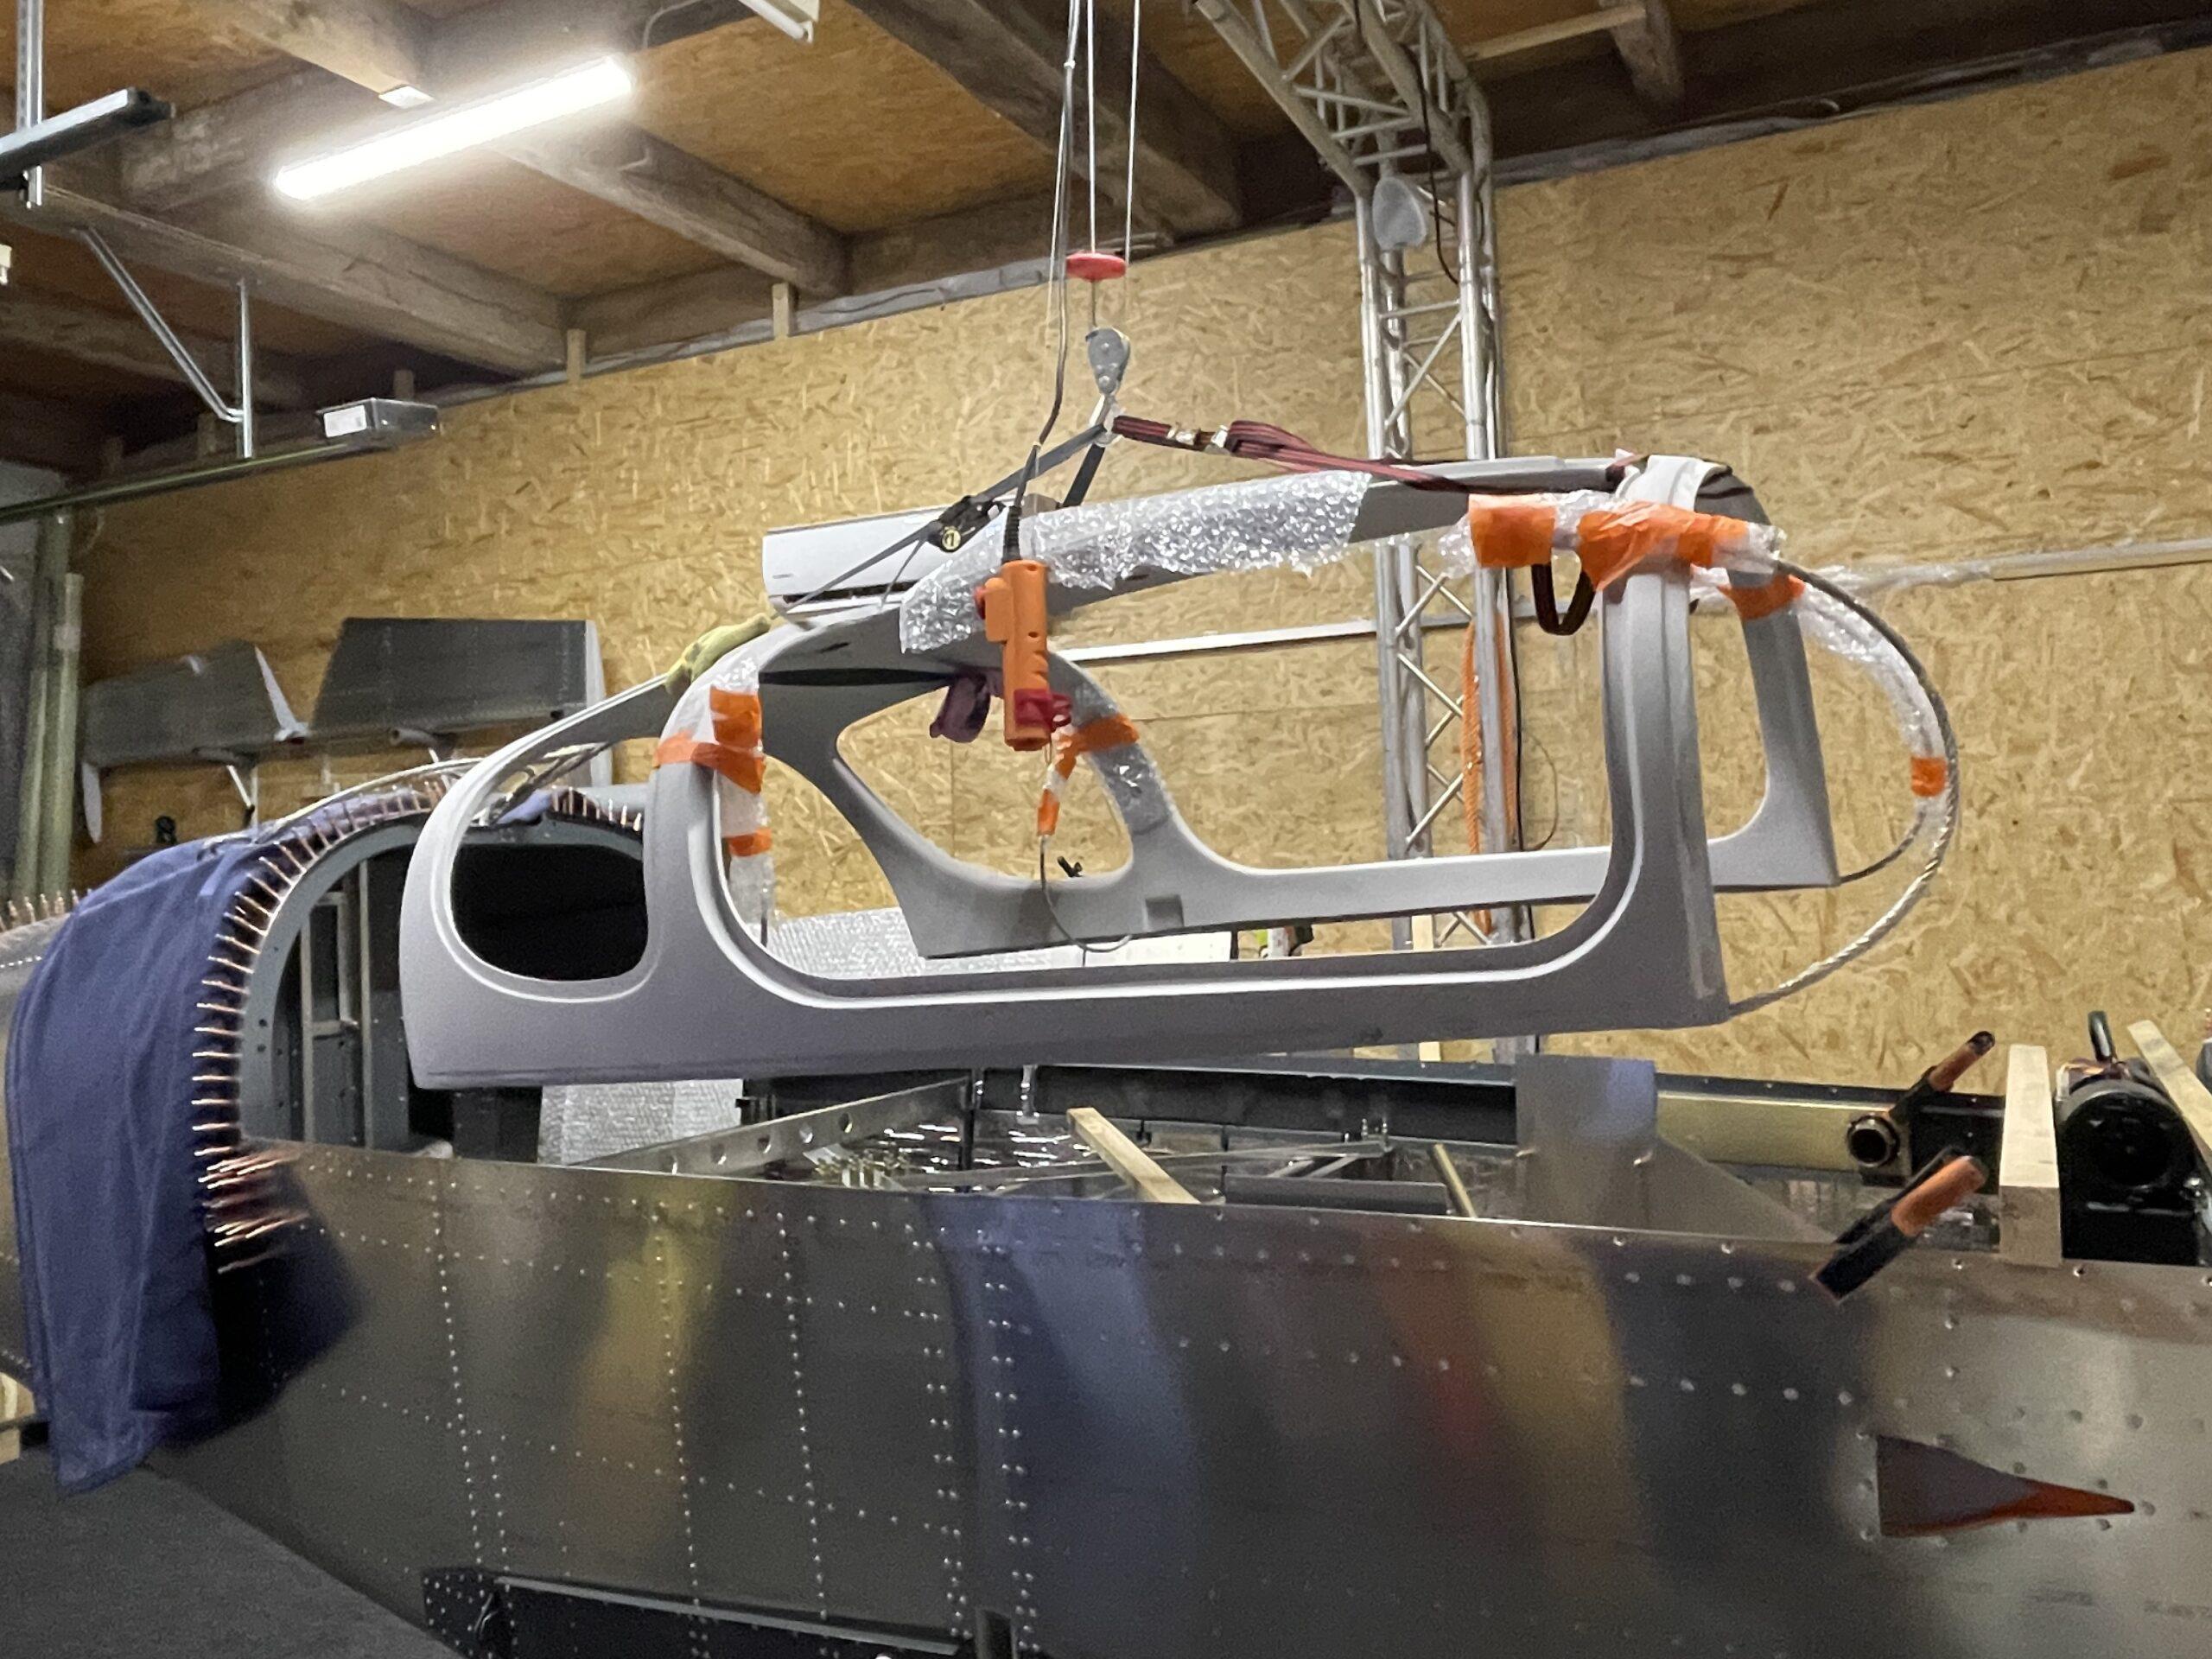
The canopy needs to be trimmed a lot at the rear. I guess I had it on at least ten times to achieve a good fit. To make it a one person job I was happy to use the little winch that is mounted on the ceiling of my shop. I’ll use it to lift the engine when the time comes for that. I was a little surprise by the conduit routing (red line in the left picture). To get cables to the rear cabin lights you need to go through the front light holes and route the cable from there back to the rear cabin lights. My expectation was that the conduit ends at the rear lights.
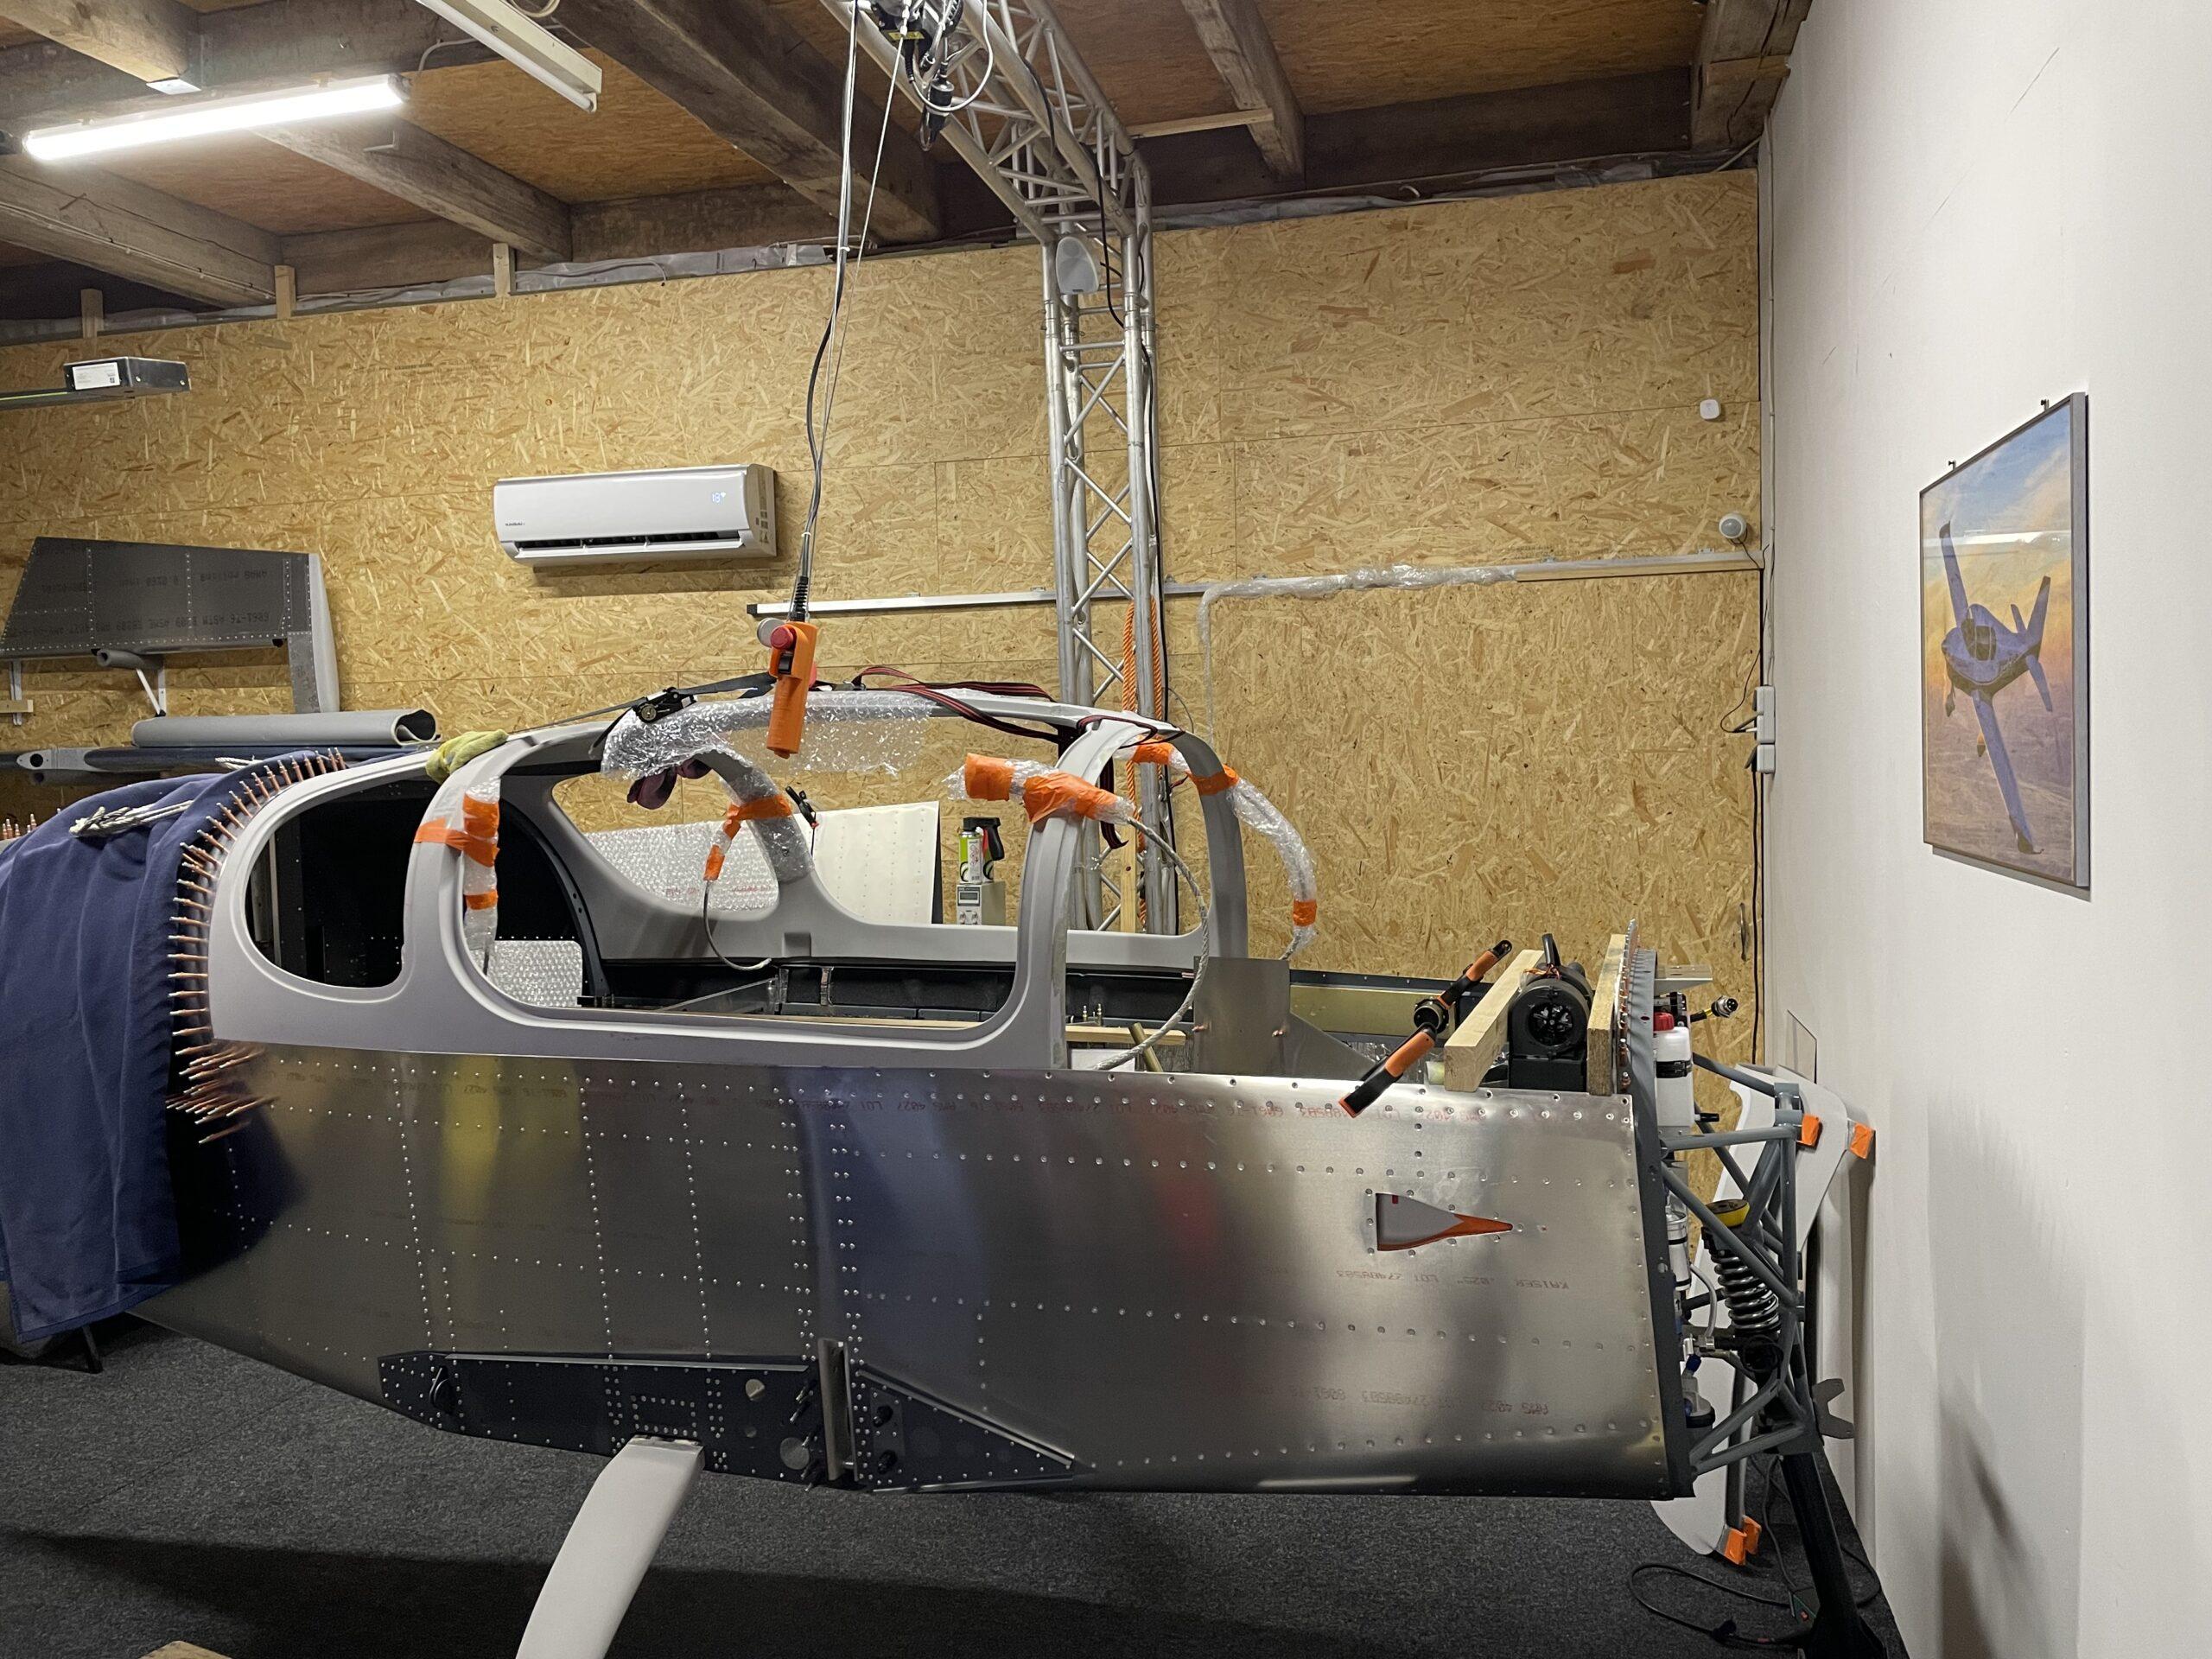
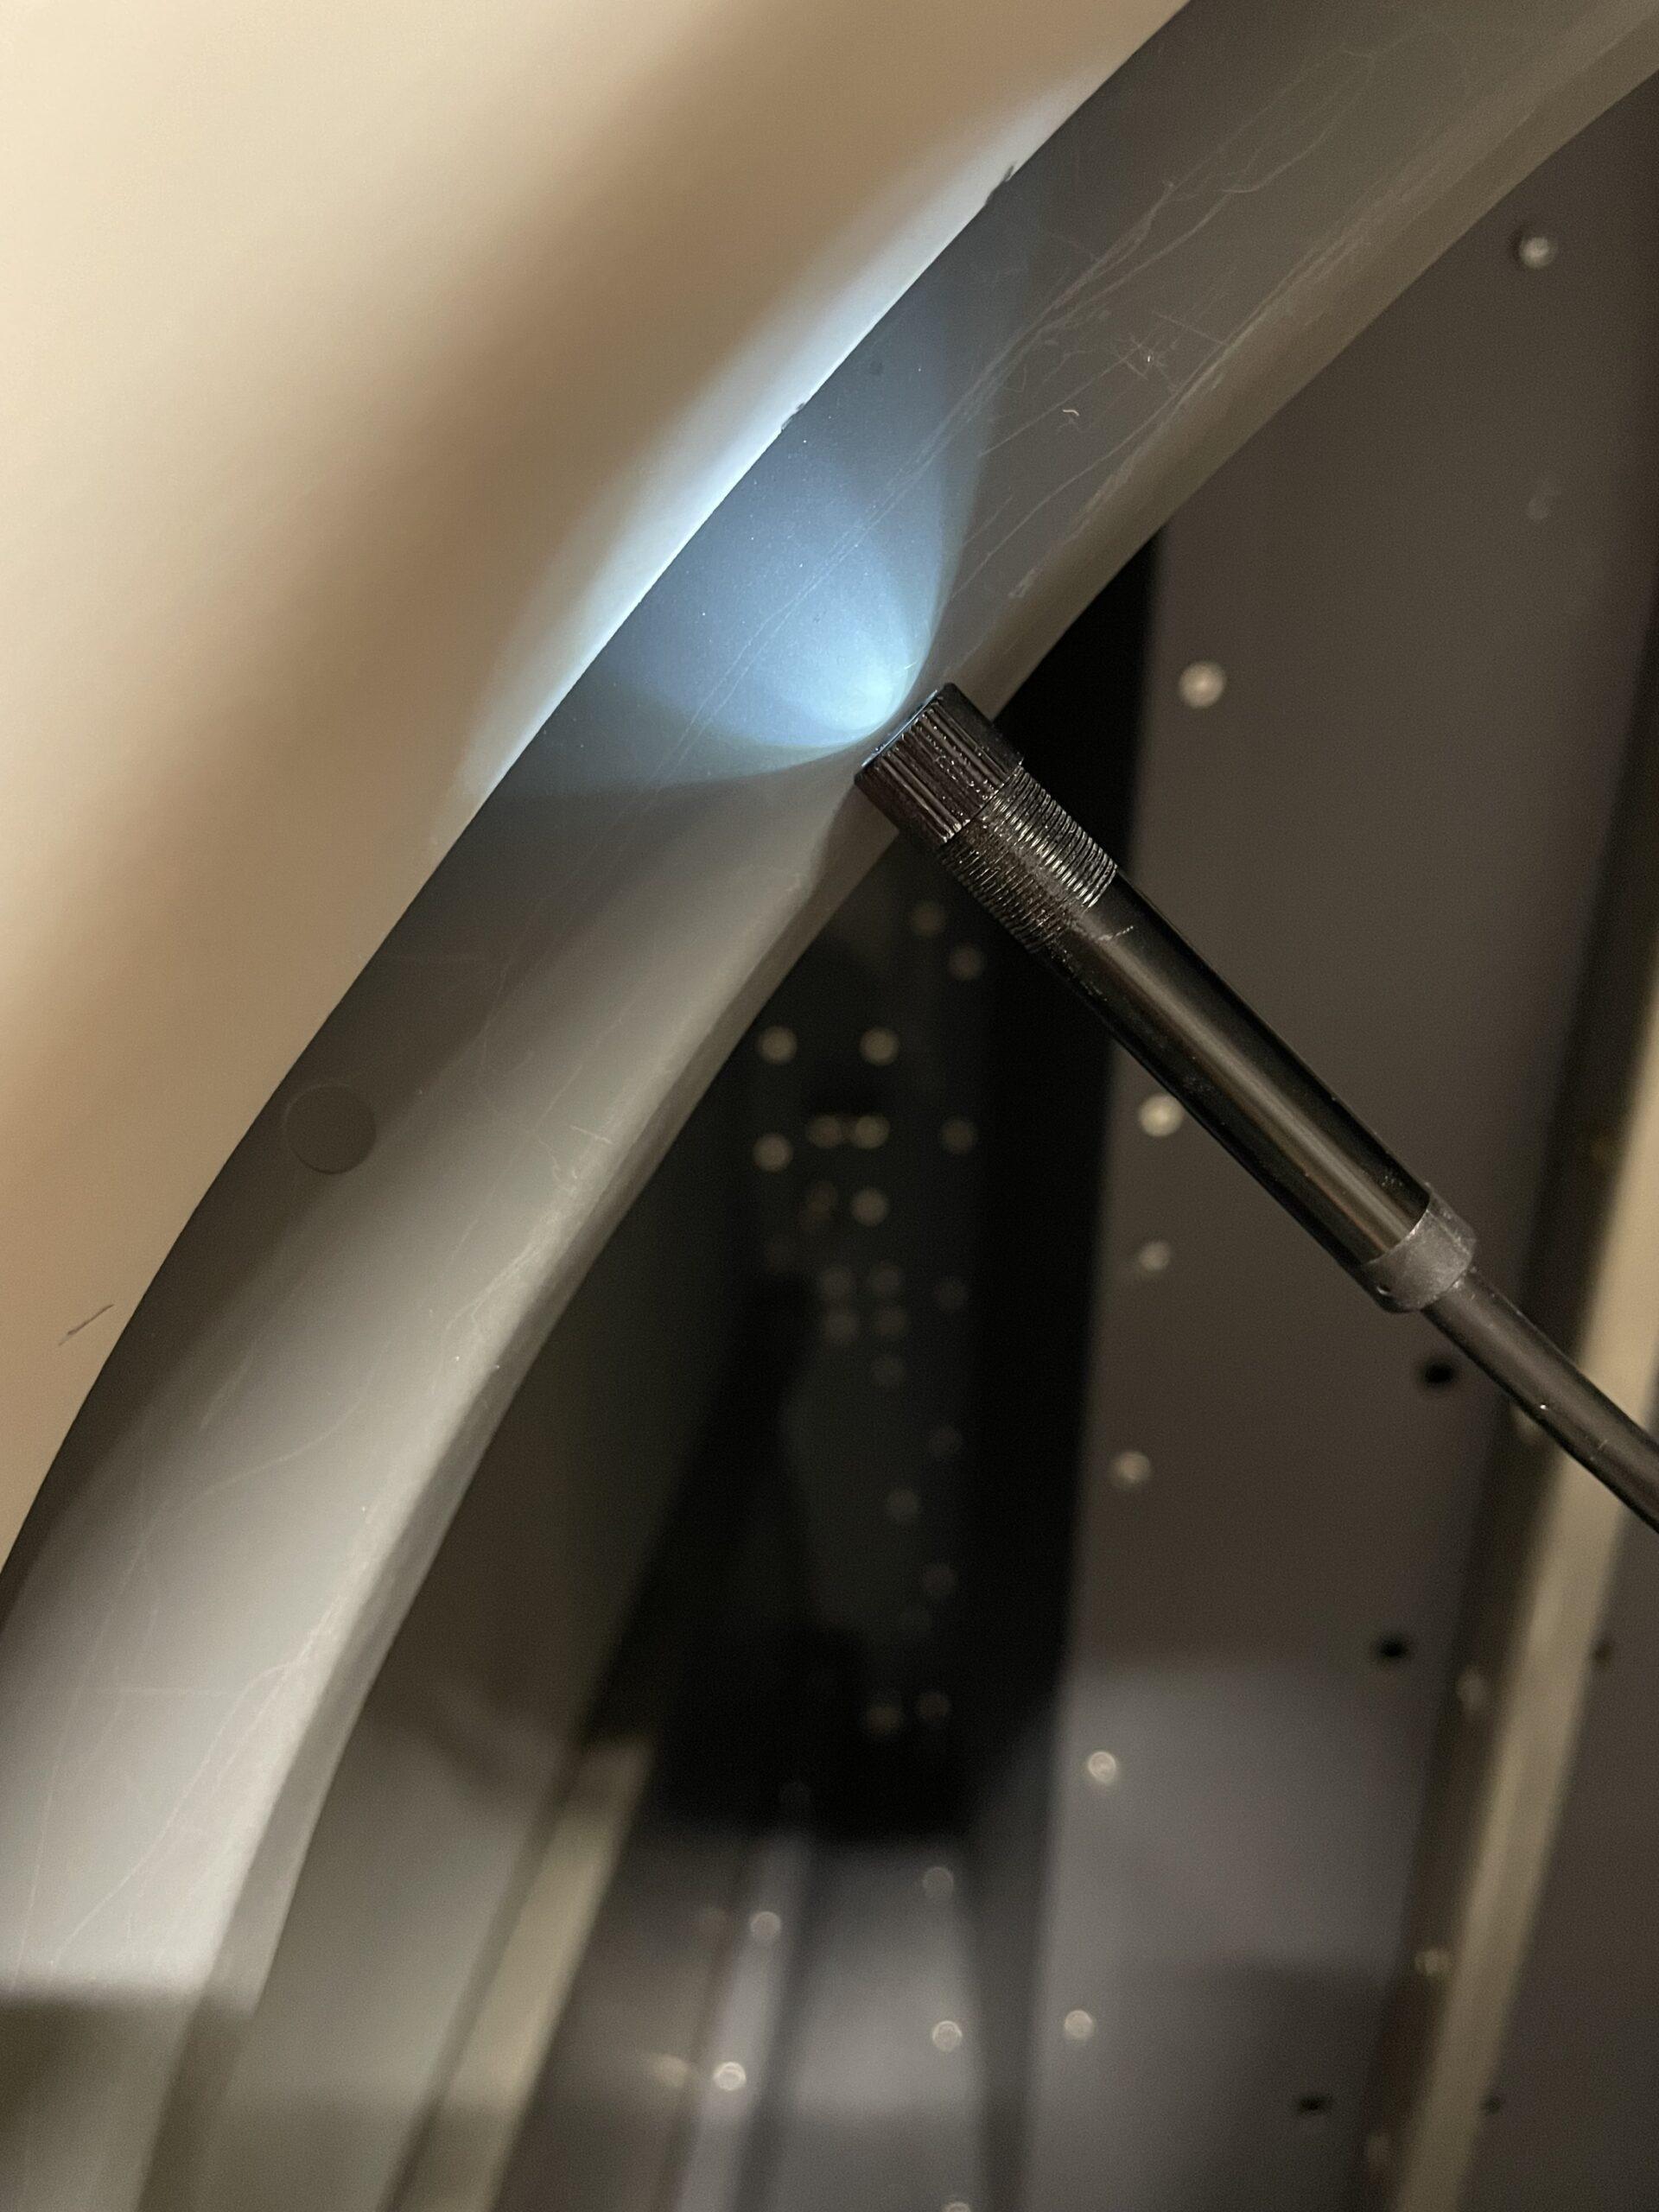
The rear end of the canopy needs the most trimming and is the section that is really hard to check. With a borescope Wi-Fi camera you can inspect the small gap between the fuselage rib and the canopy to see where you need some more trimming