 by
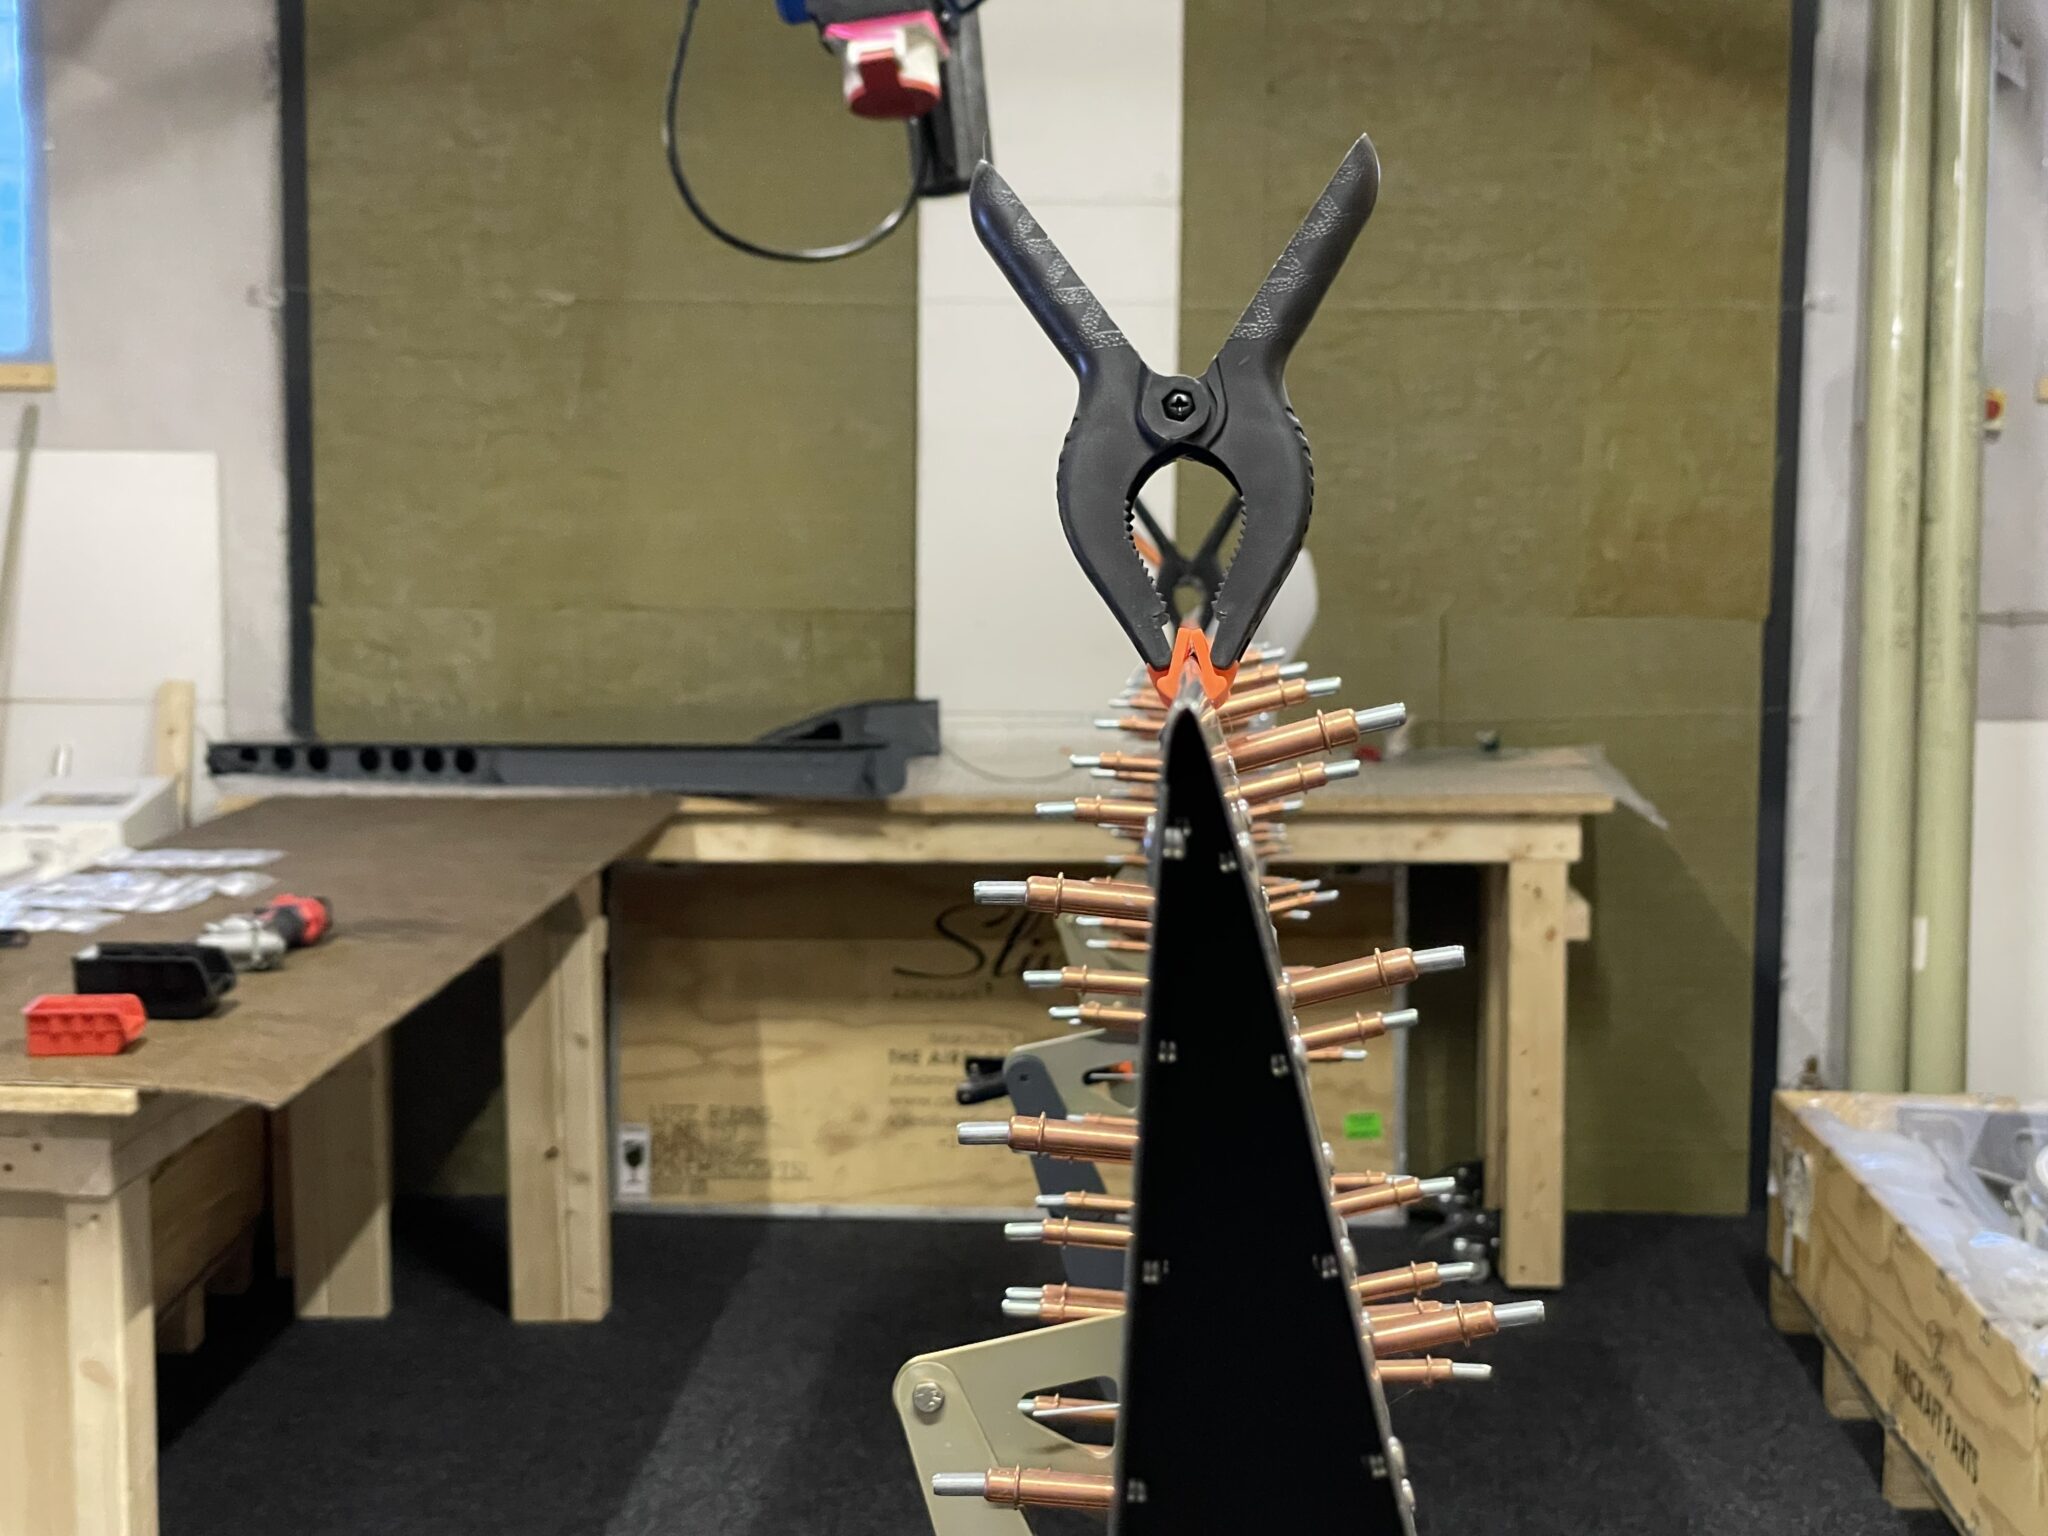
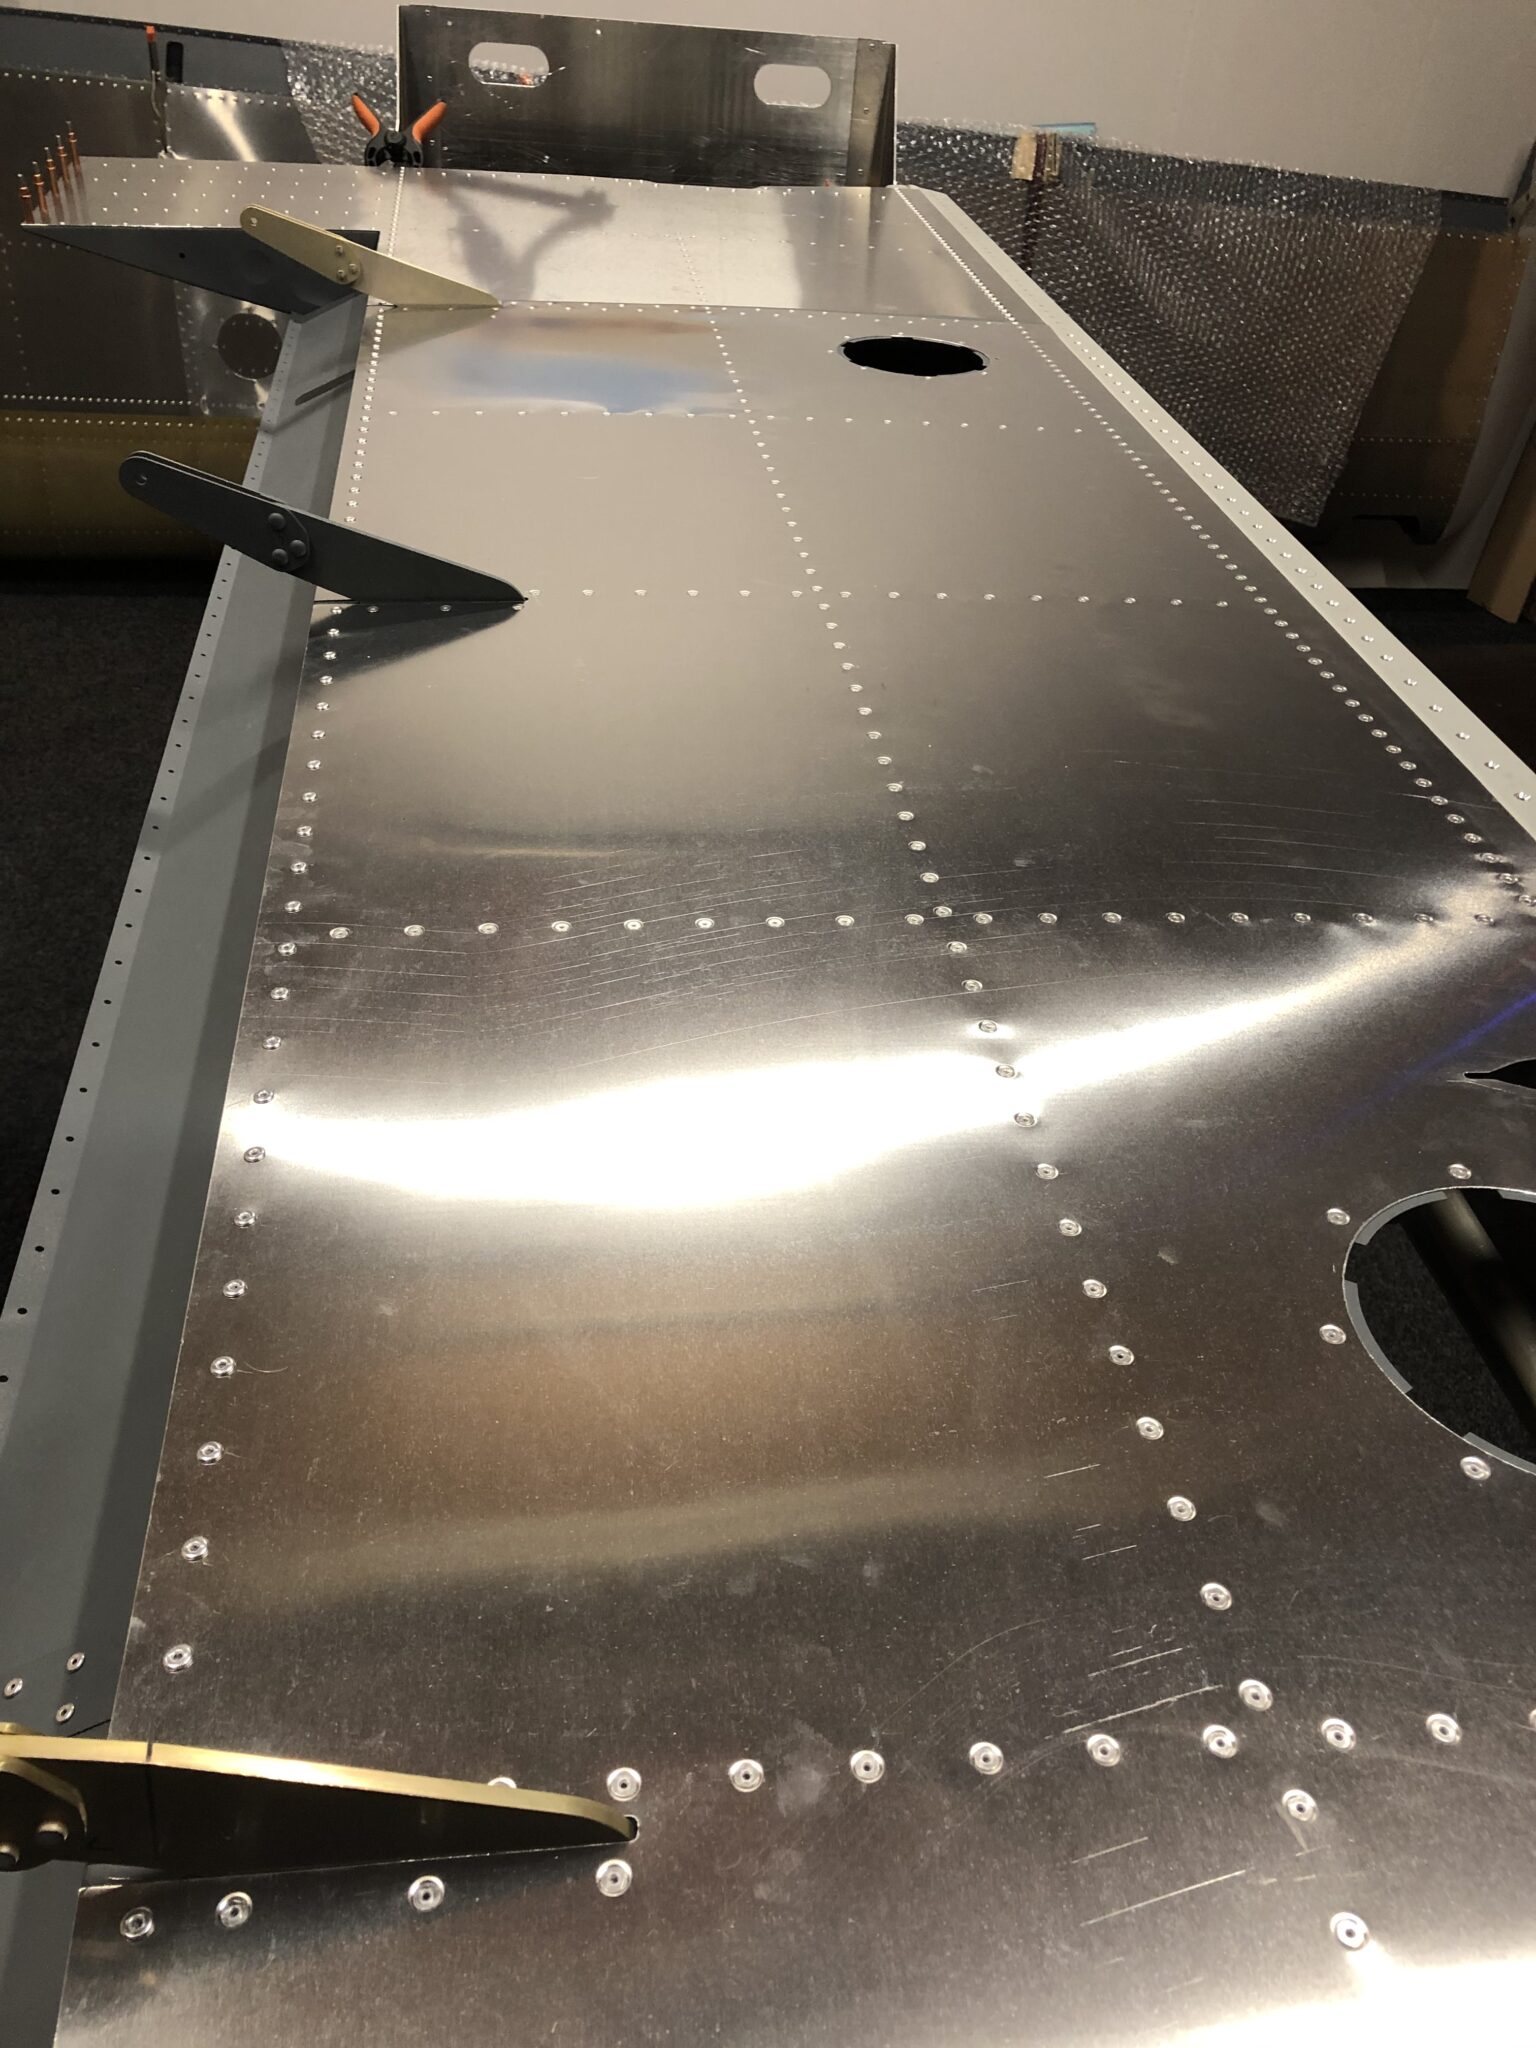
by Flaps and Aileron have been mounted on the wing in upright position. This way it’s easier to maintain a straight line of the edges and rivet the control surfaces without deformation.

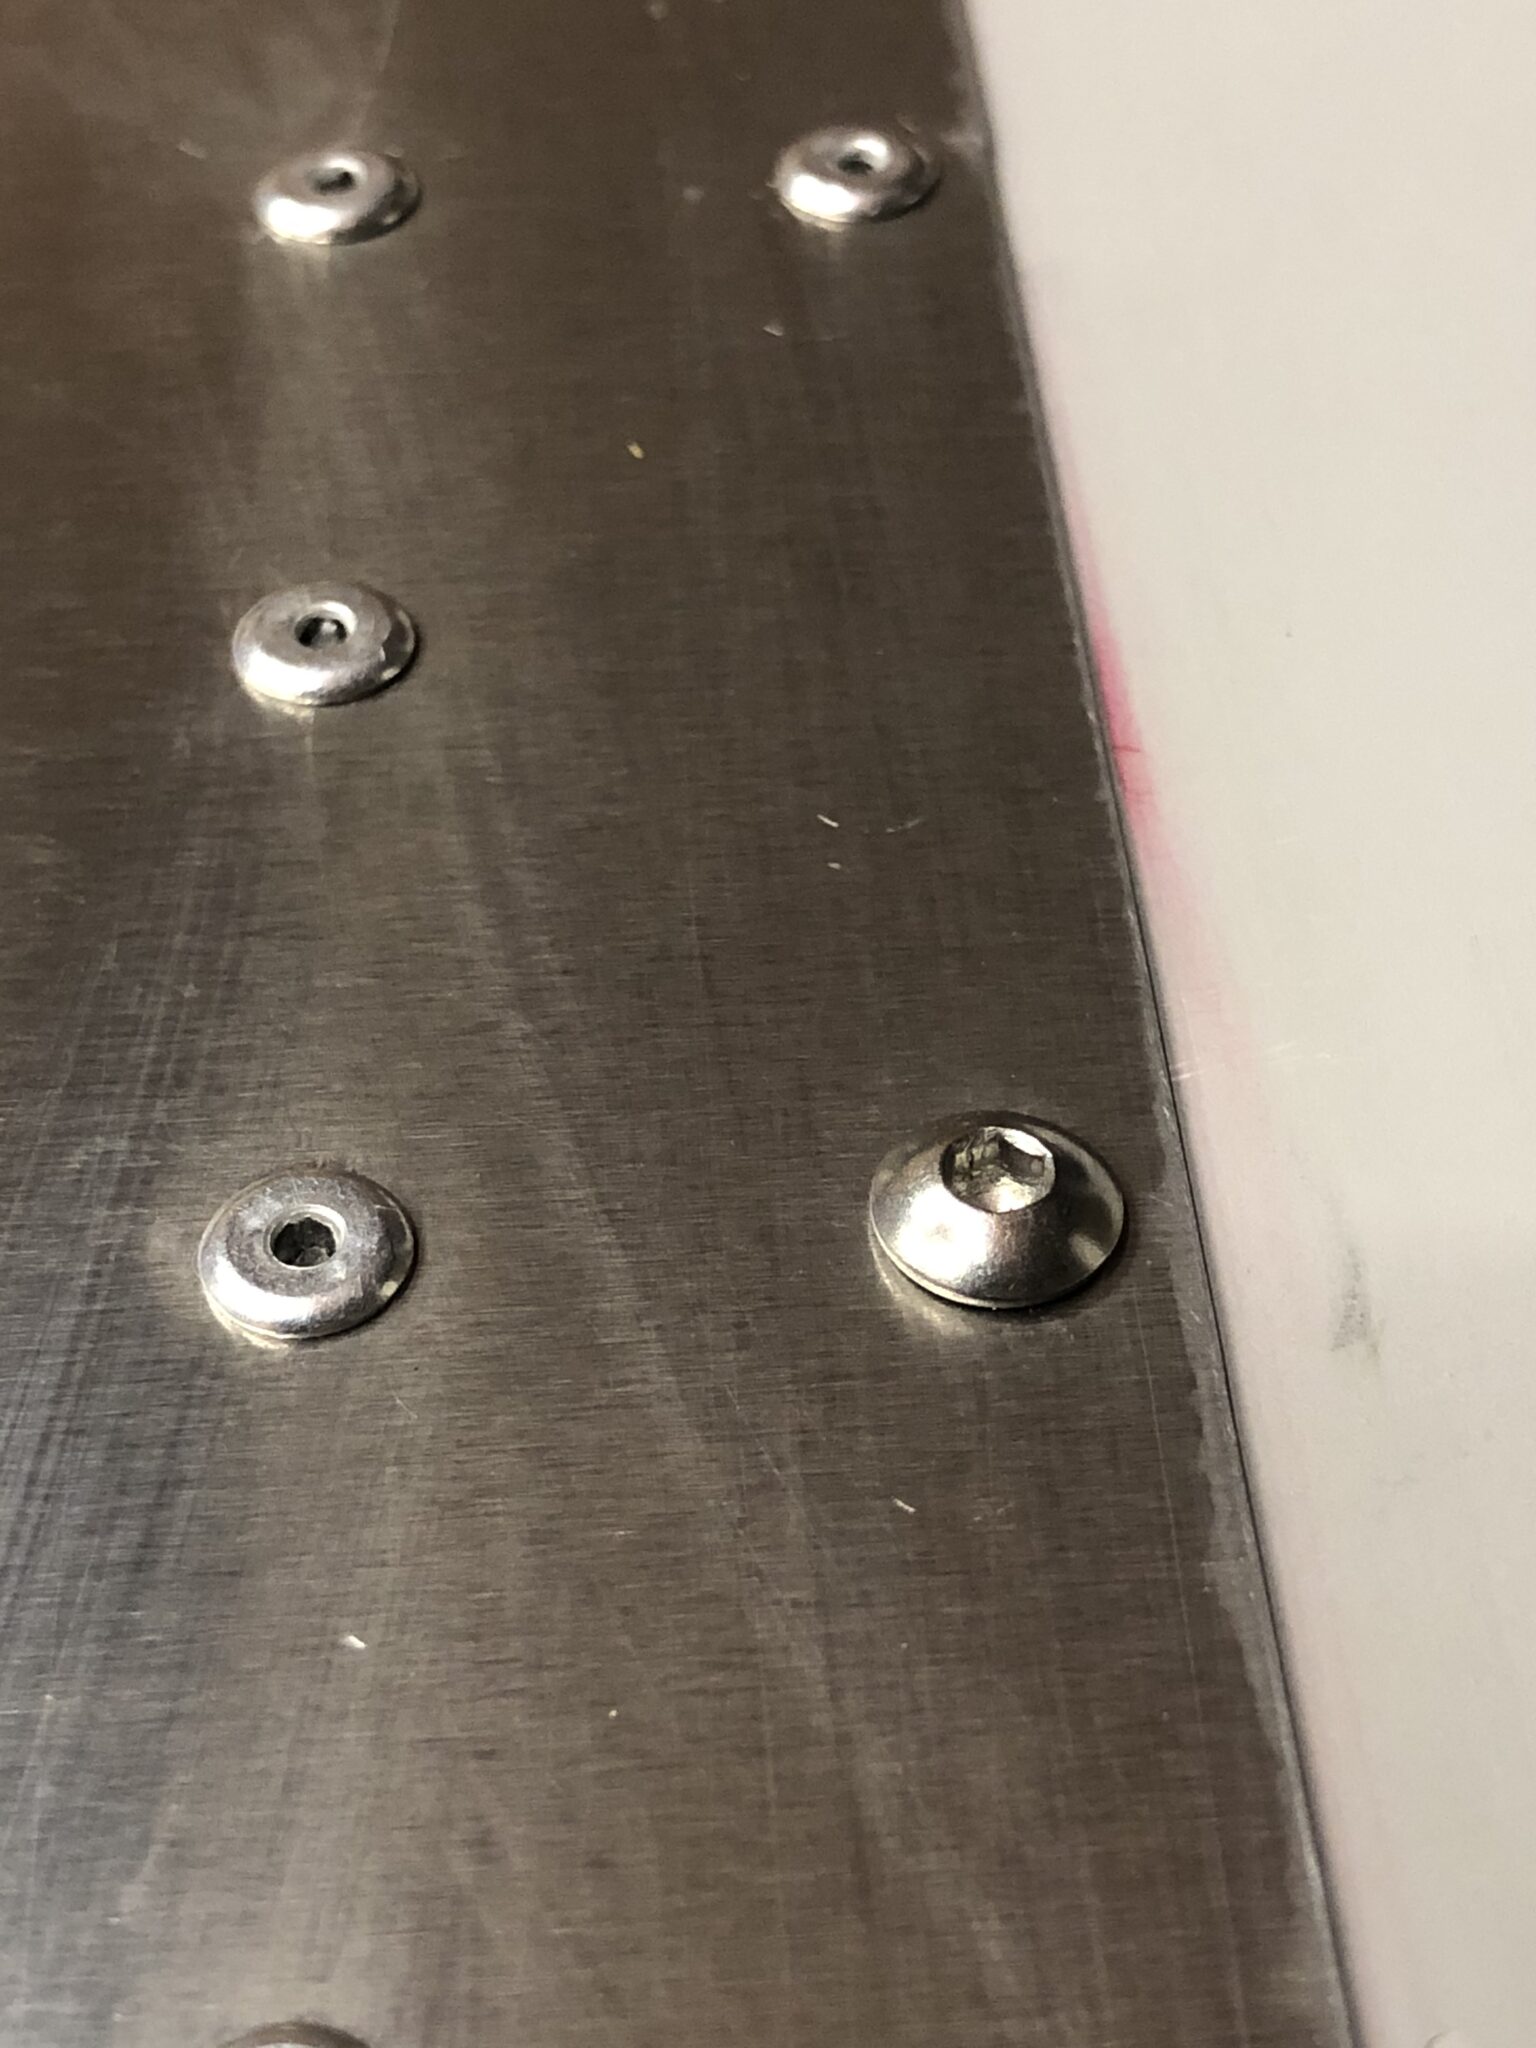
The wing tip was reinforced with aluminum stripes and brought into shape with a piece of foam. Without the foam it’s not possible to mount the wingtip. I replaced one of the rivets with a M4 anchor nut on the wing tip. The M4 screw might be used to hold GoPro camera mount.

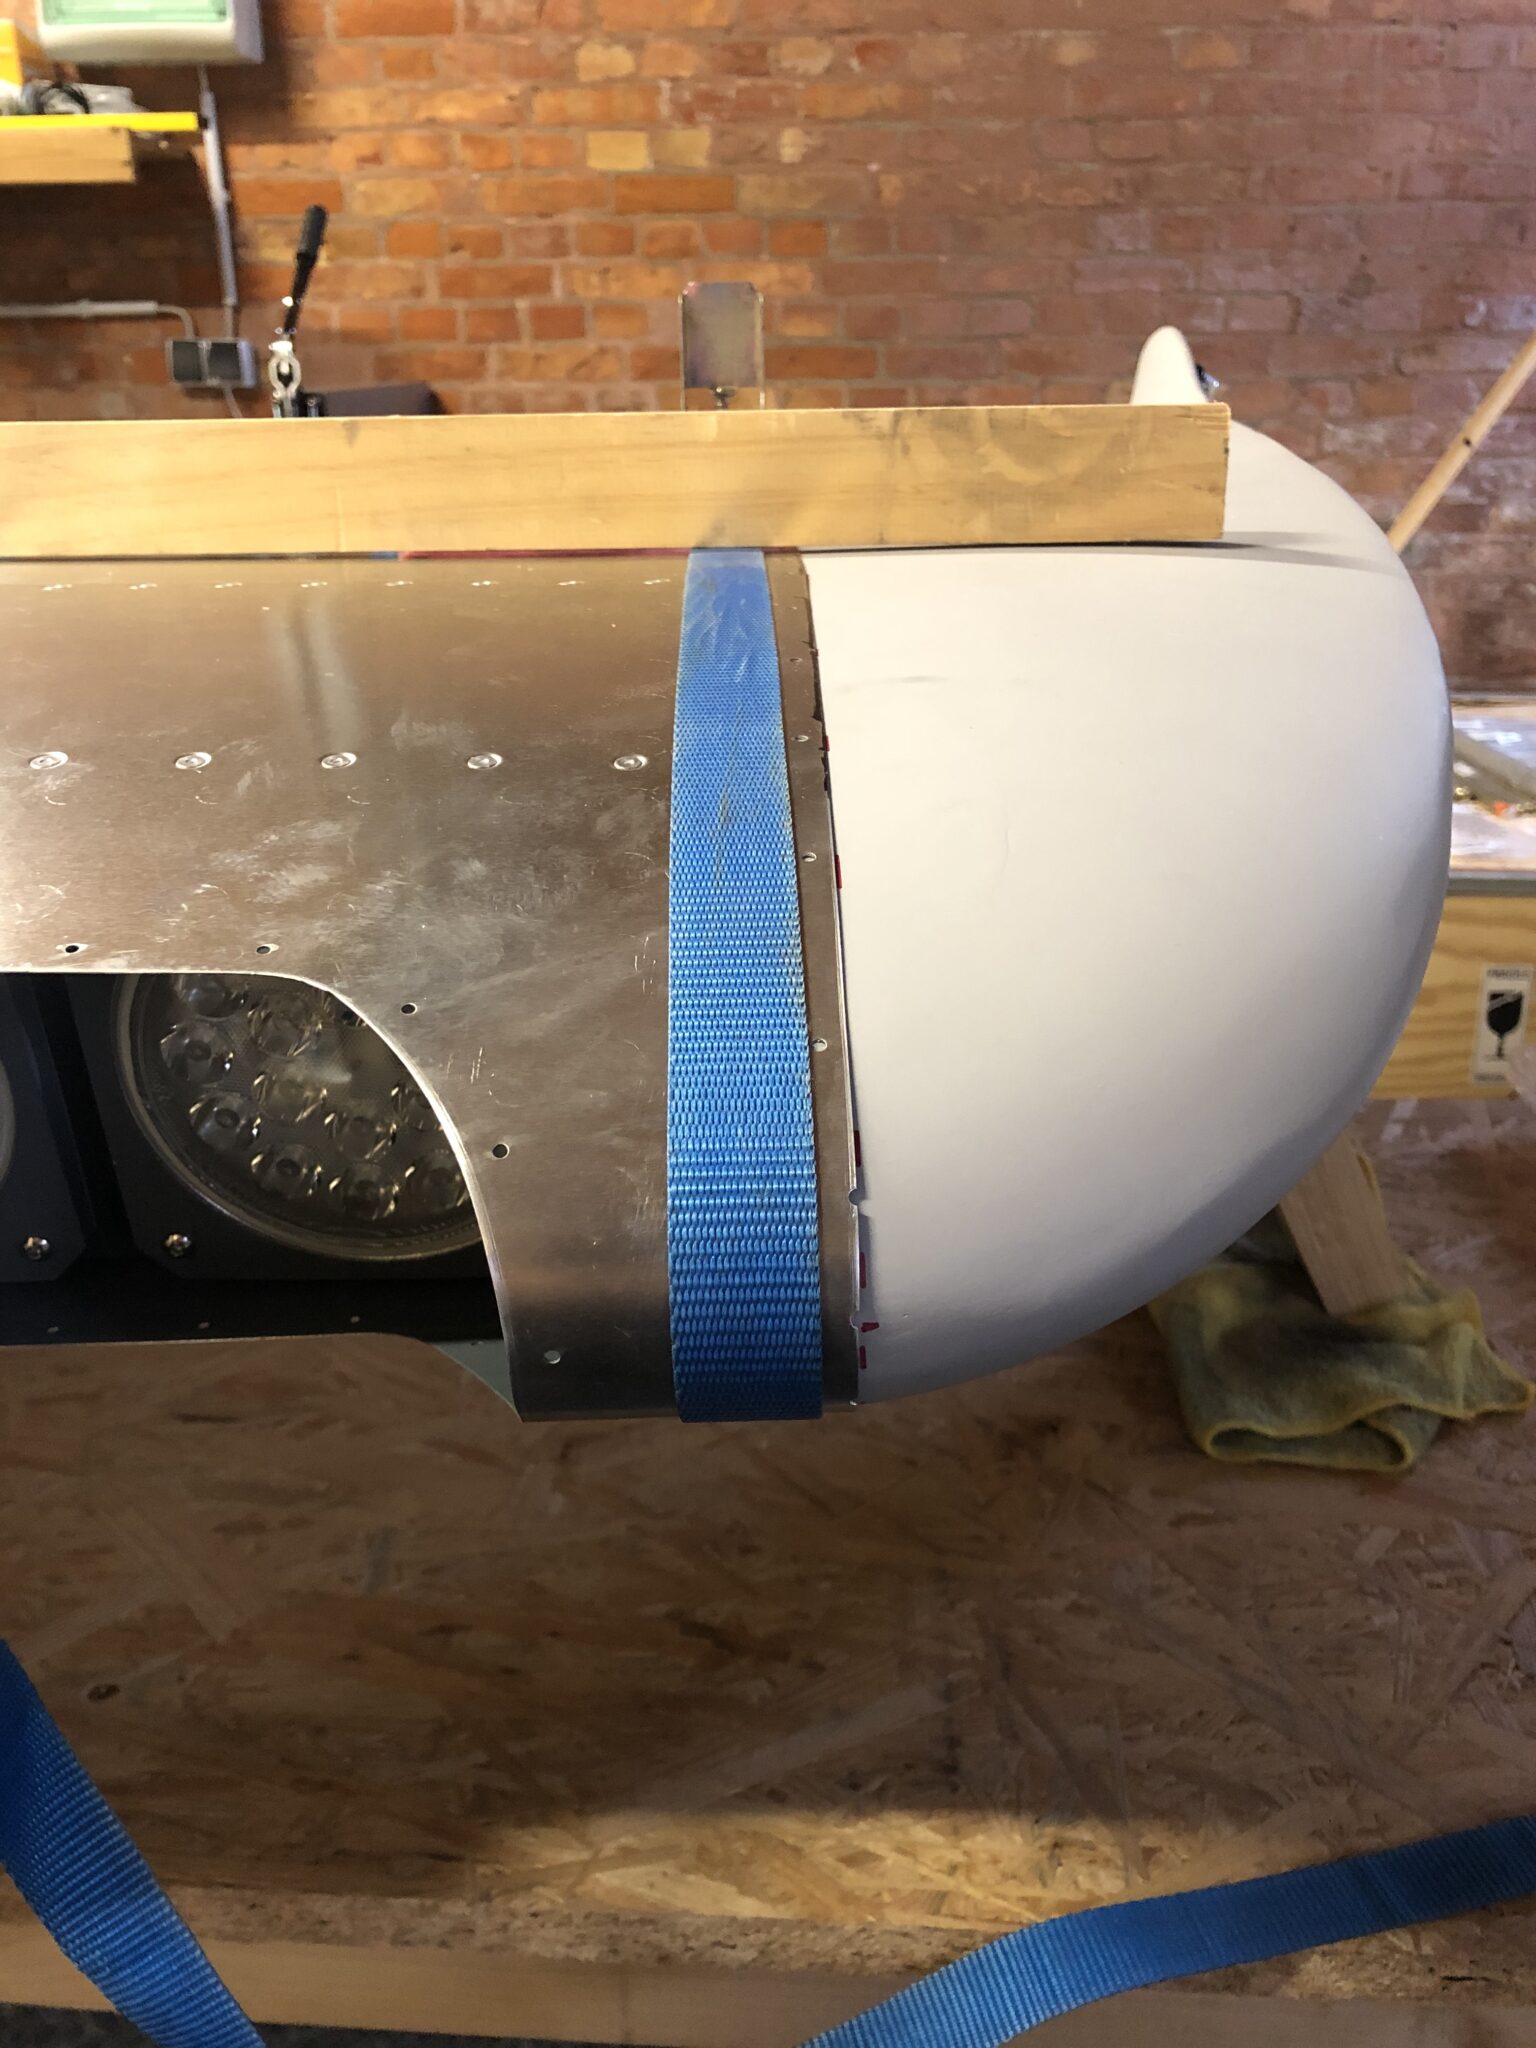
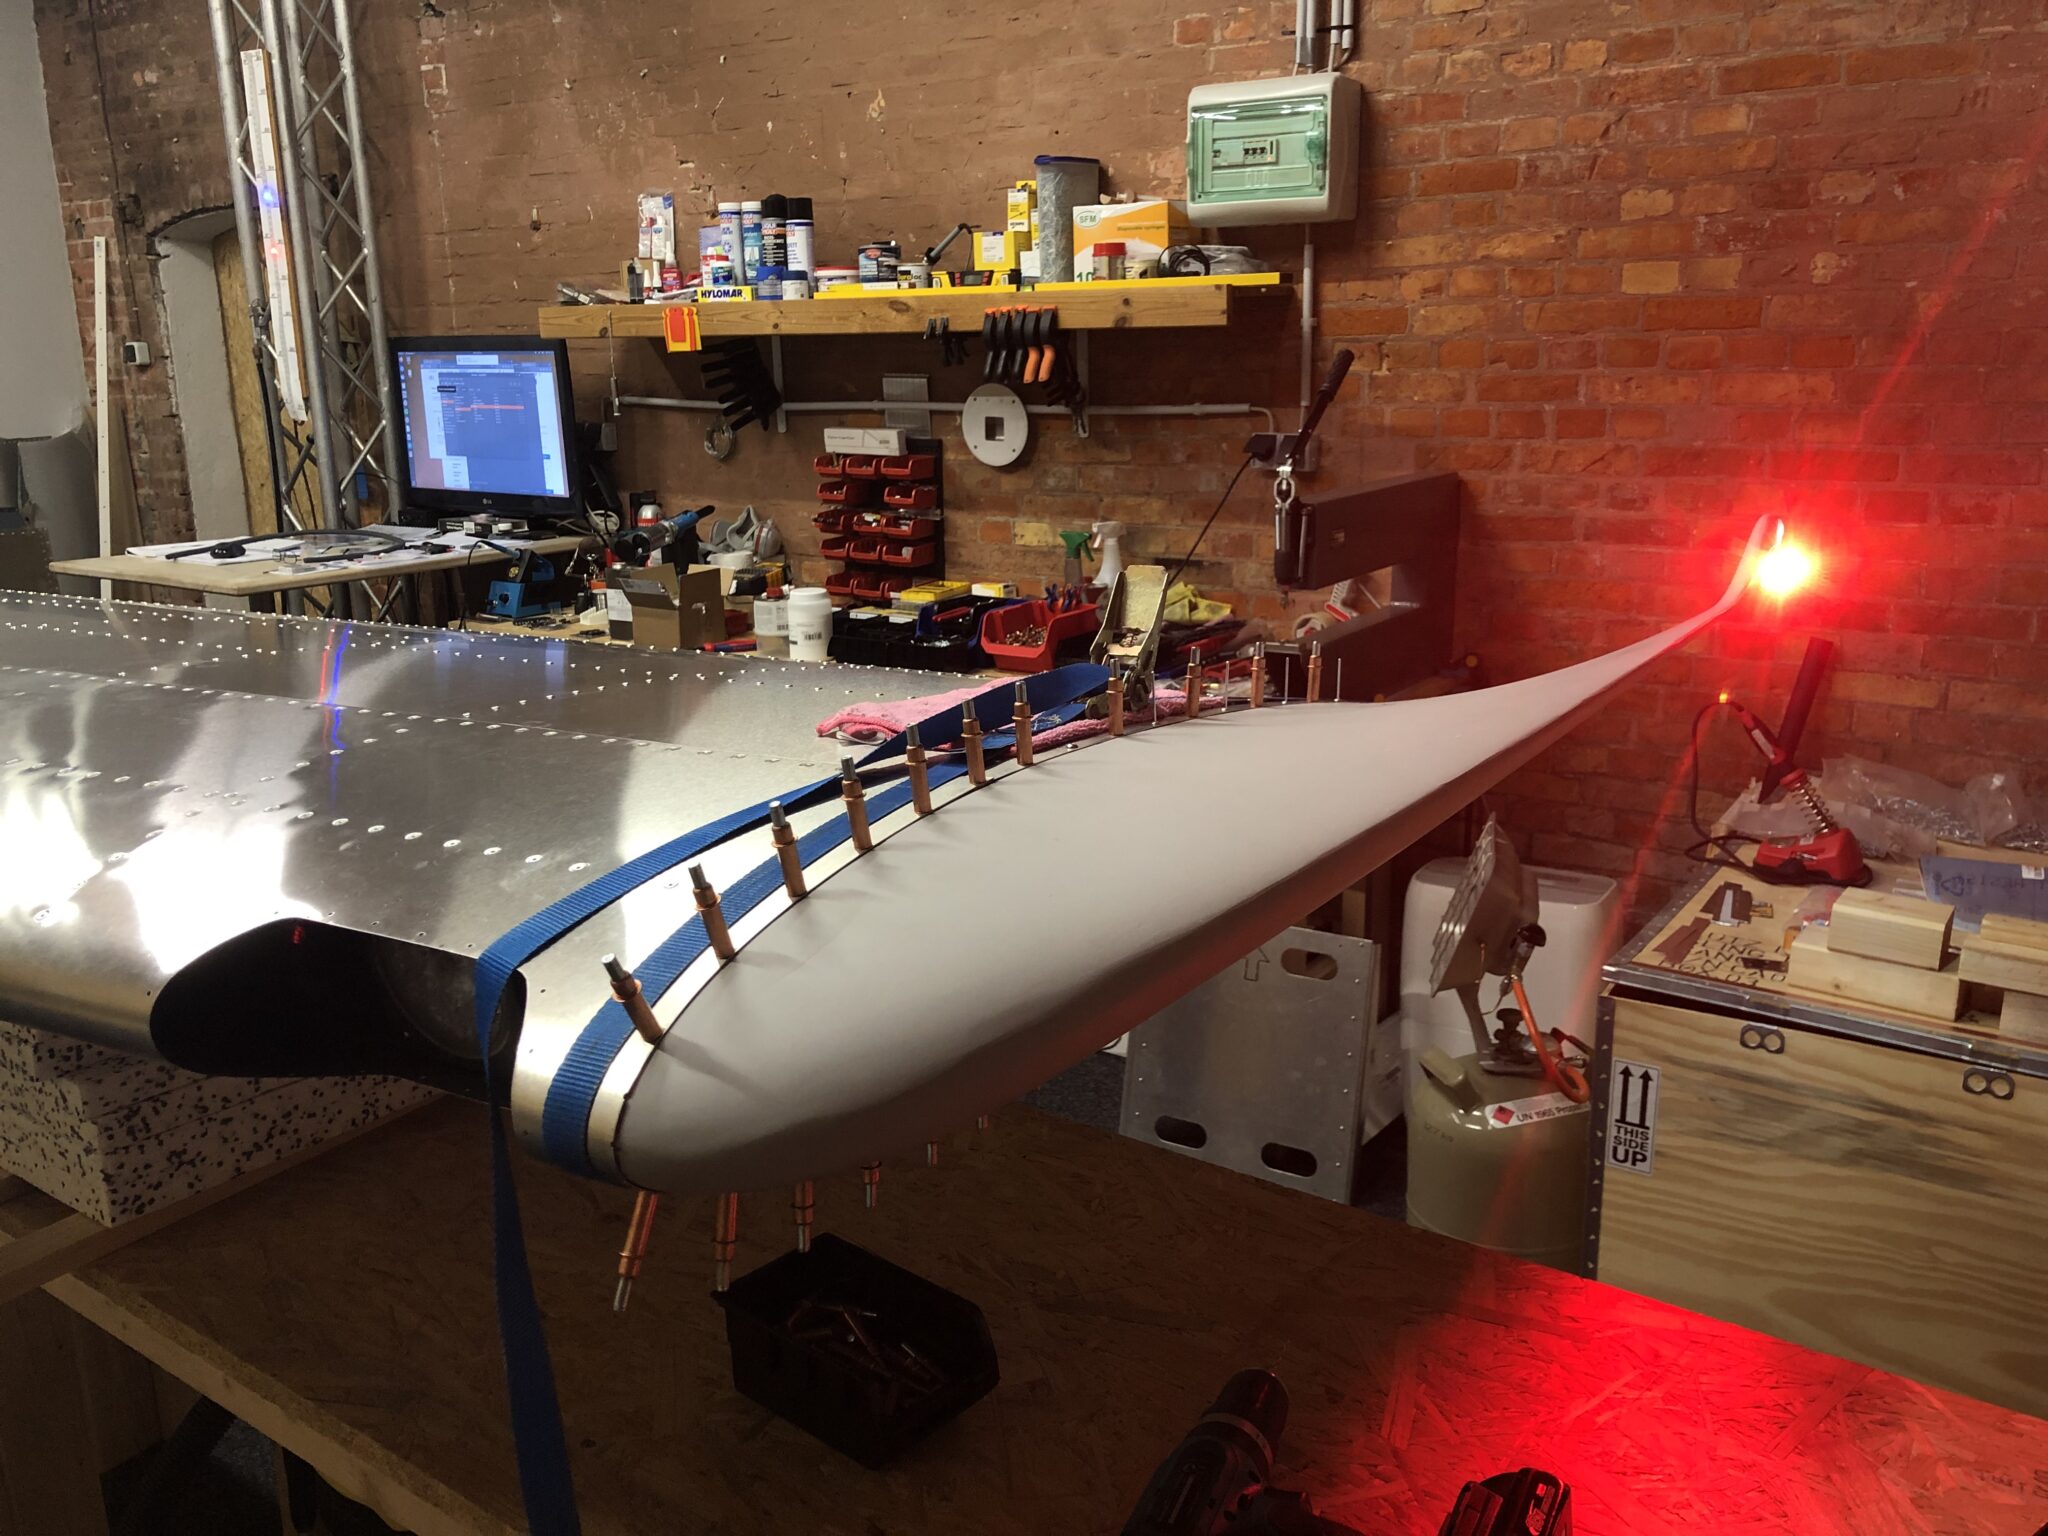
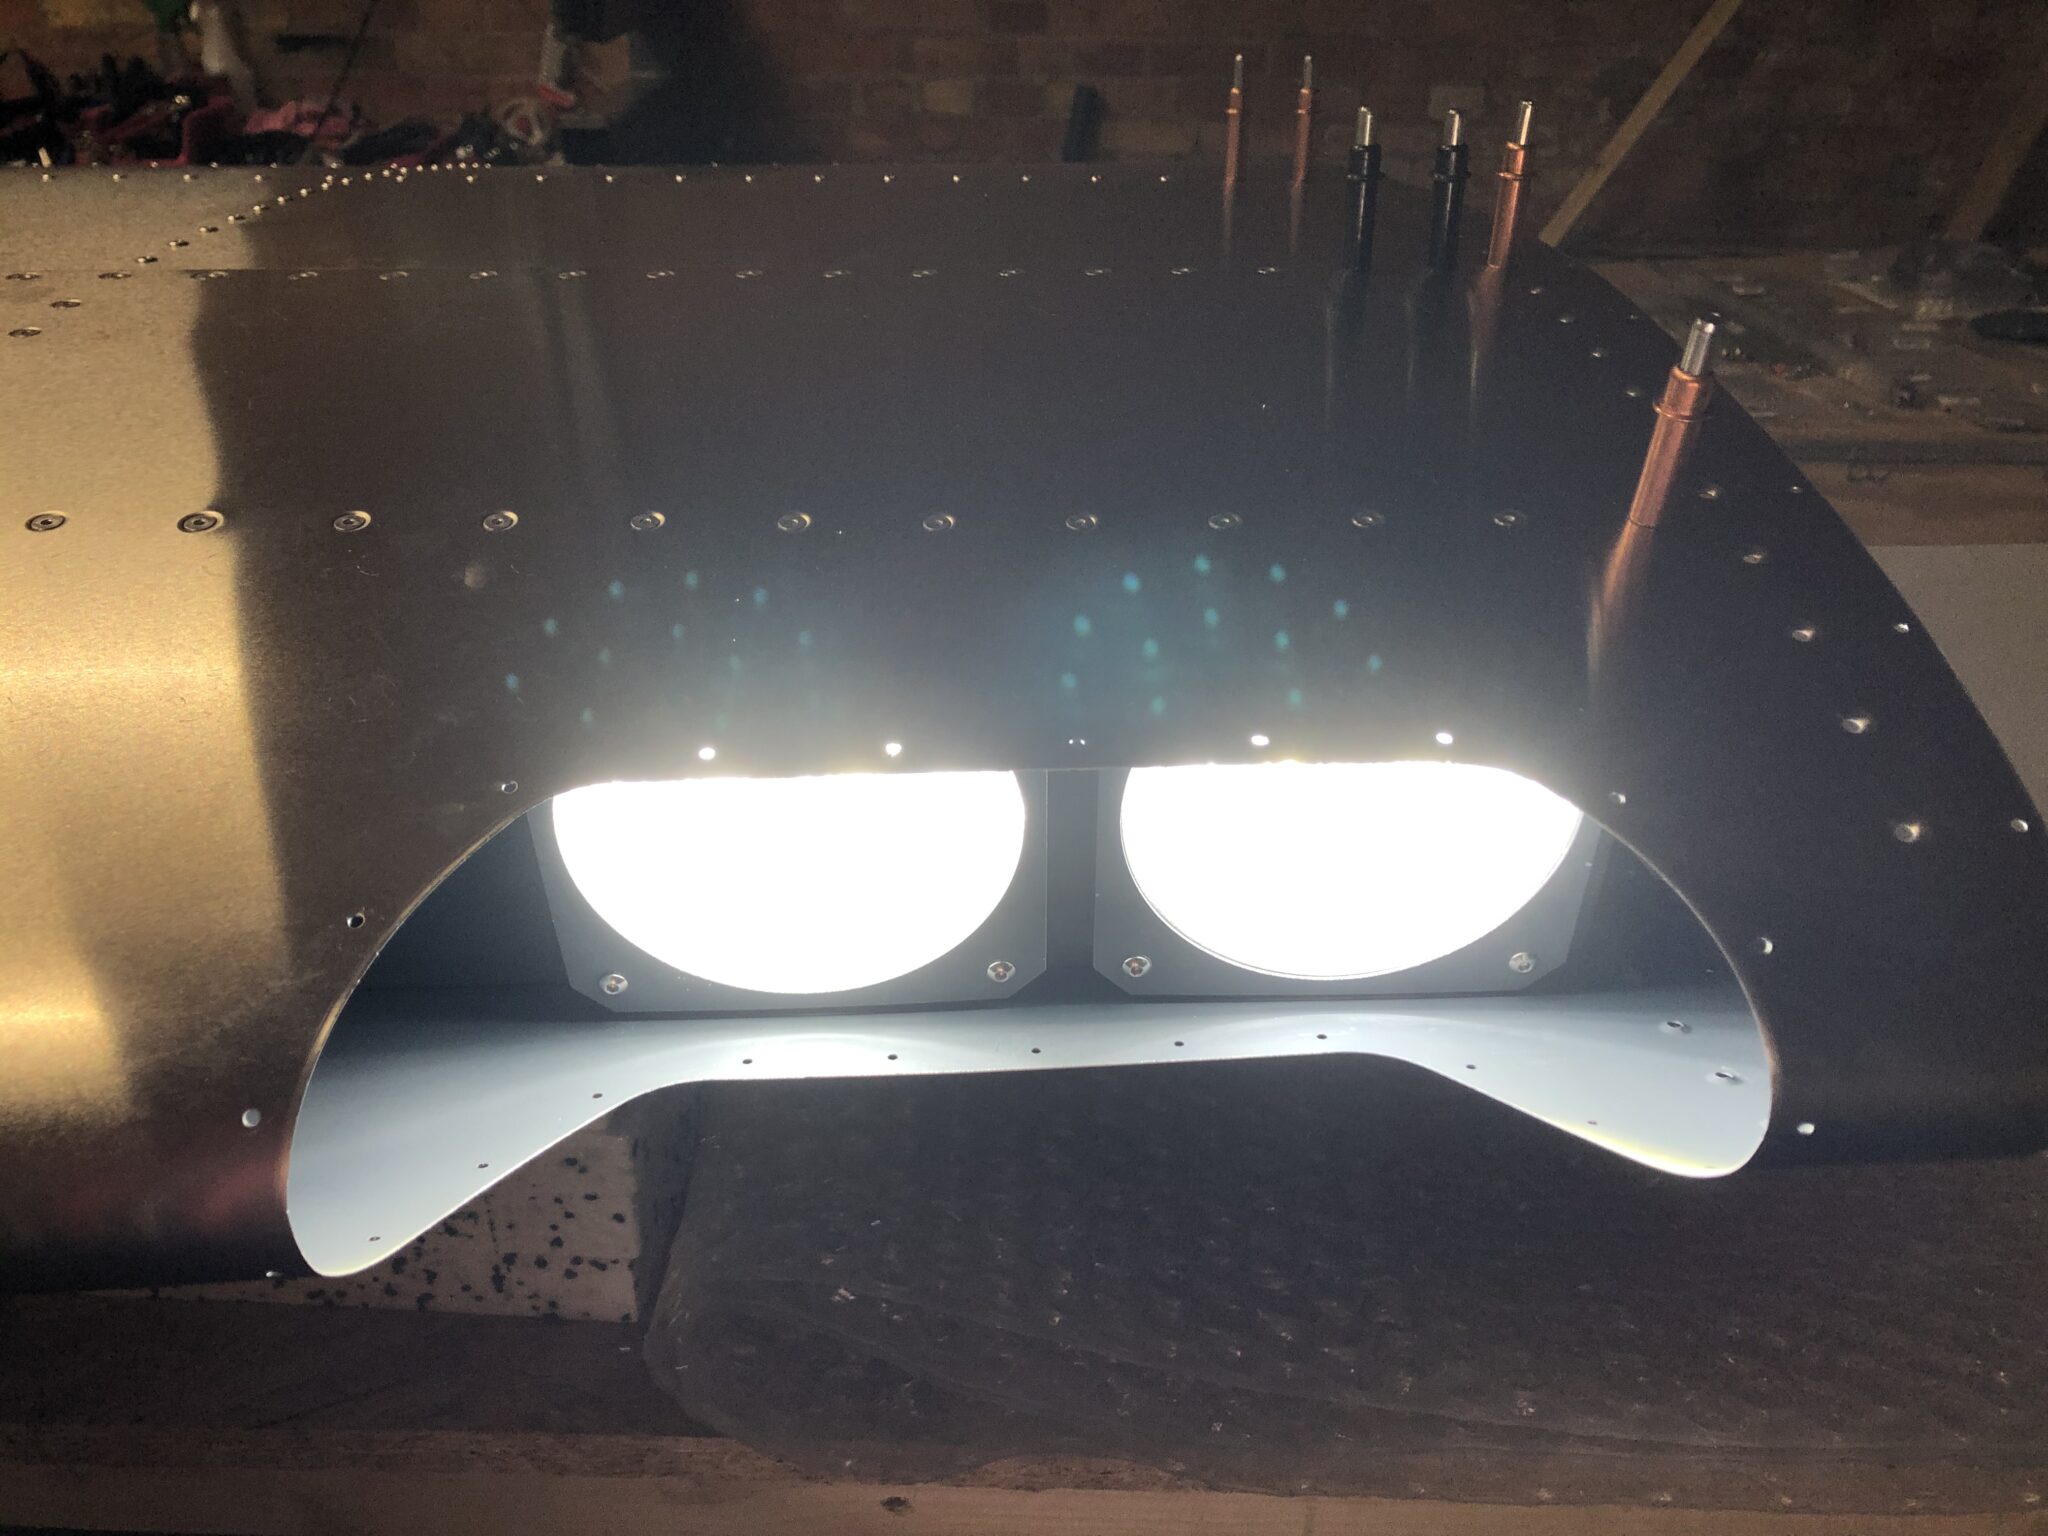
Rivnuts are glued with Epoxy for extra strength. A short piece of nylon hose between the LED lights brackets prevents bending the bracket when you tighten the screws. Installing the LED light assembly is much easier when the wingtip is not mounted.


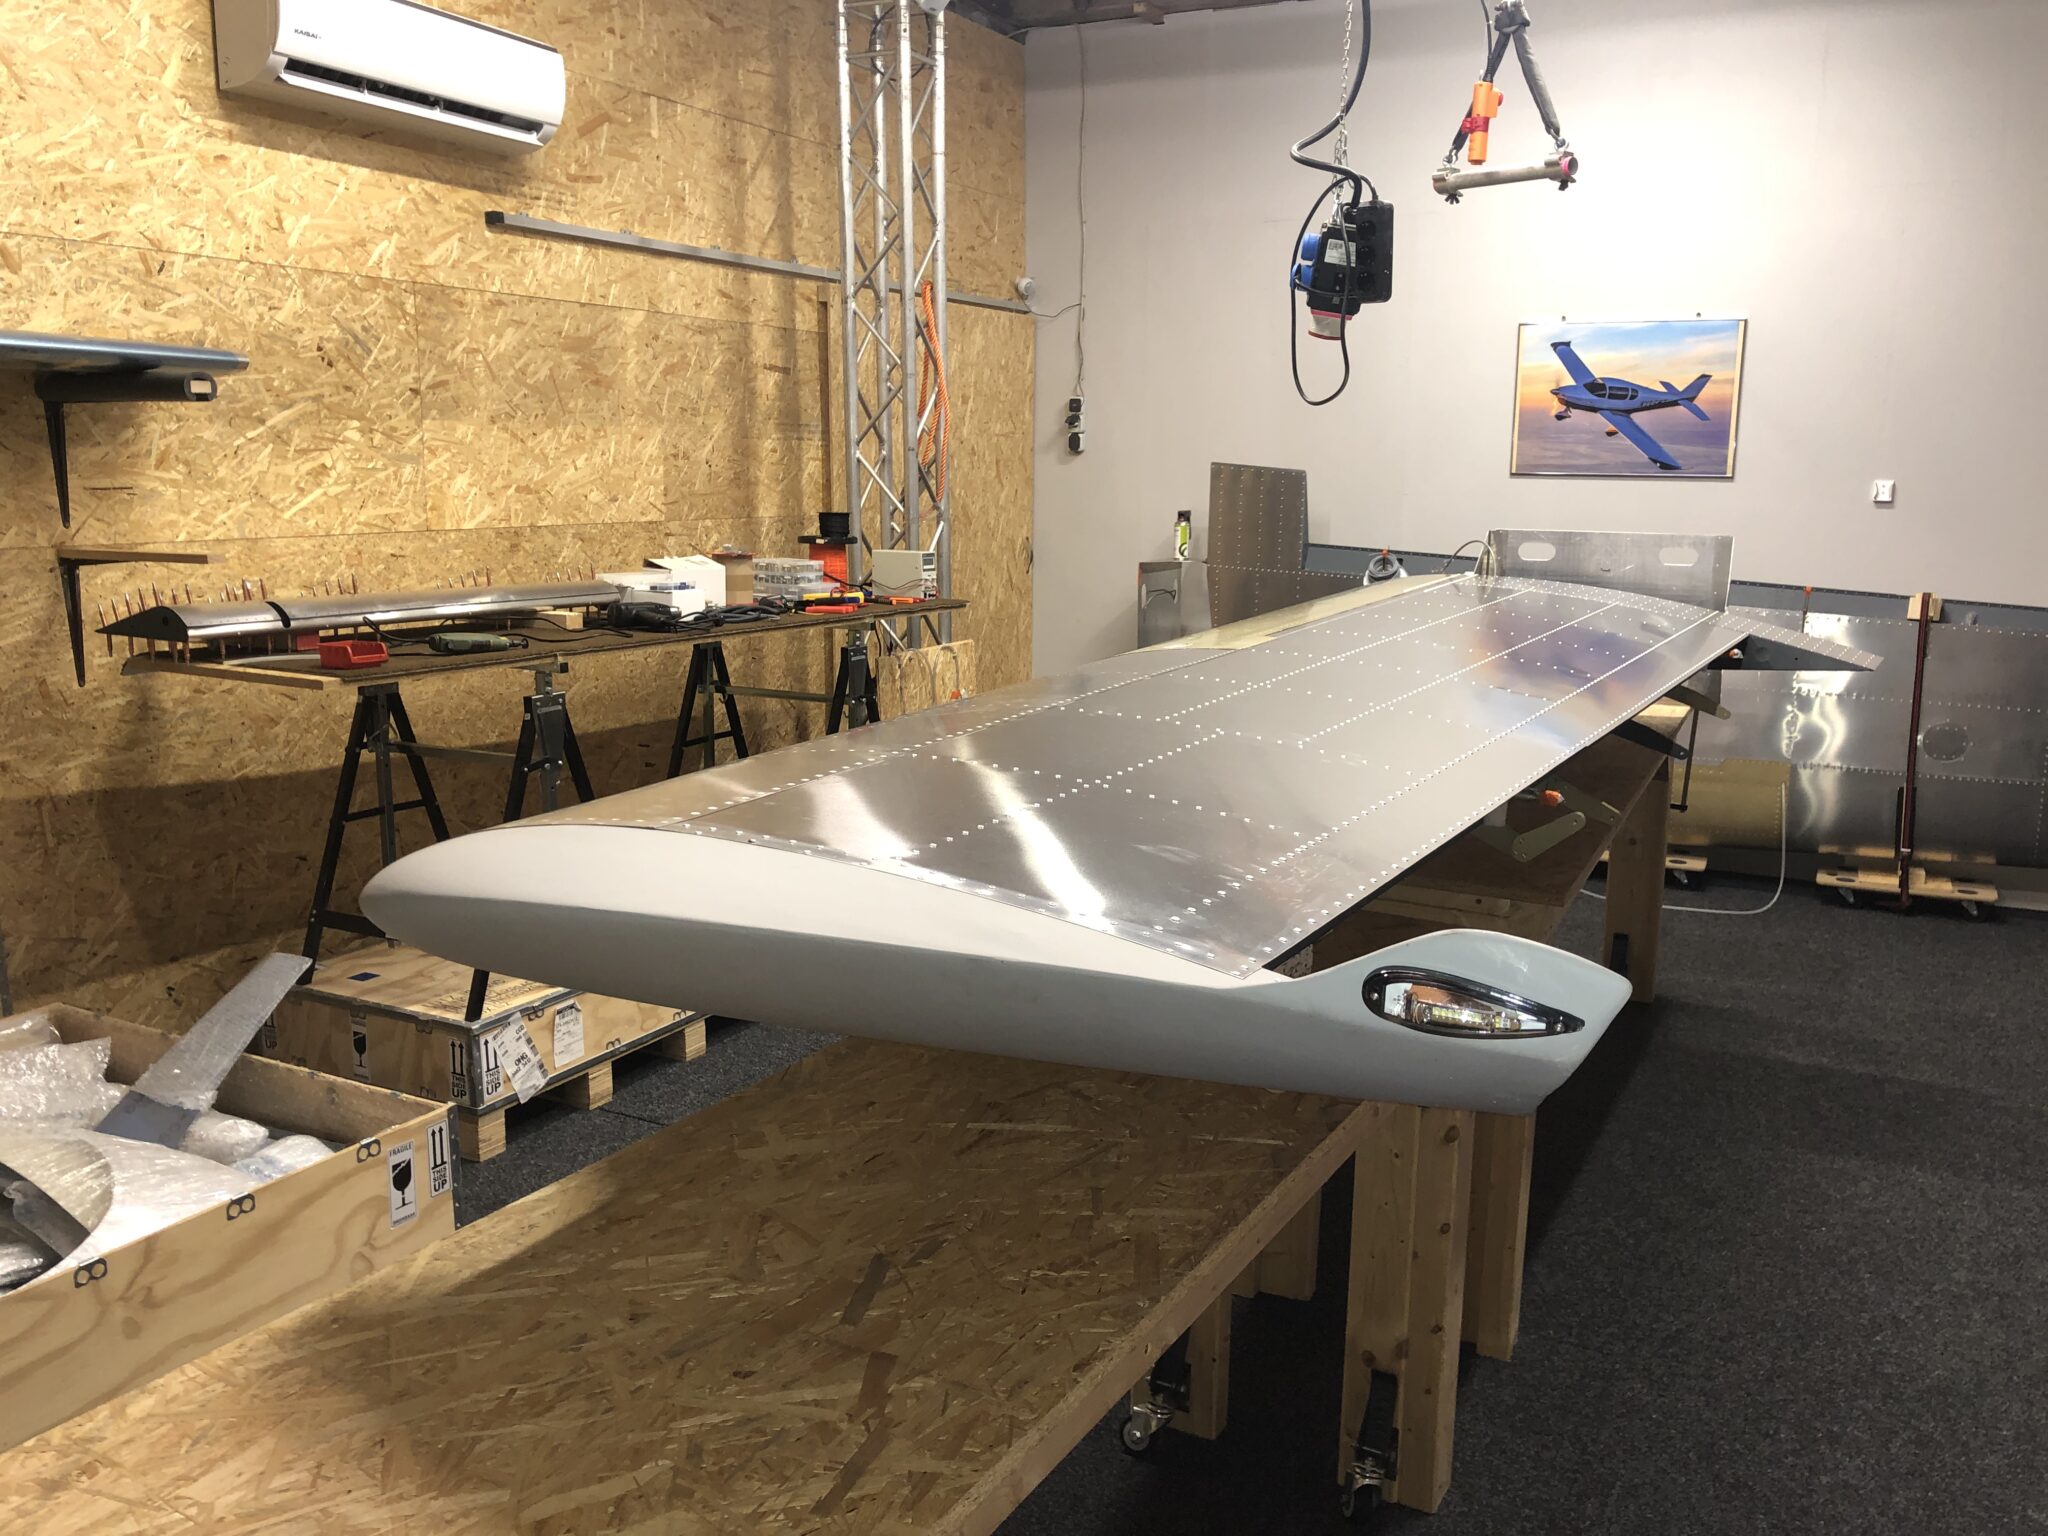
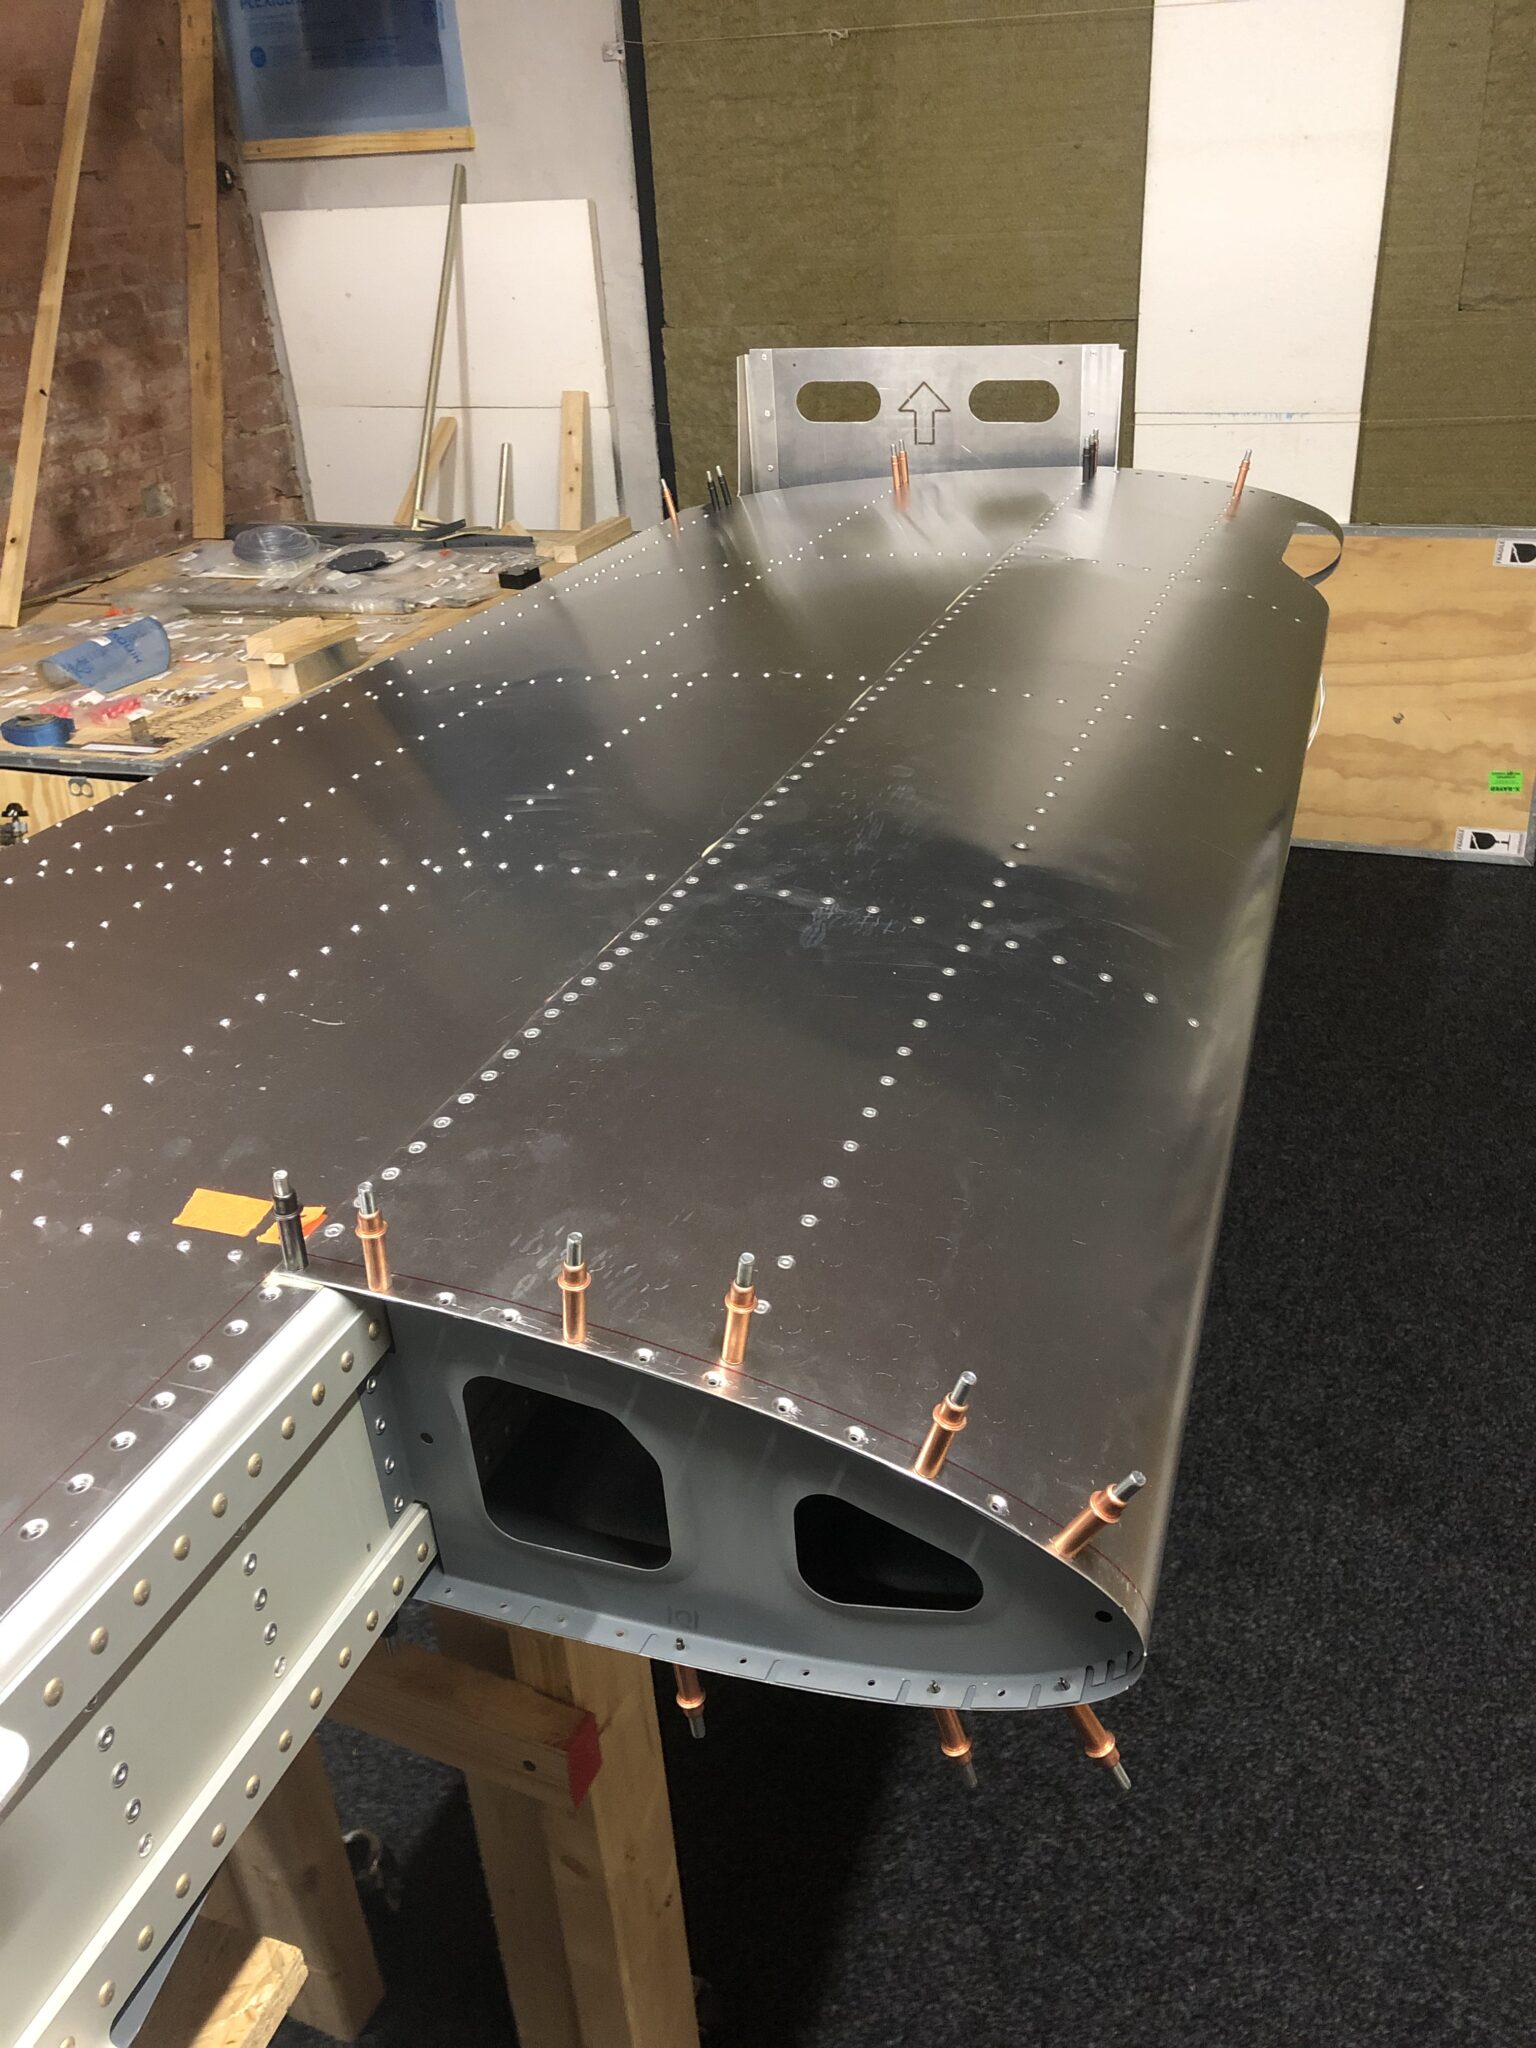
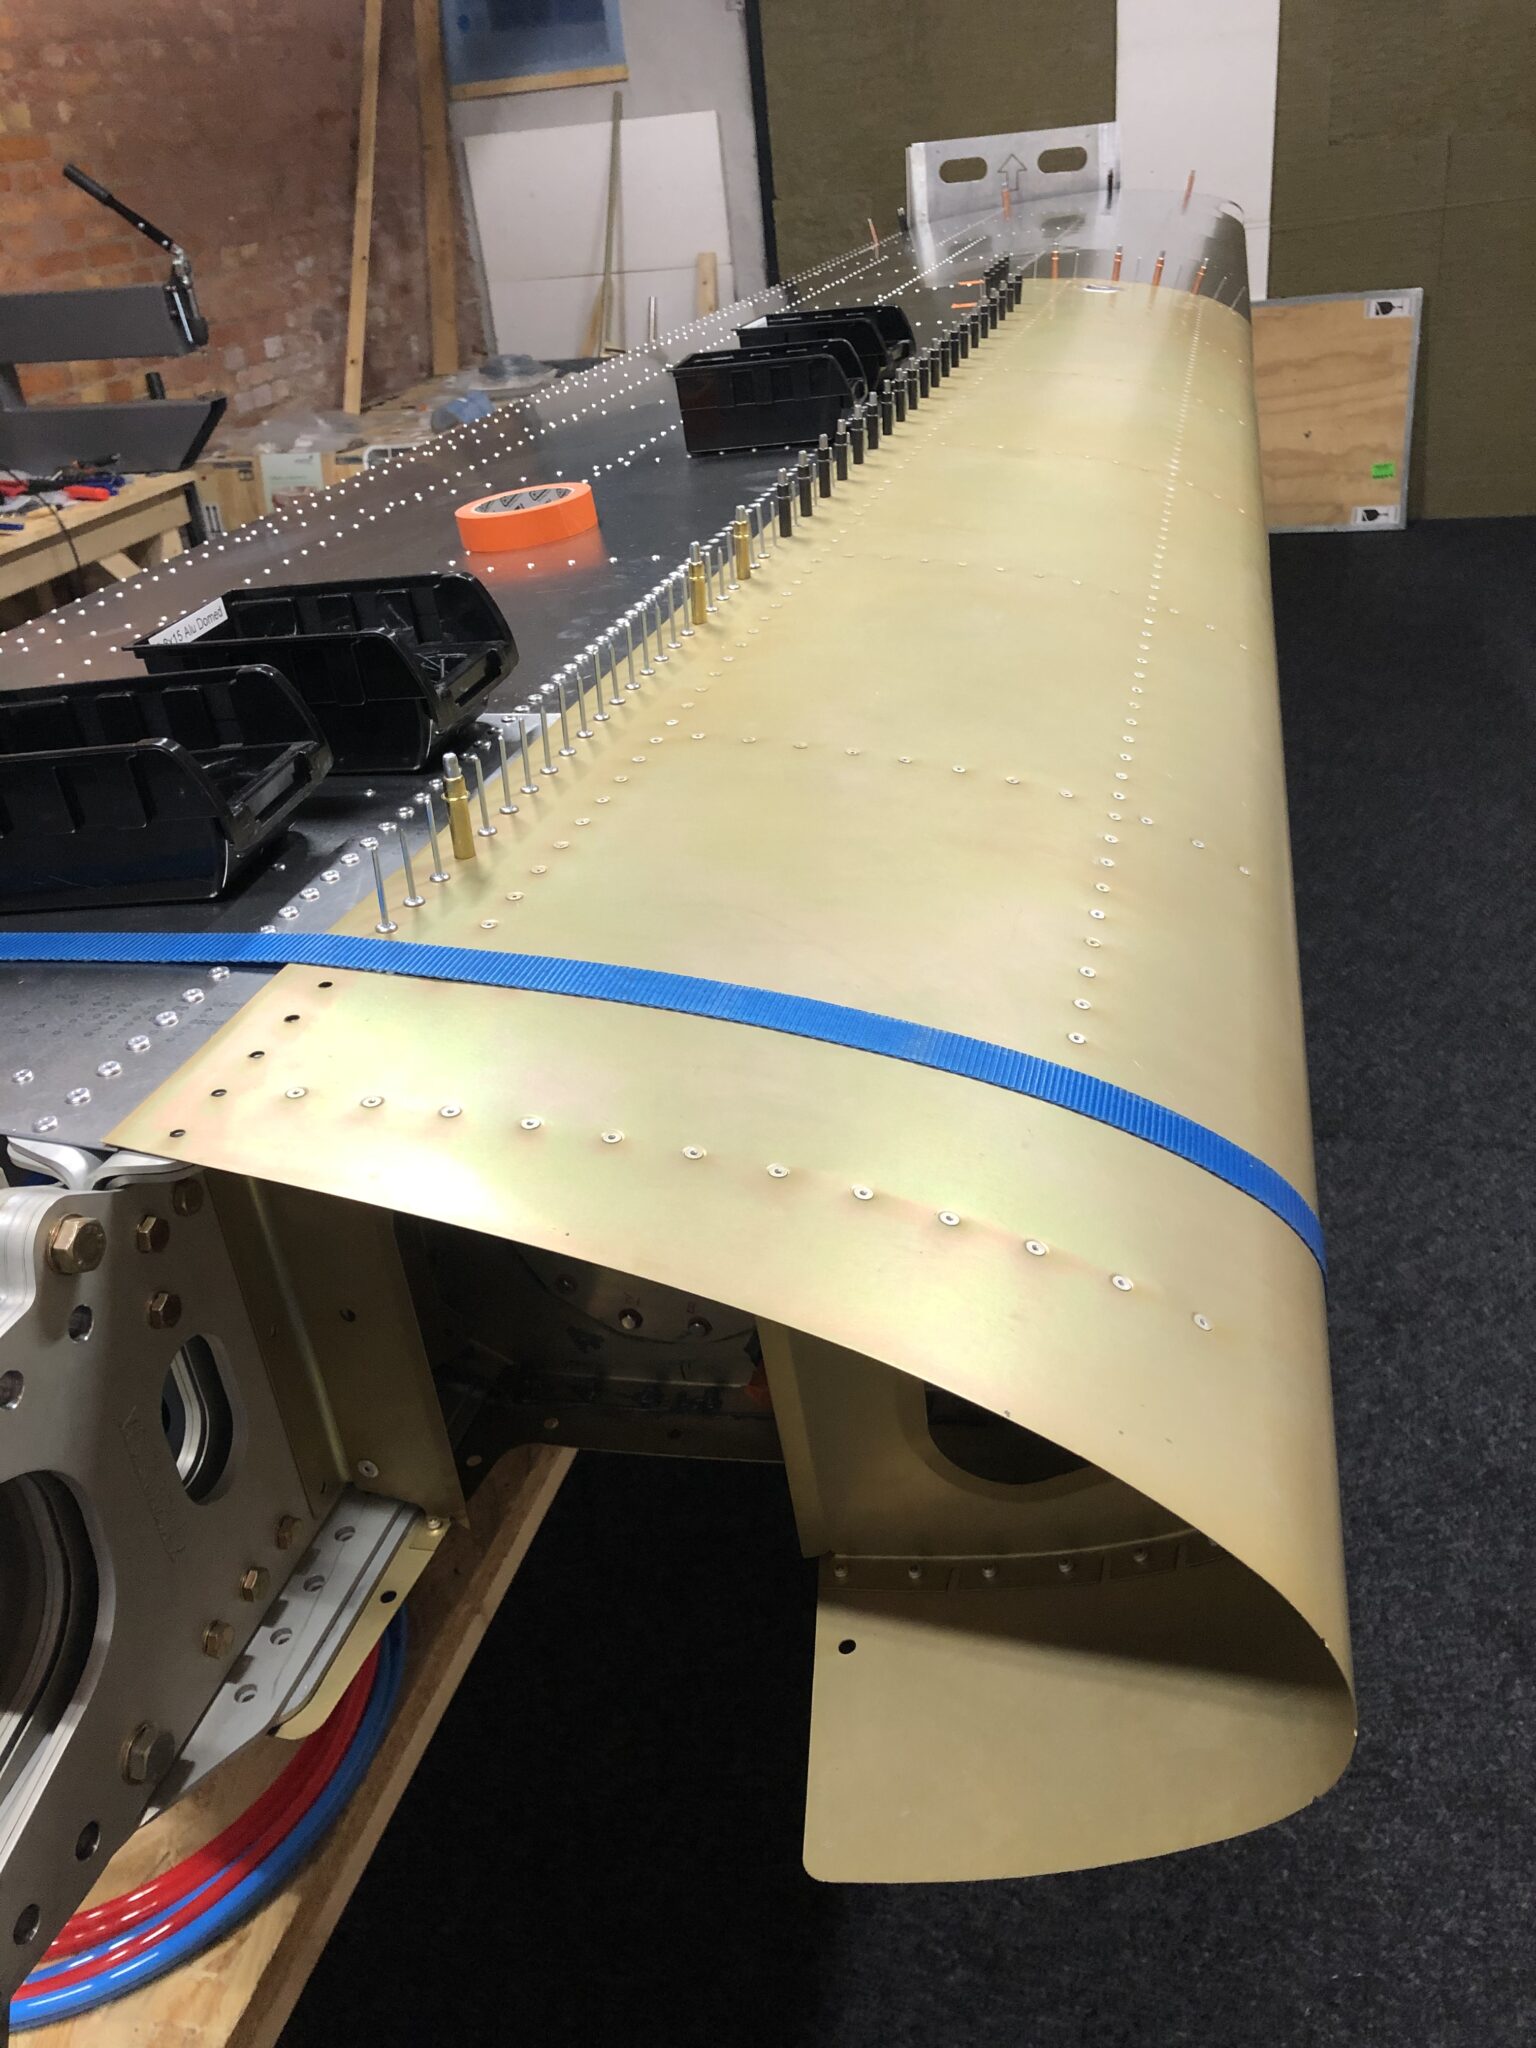
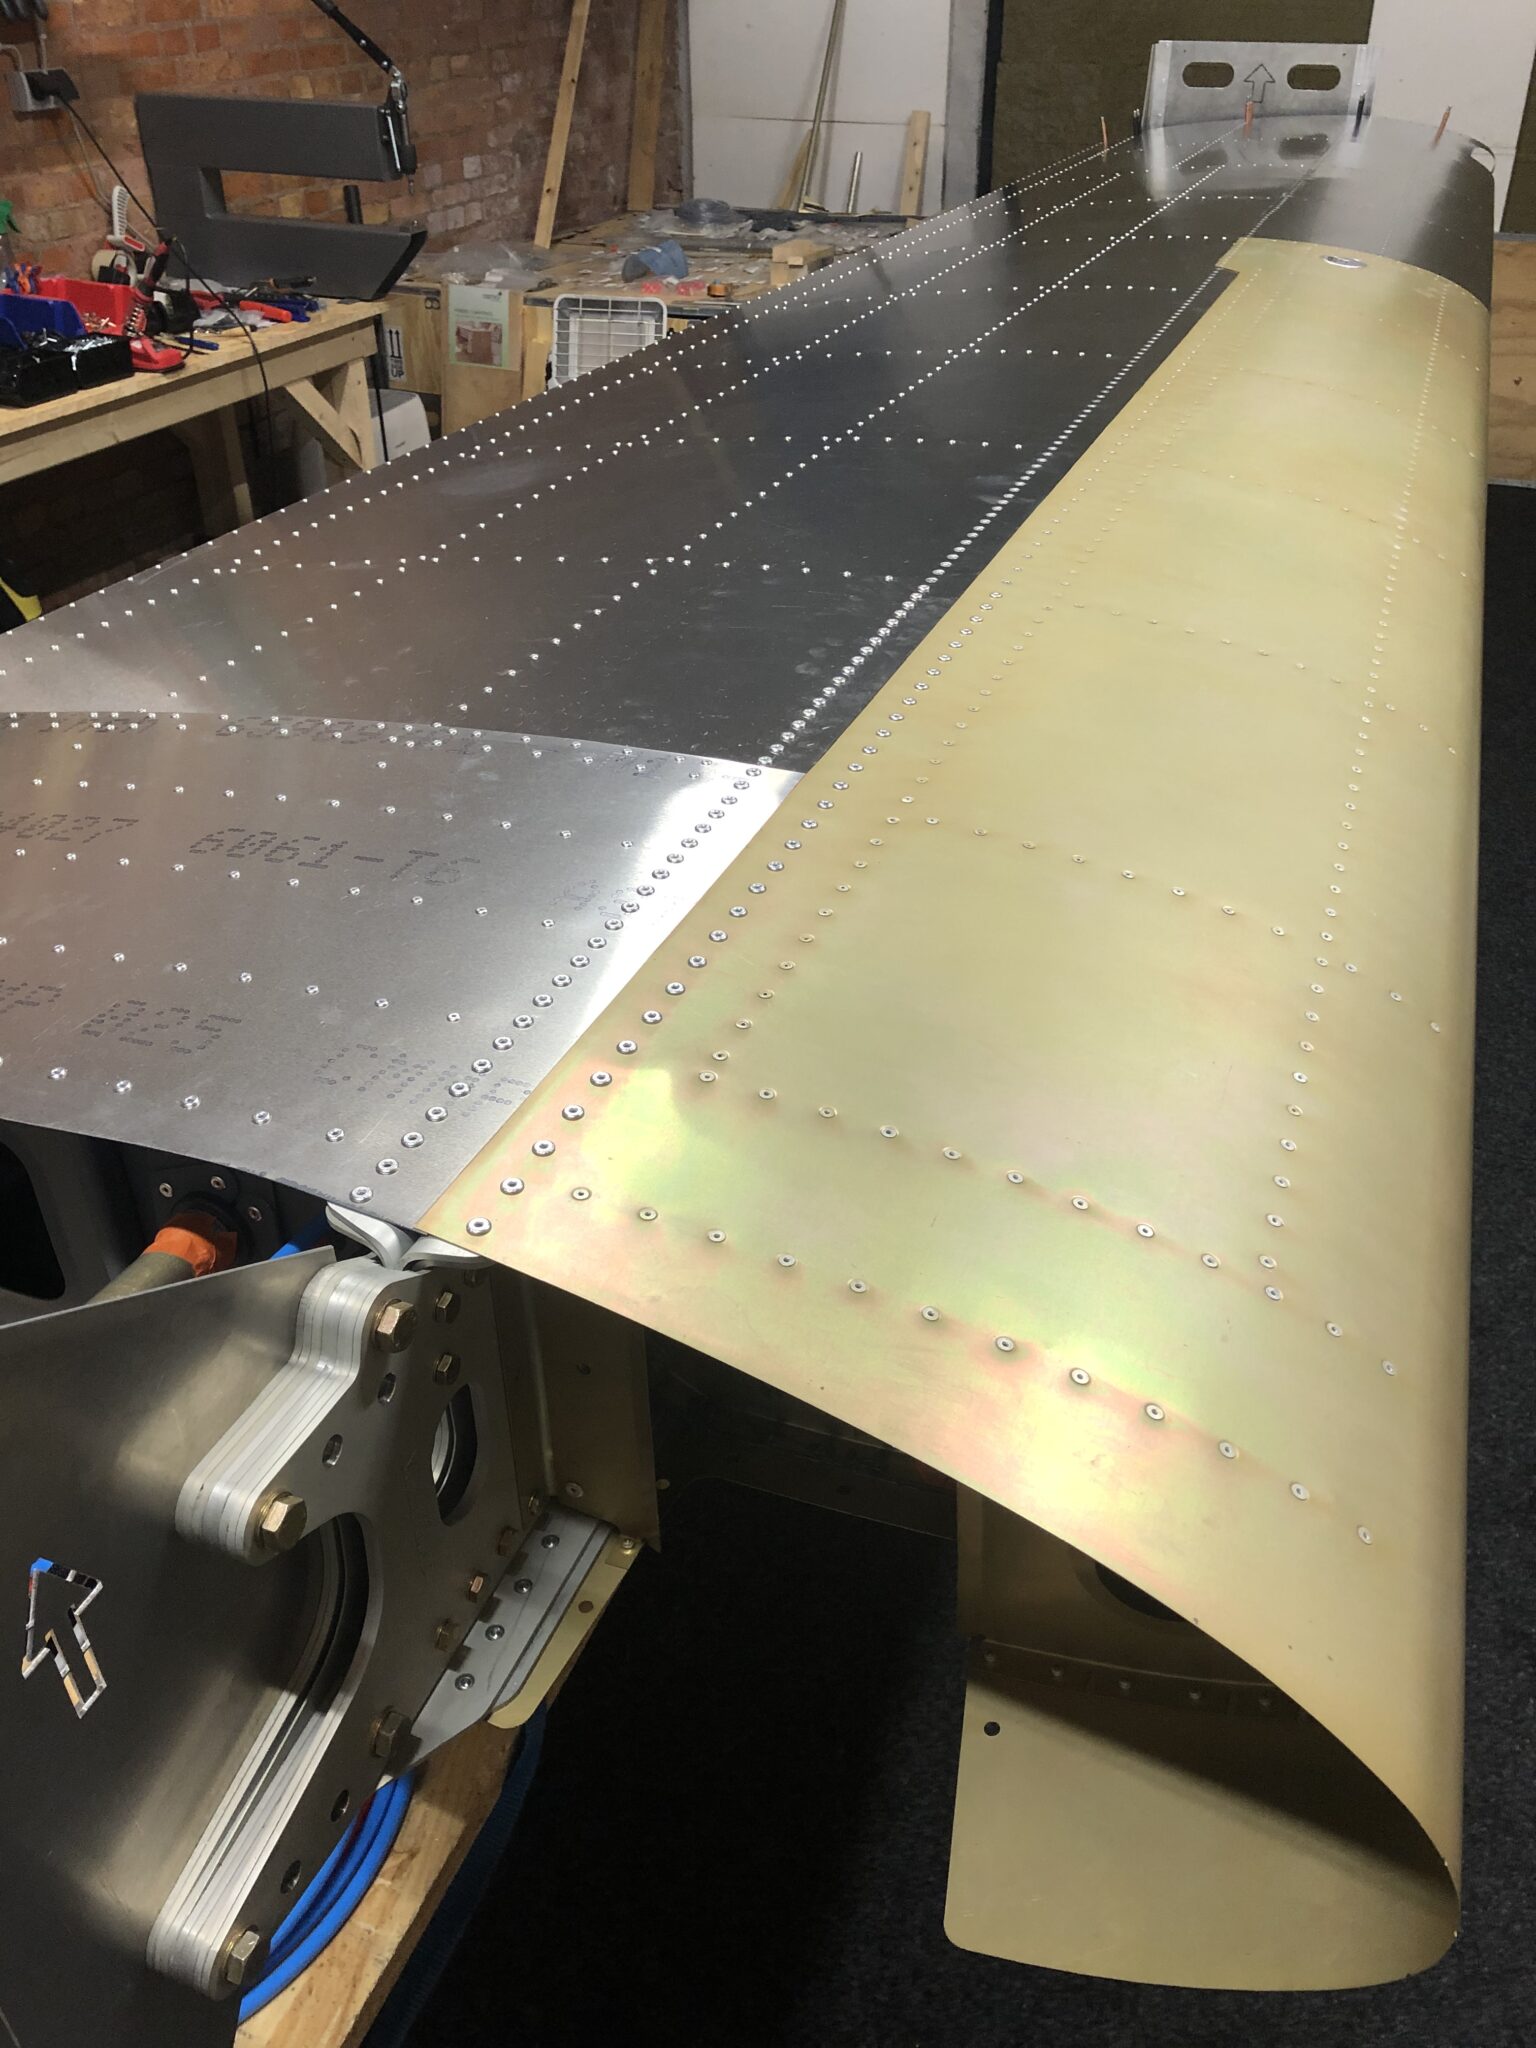
The leading edge skin was an easy fit. The left wing tank needed a bit more pressure at the root to stay in the right position for the rivets to fit. After seeing the MojoGrip tank disaster video I conducted another leak test on both tanks after they have been mounted to the wing. Puh, both tanks are still airtight.
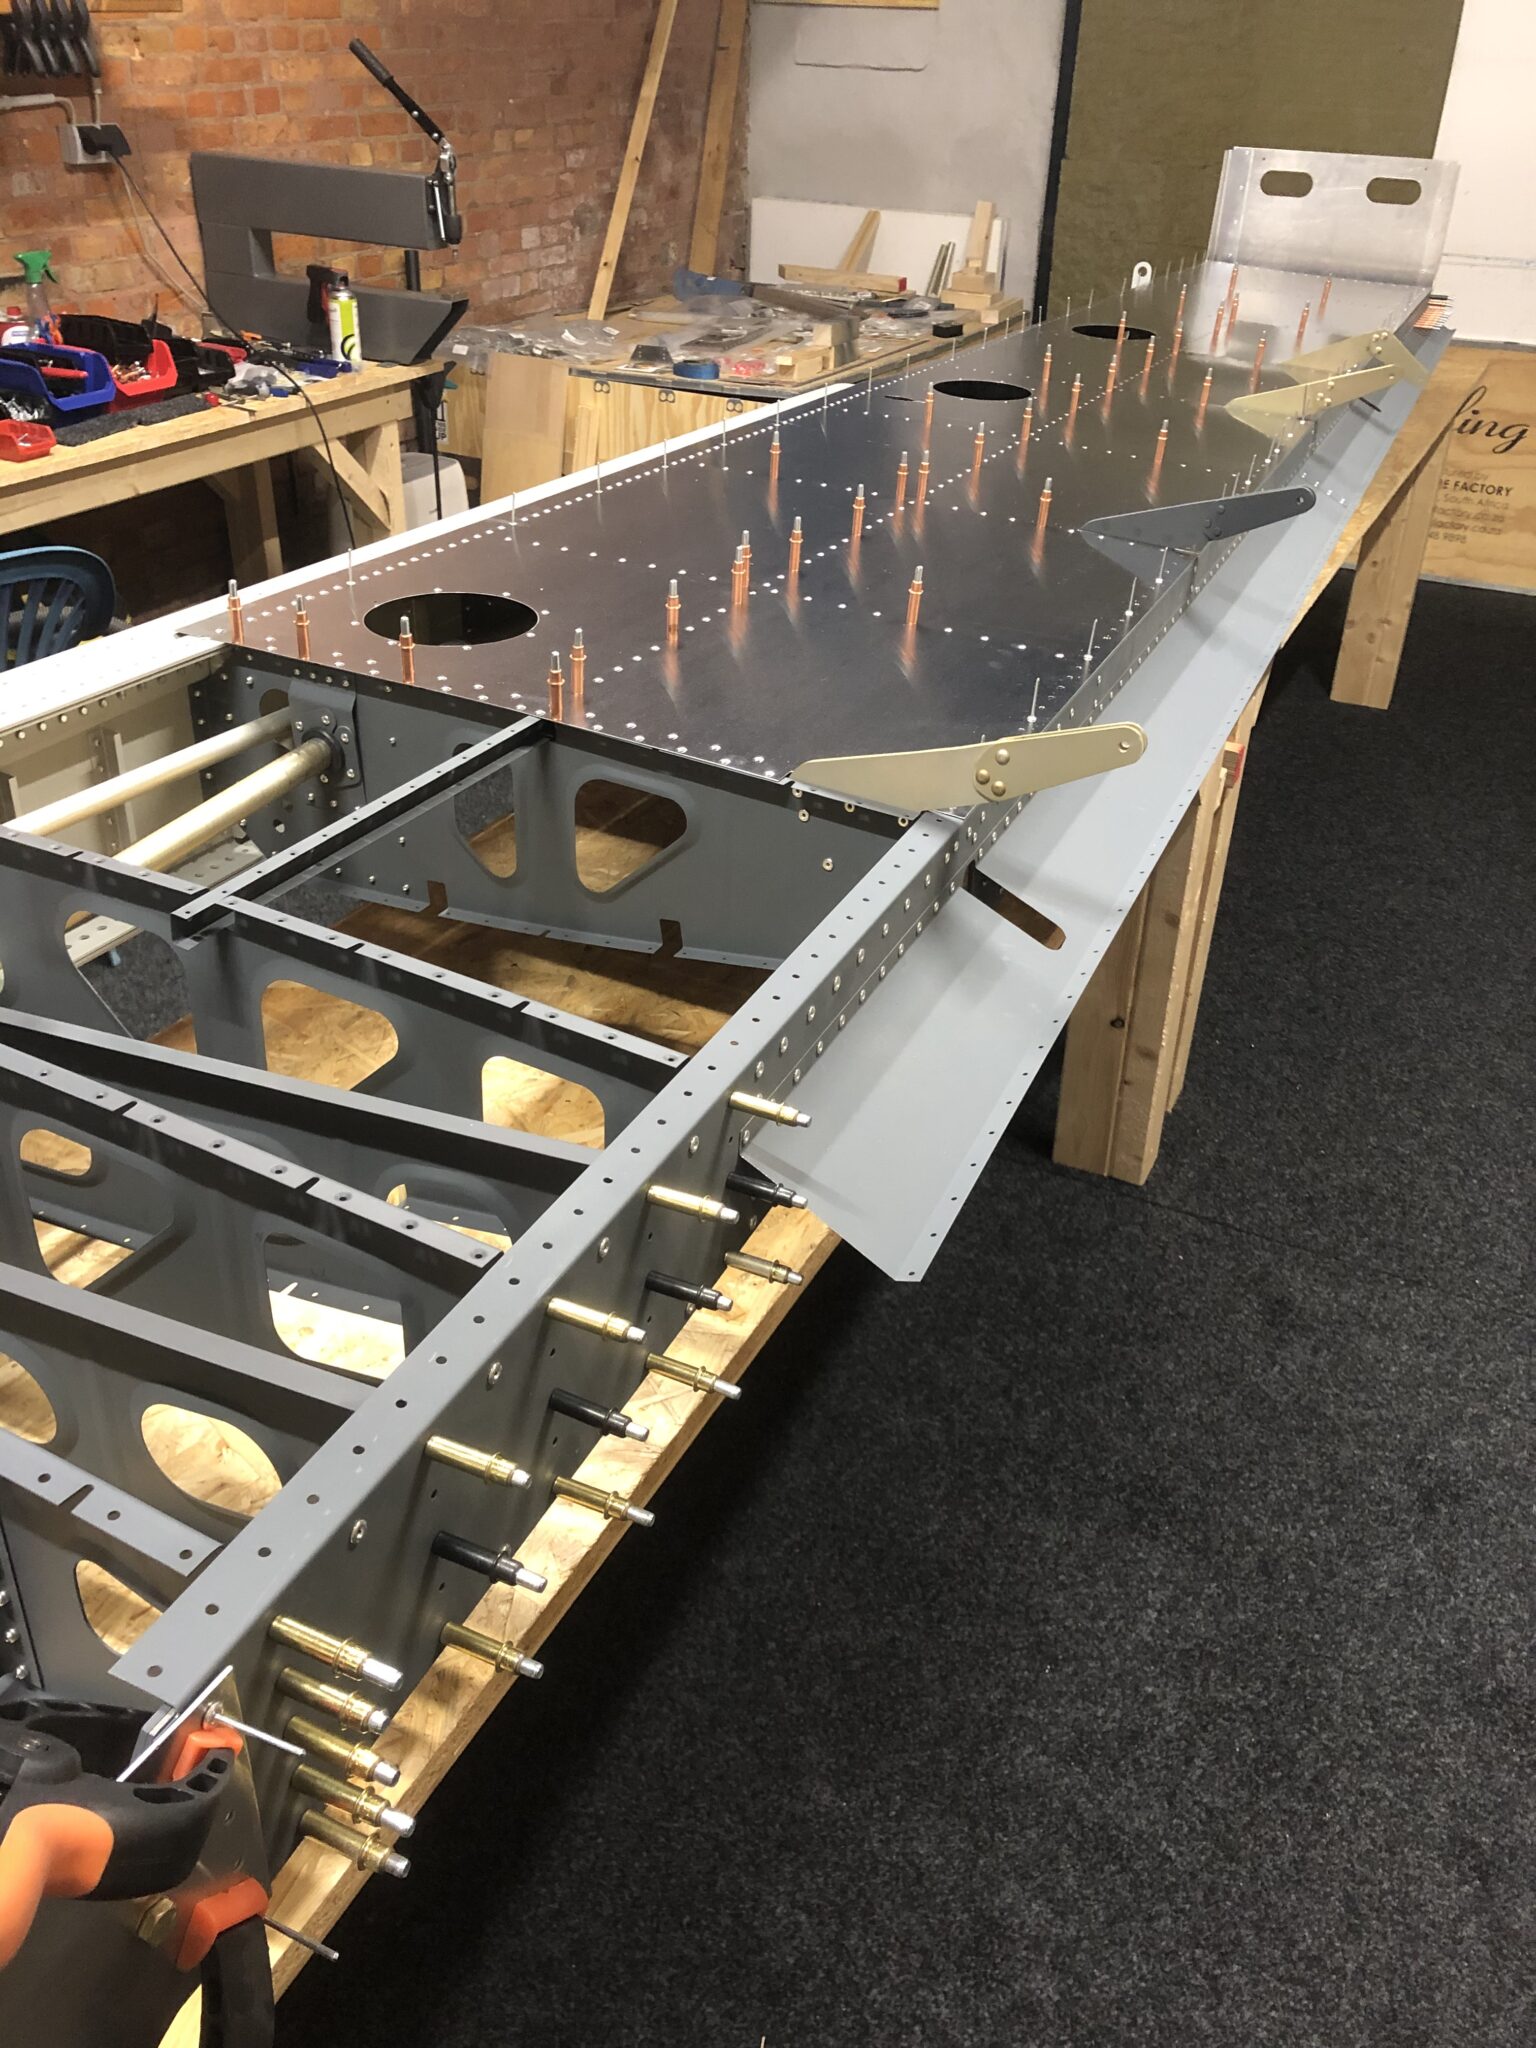
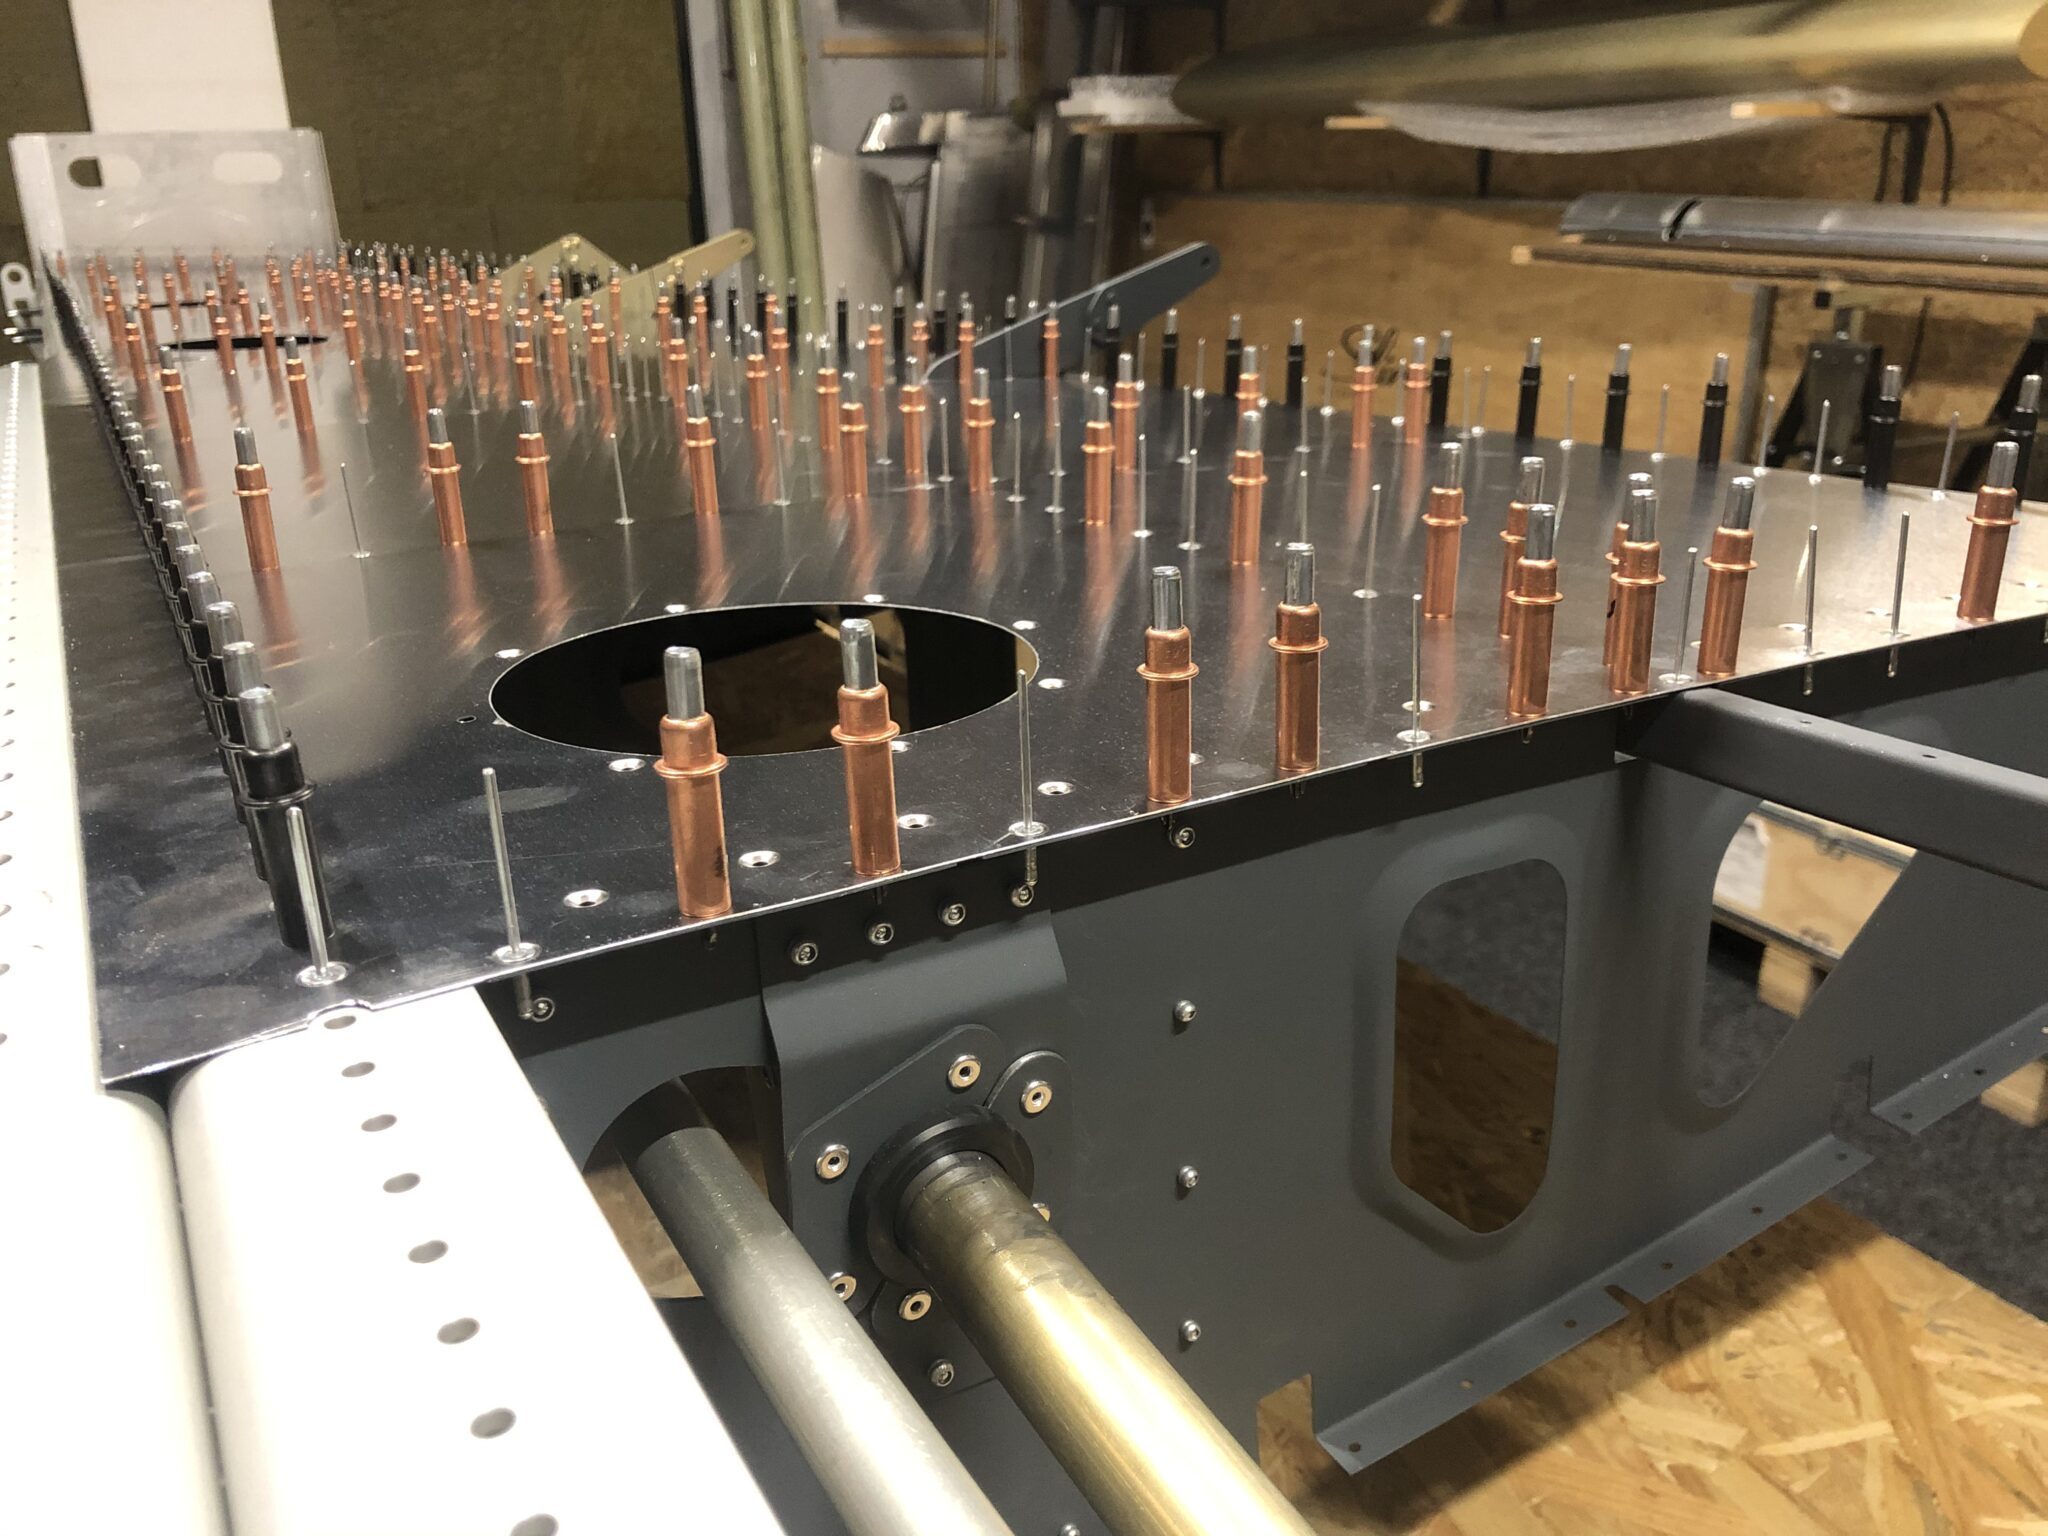
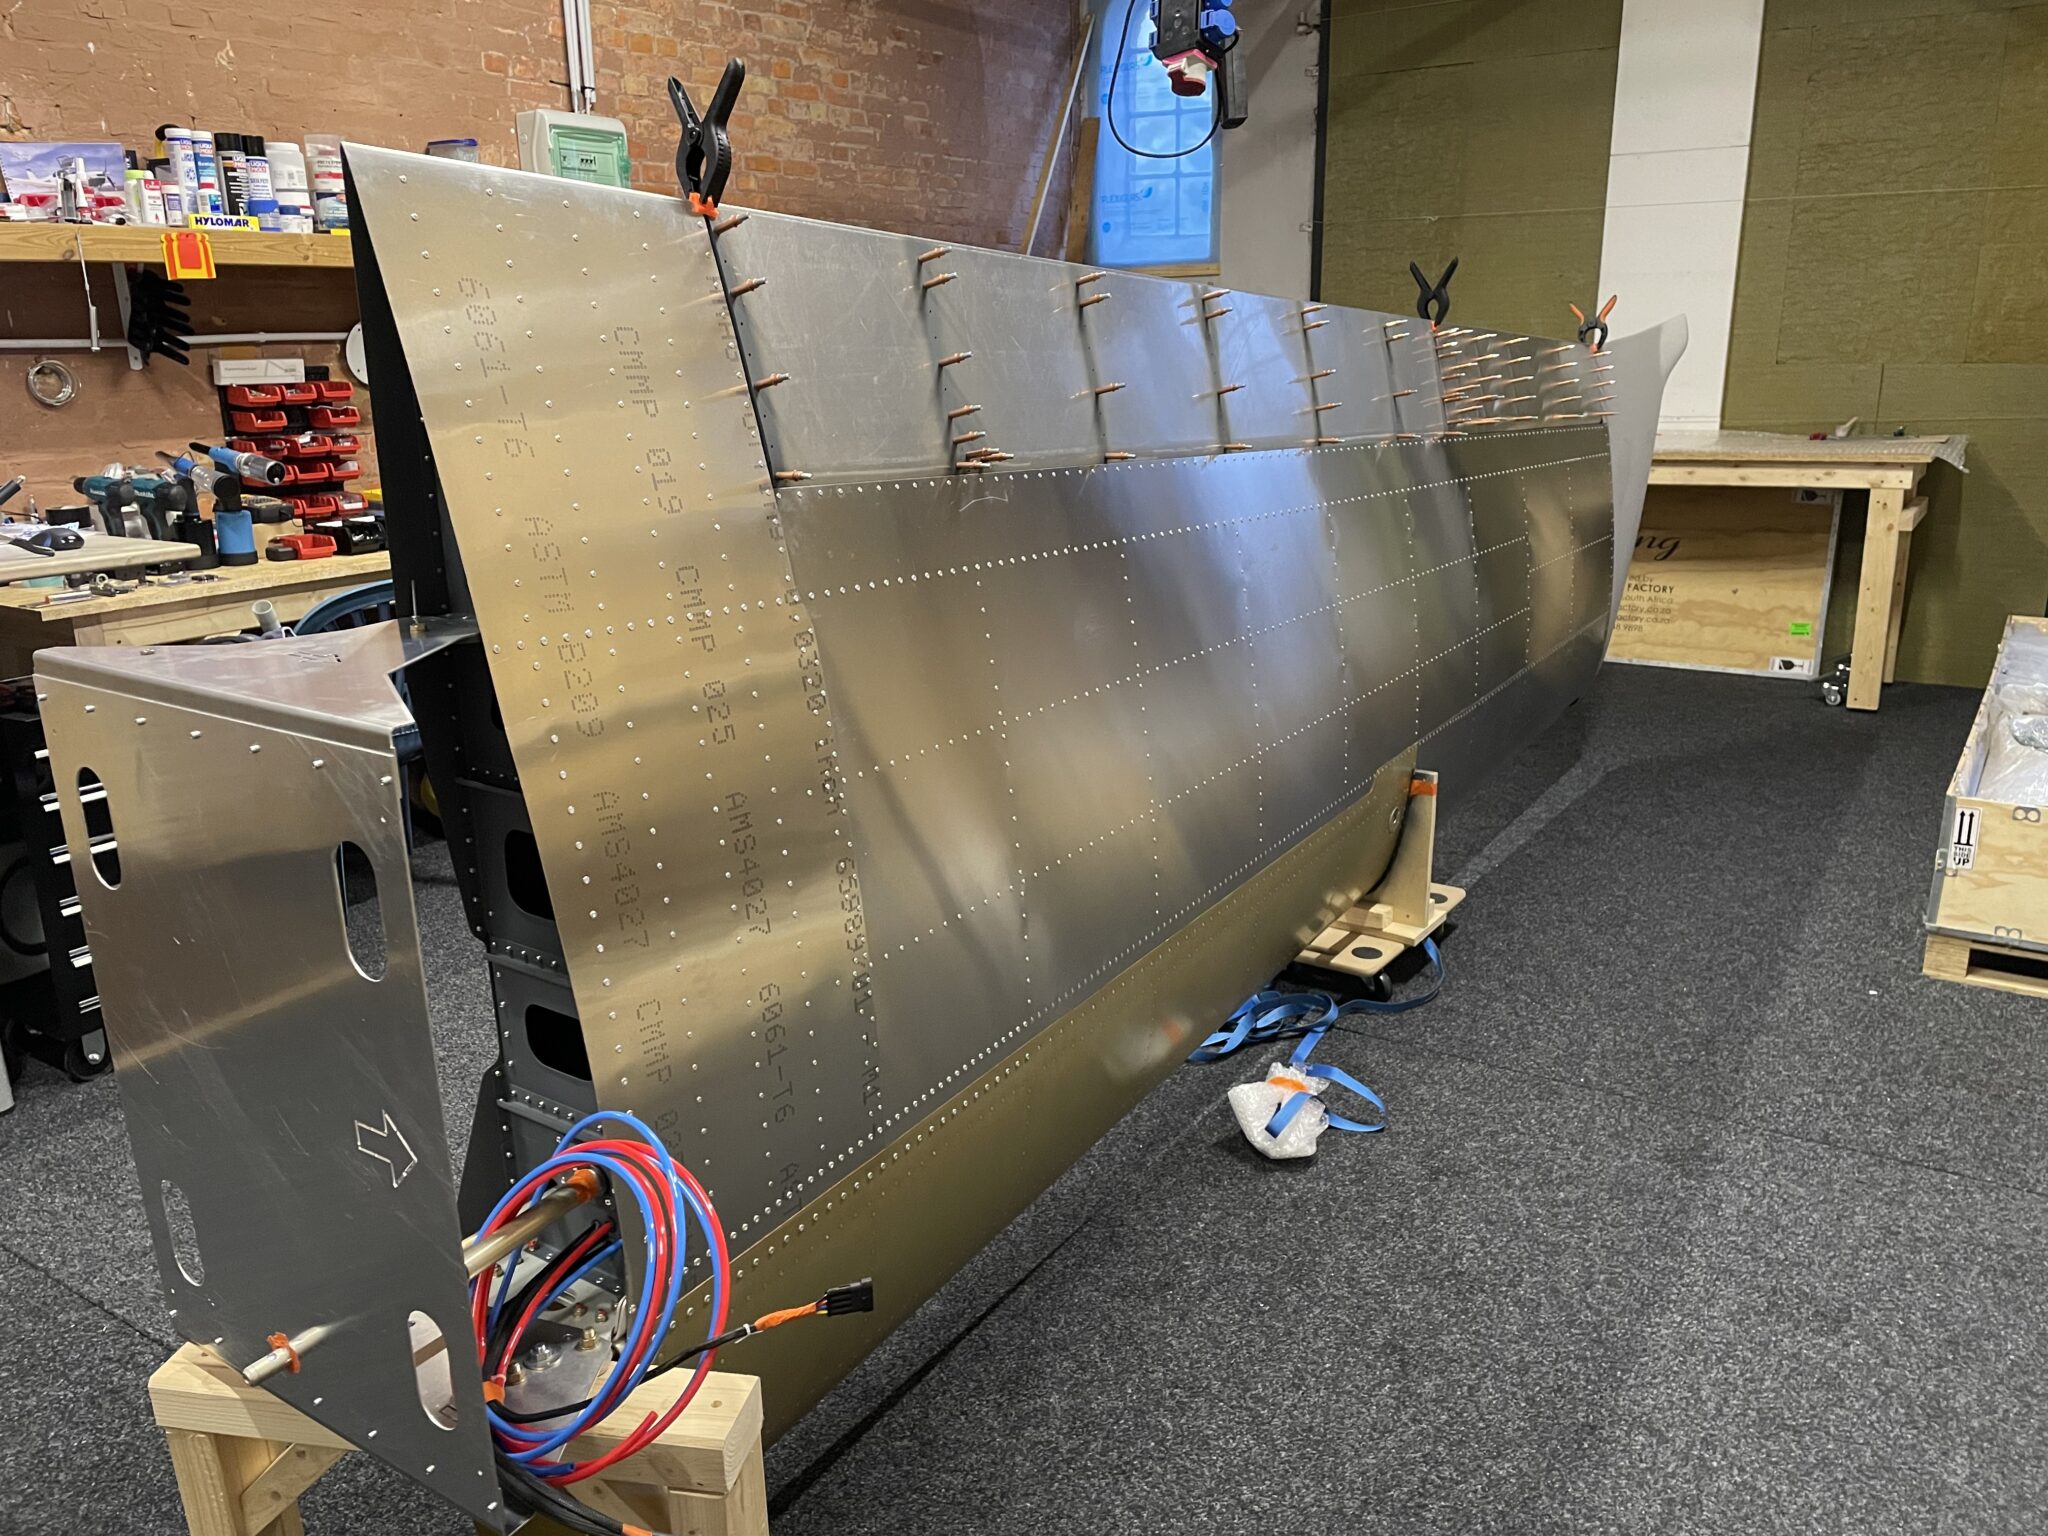
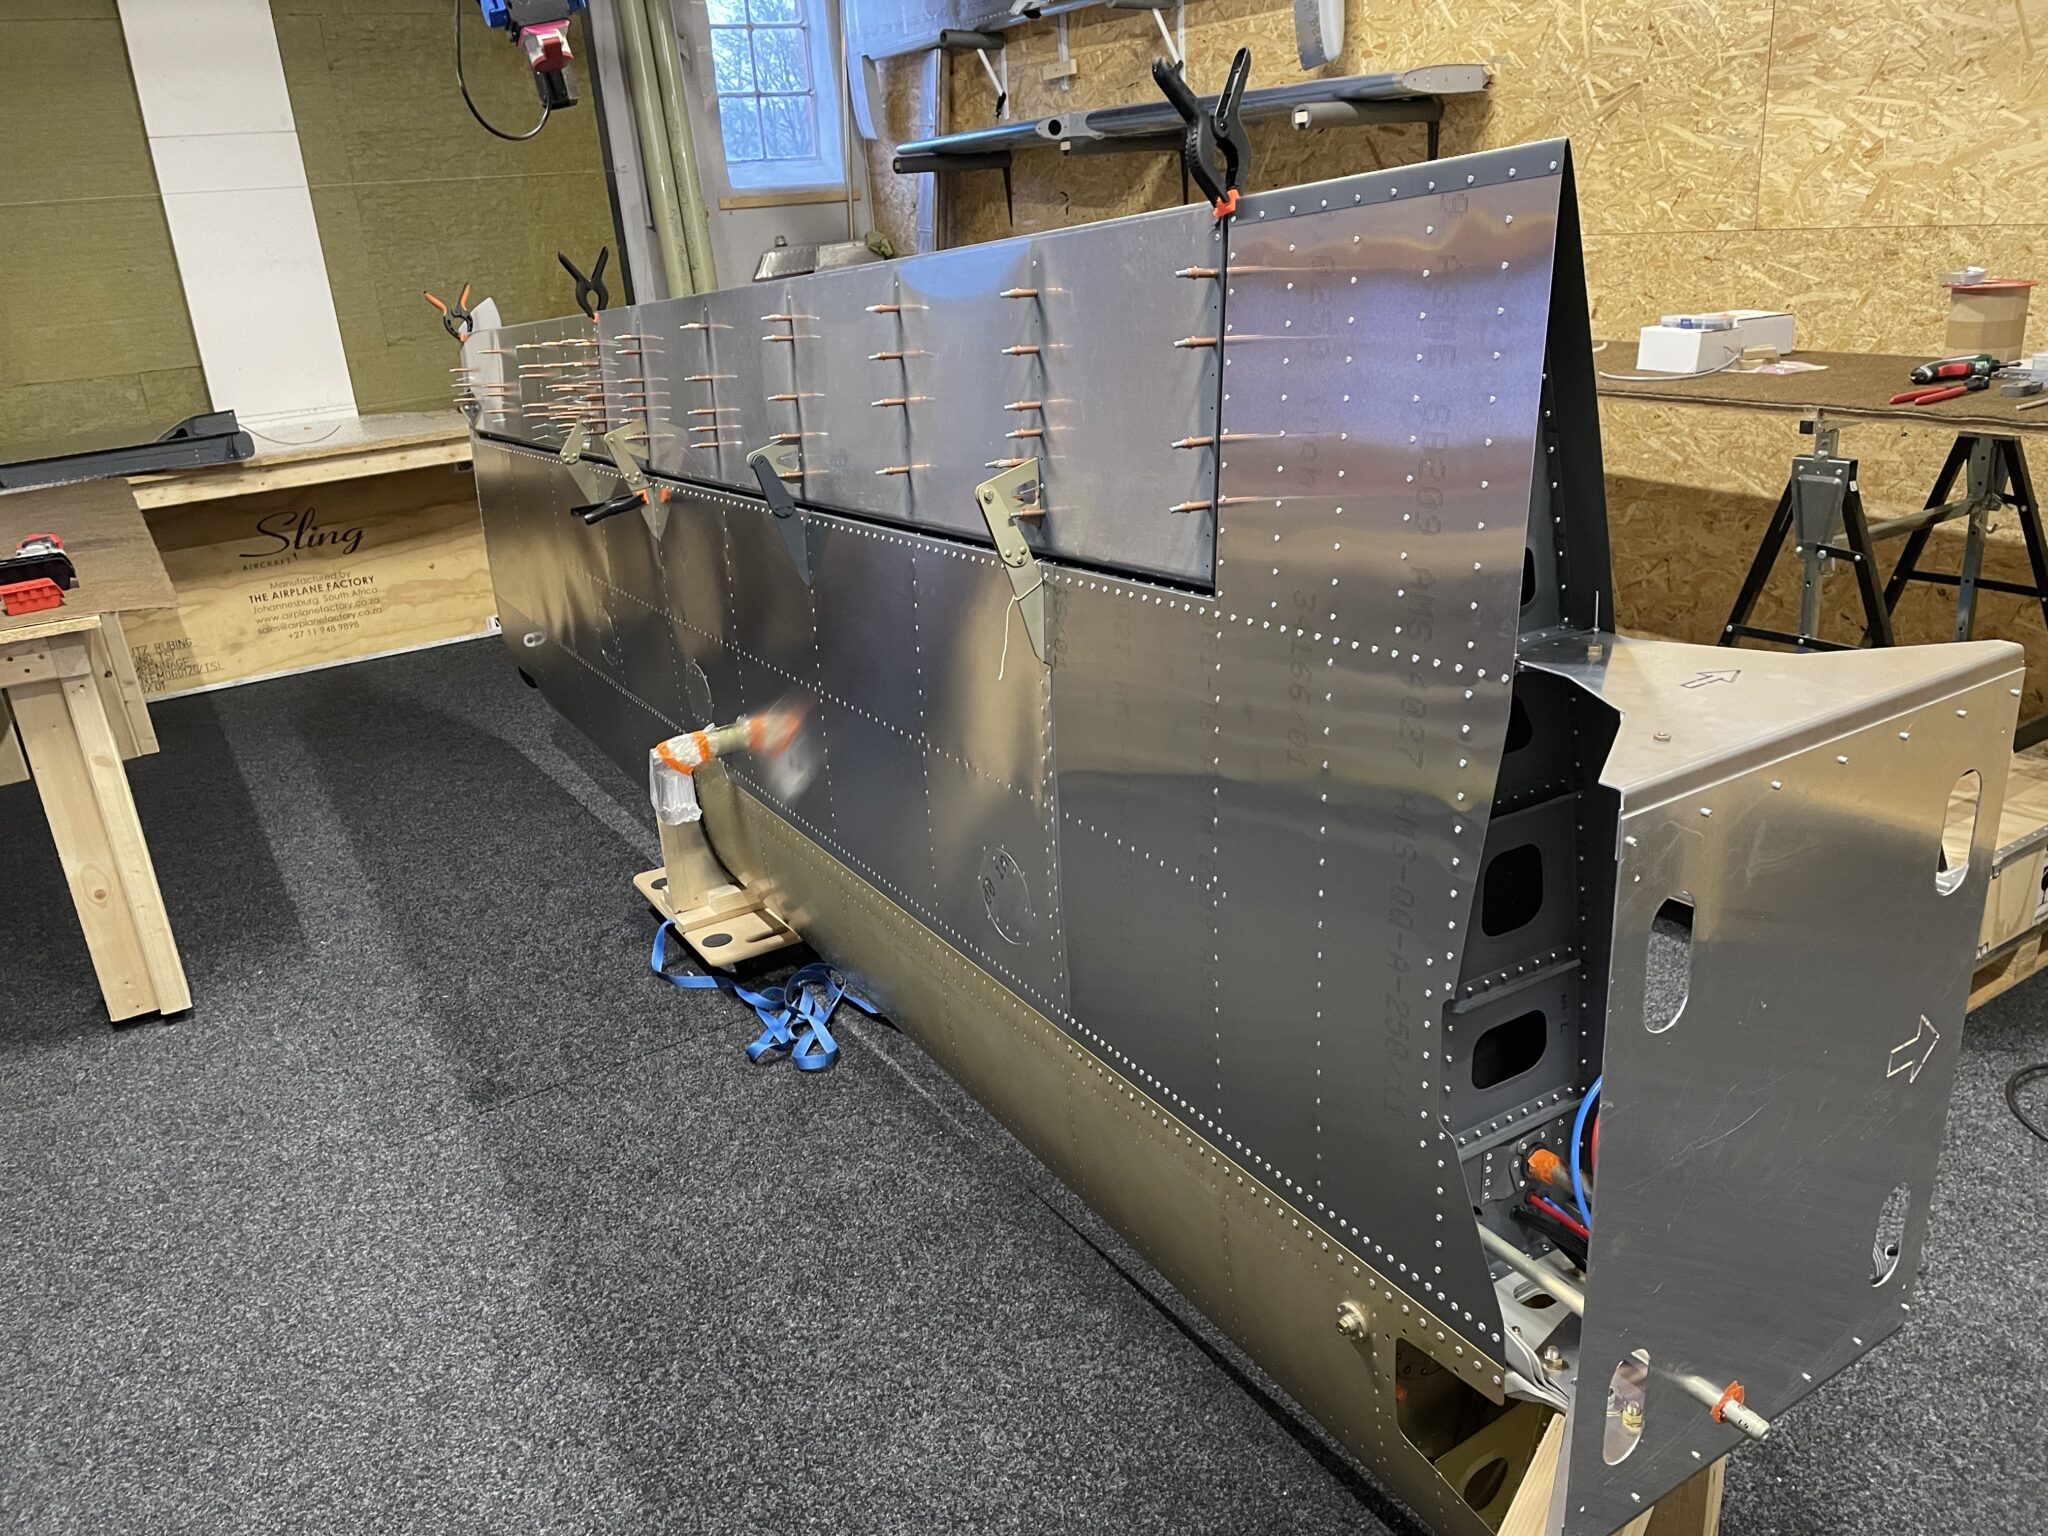
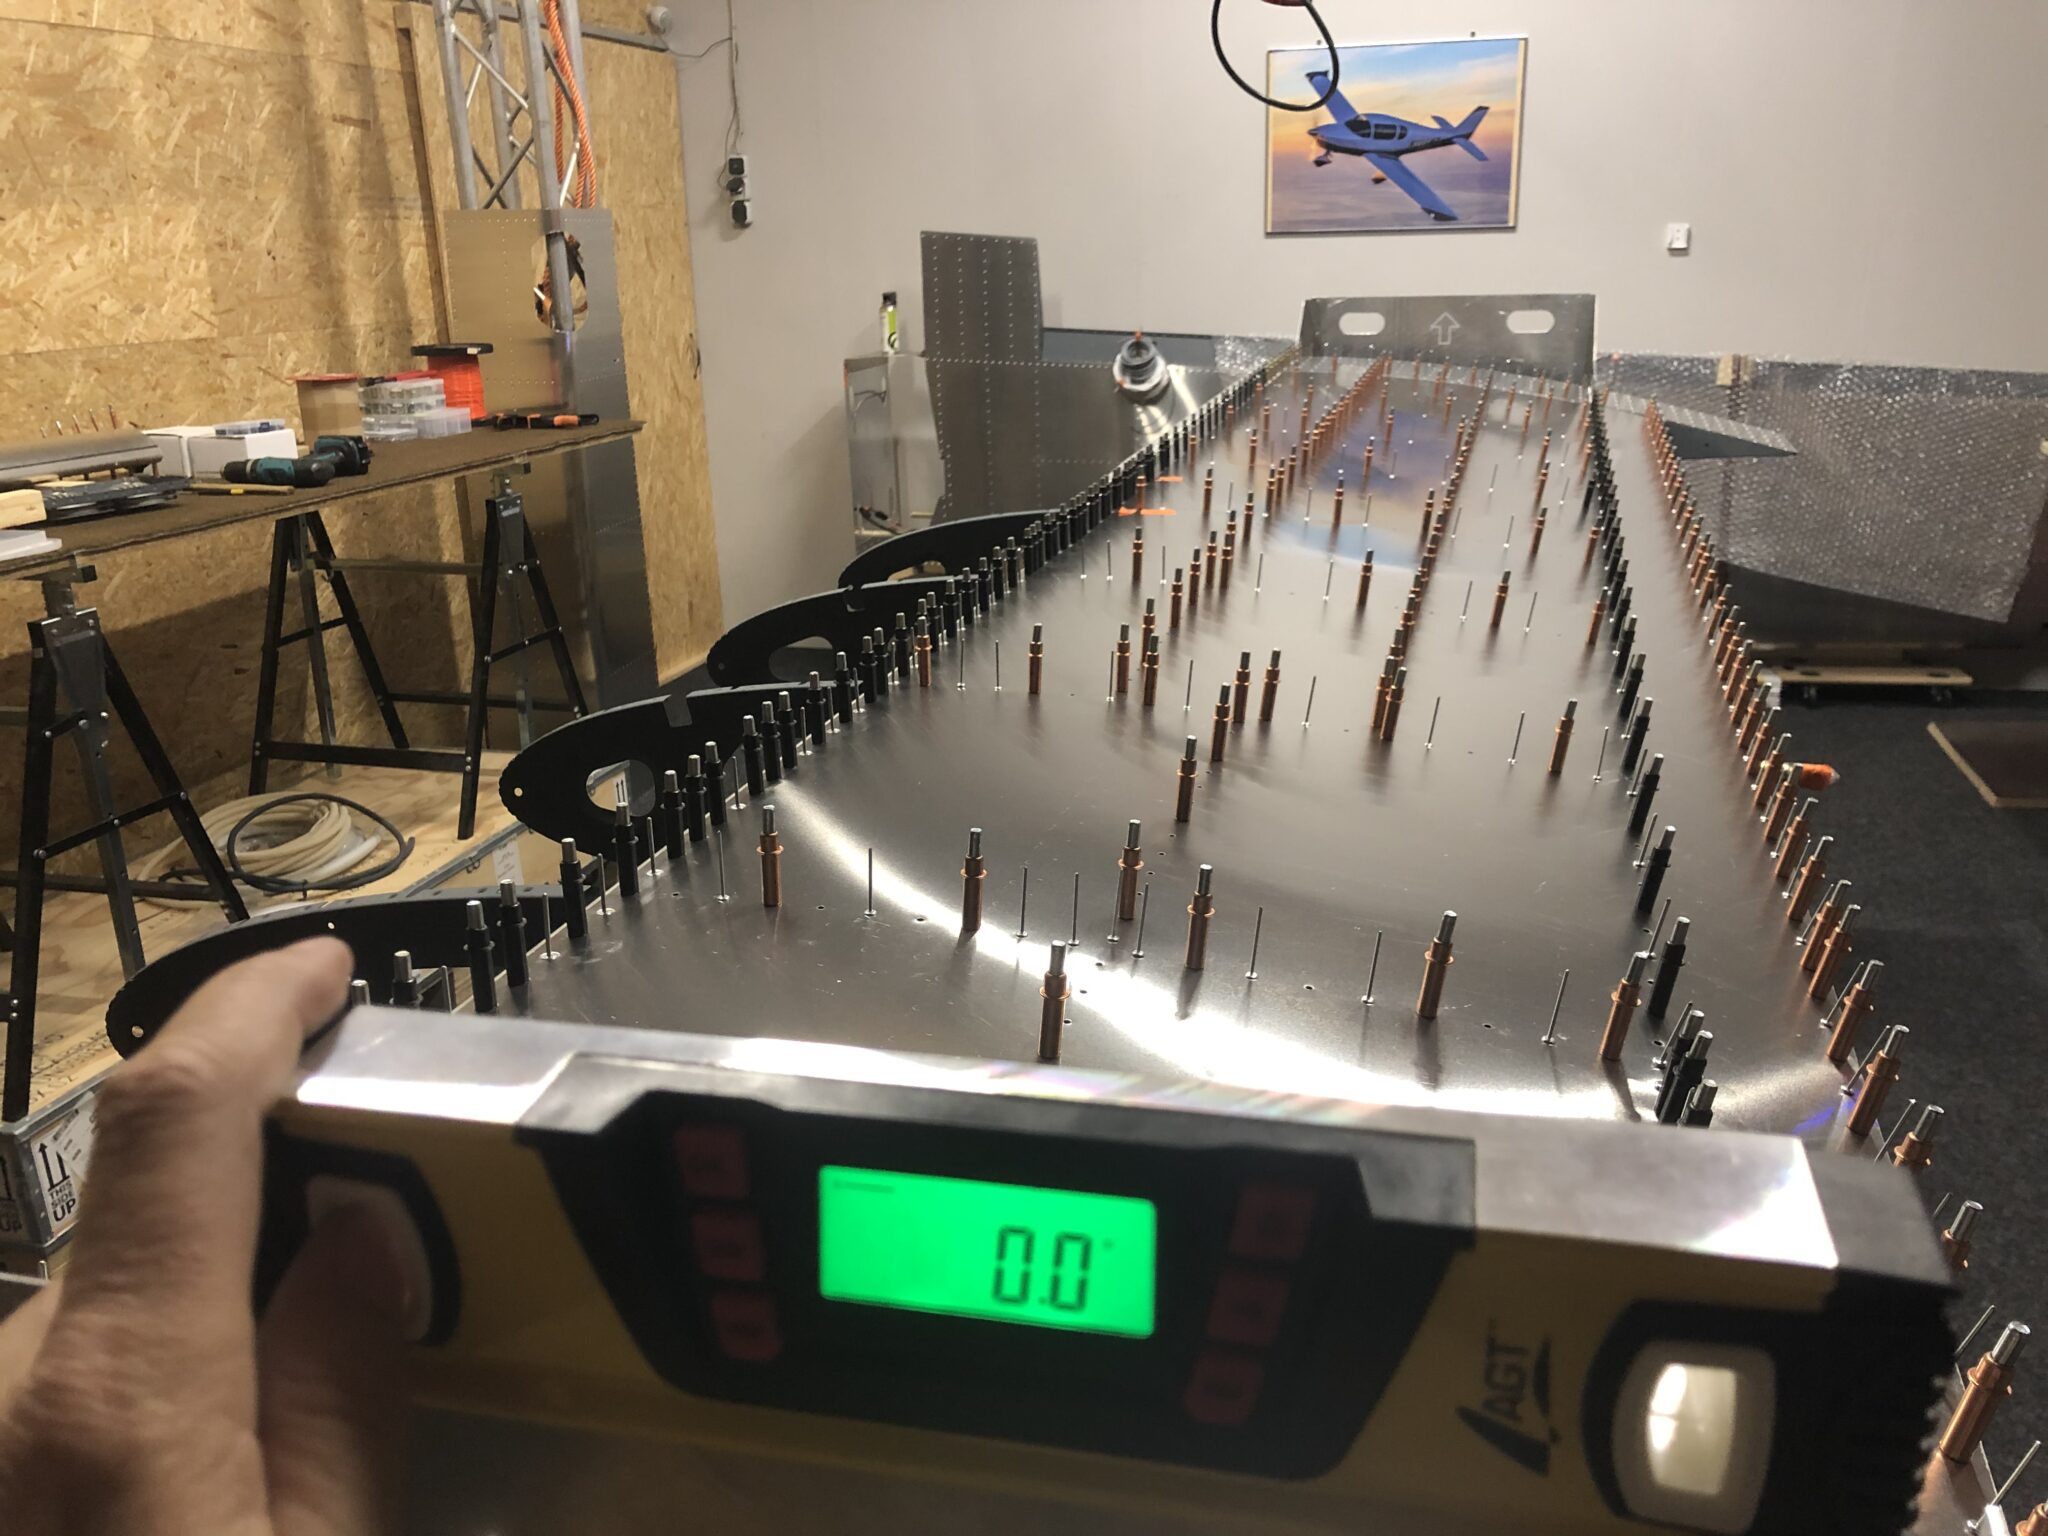
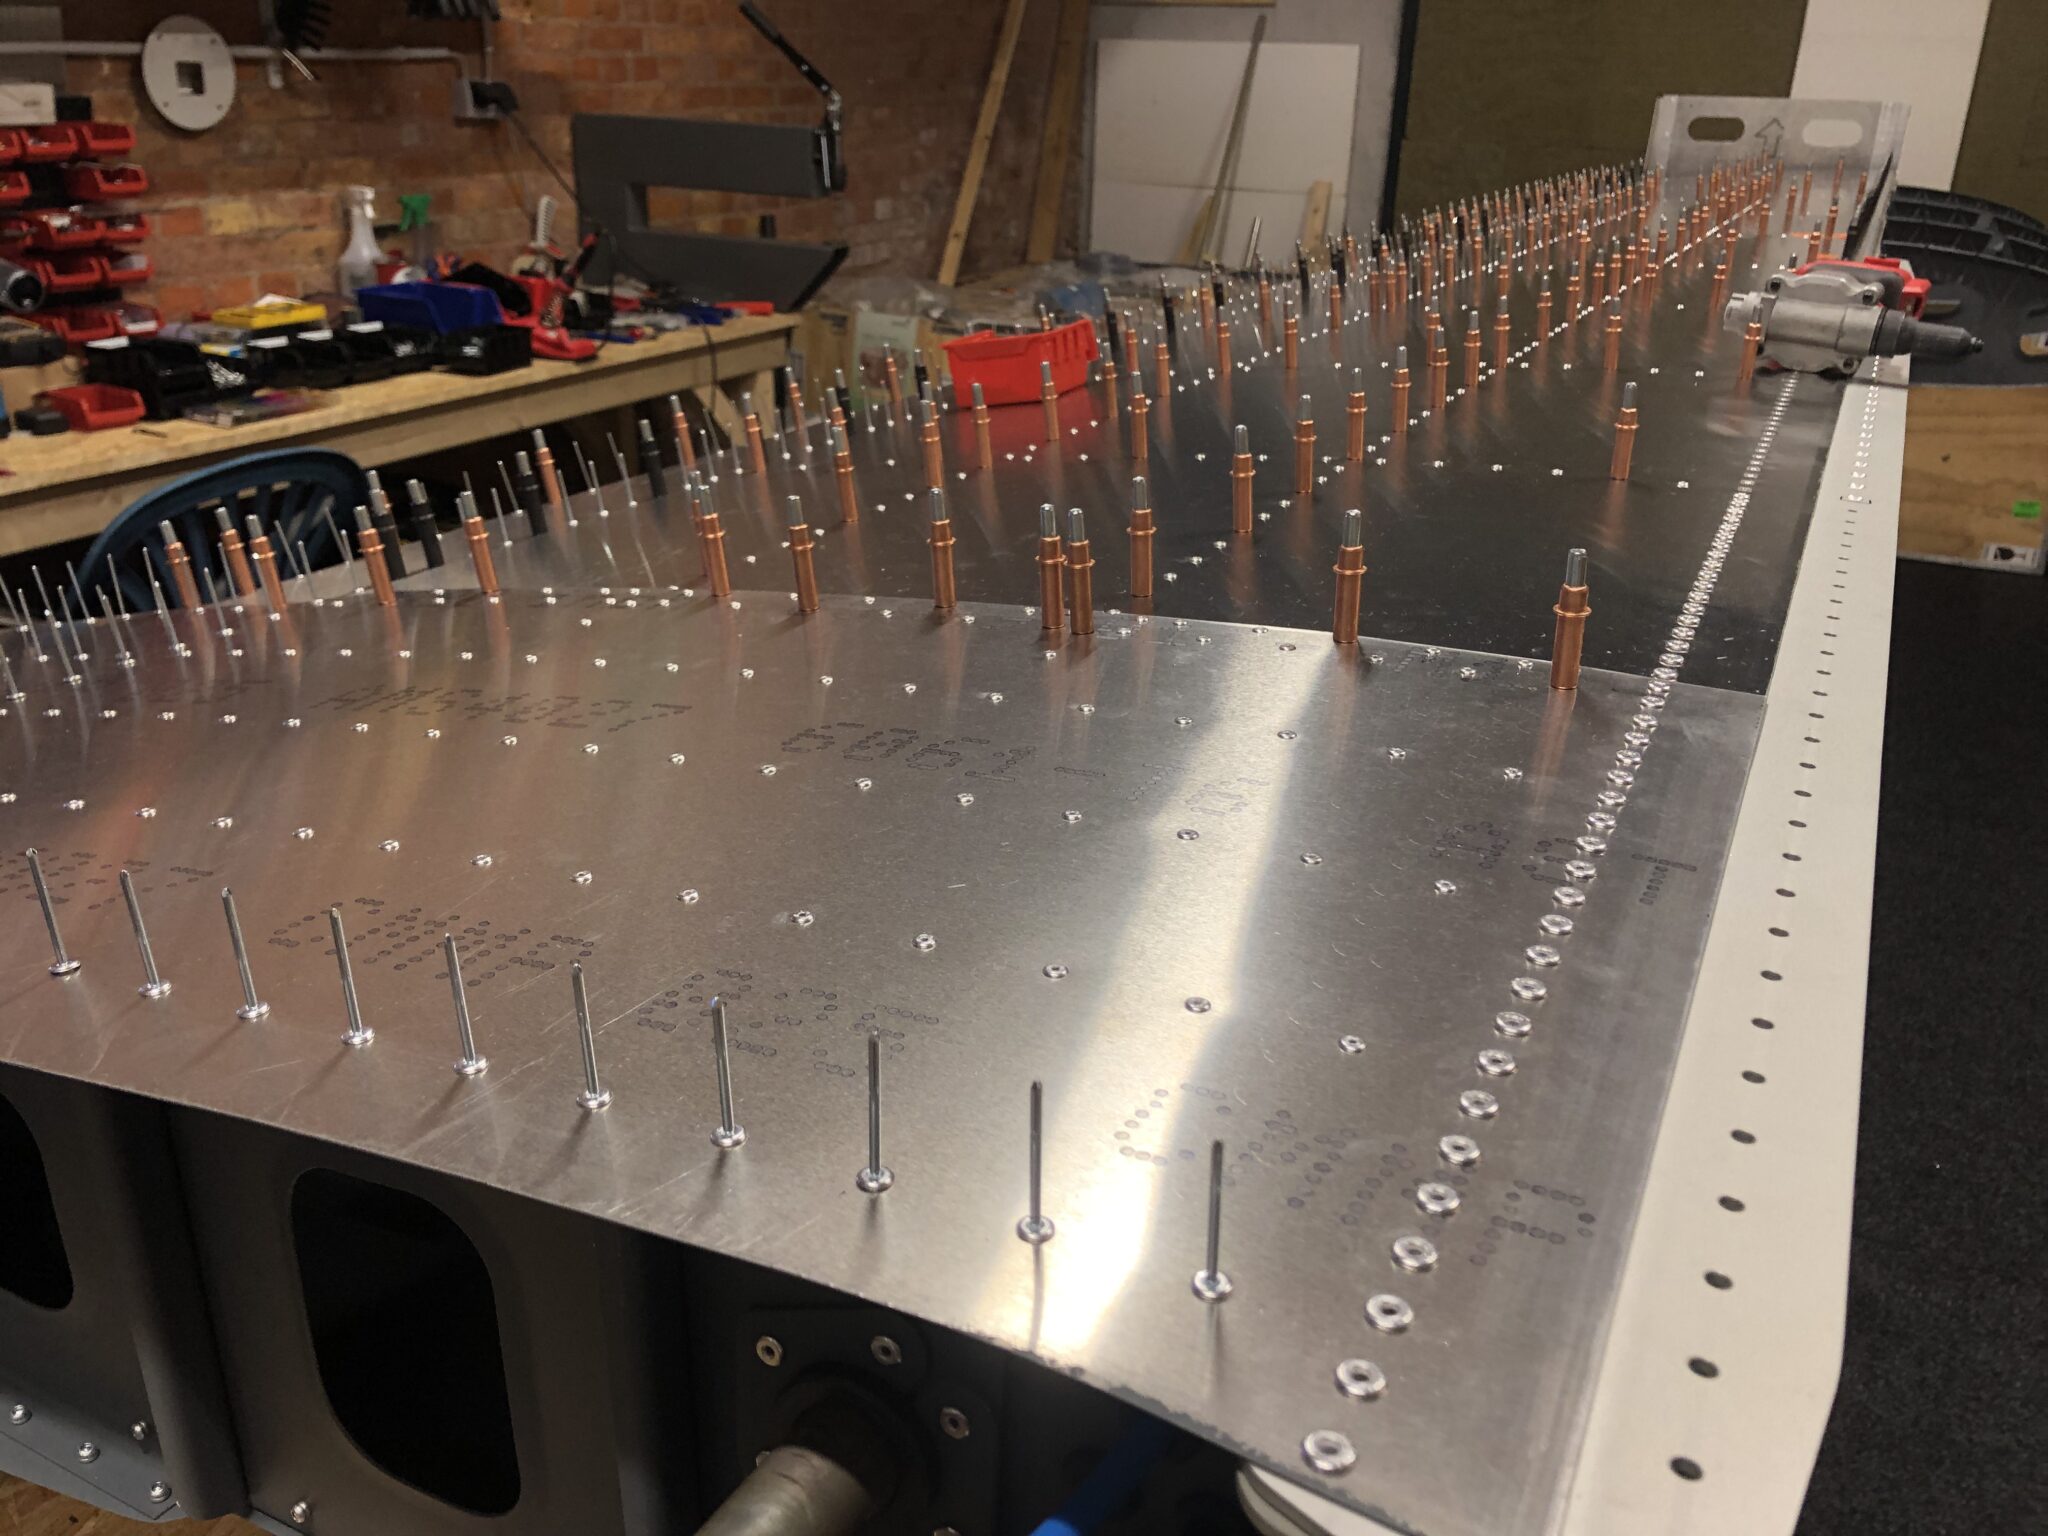
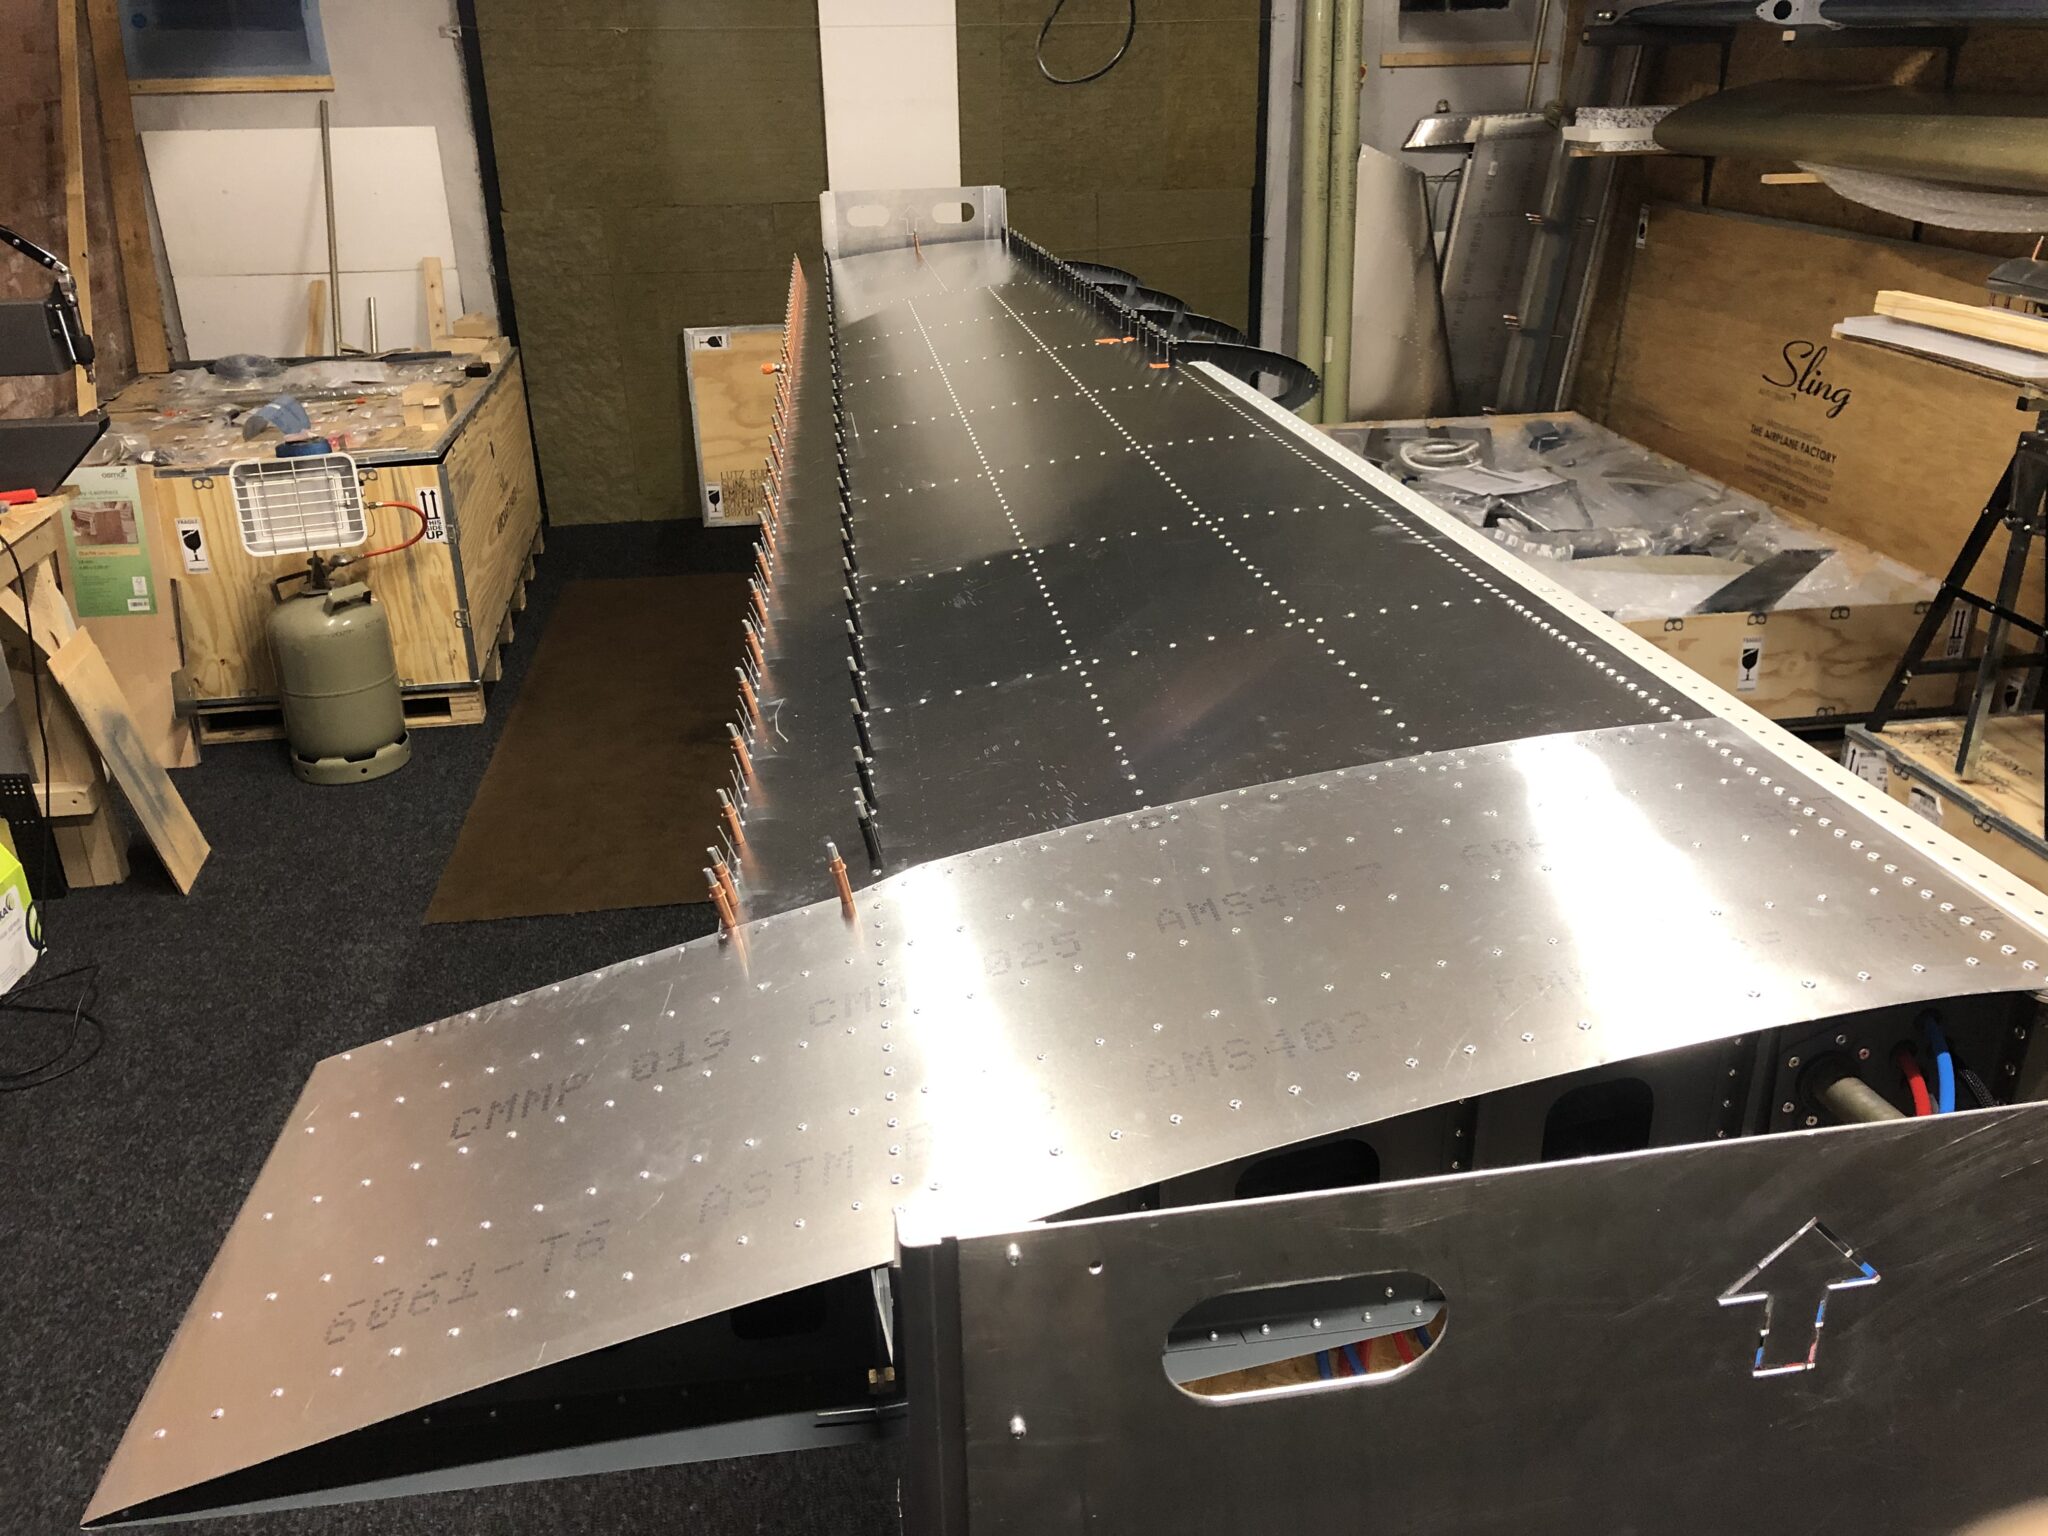
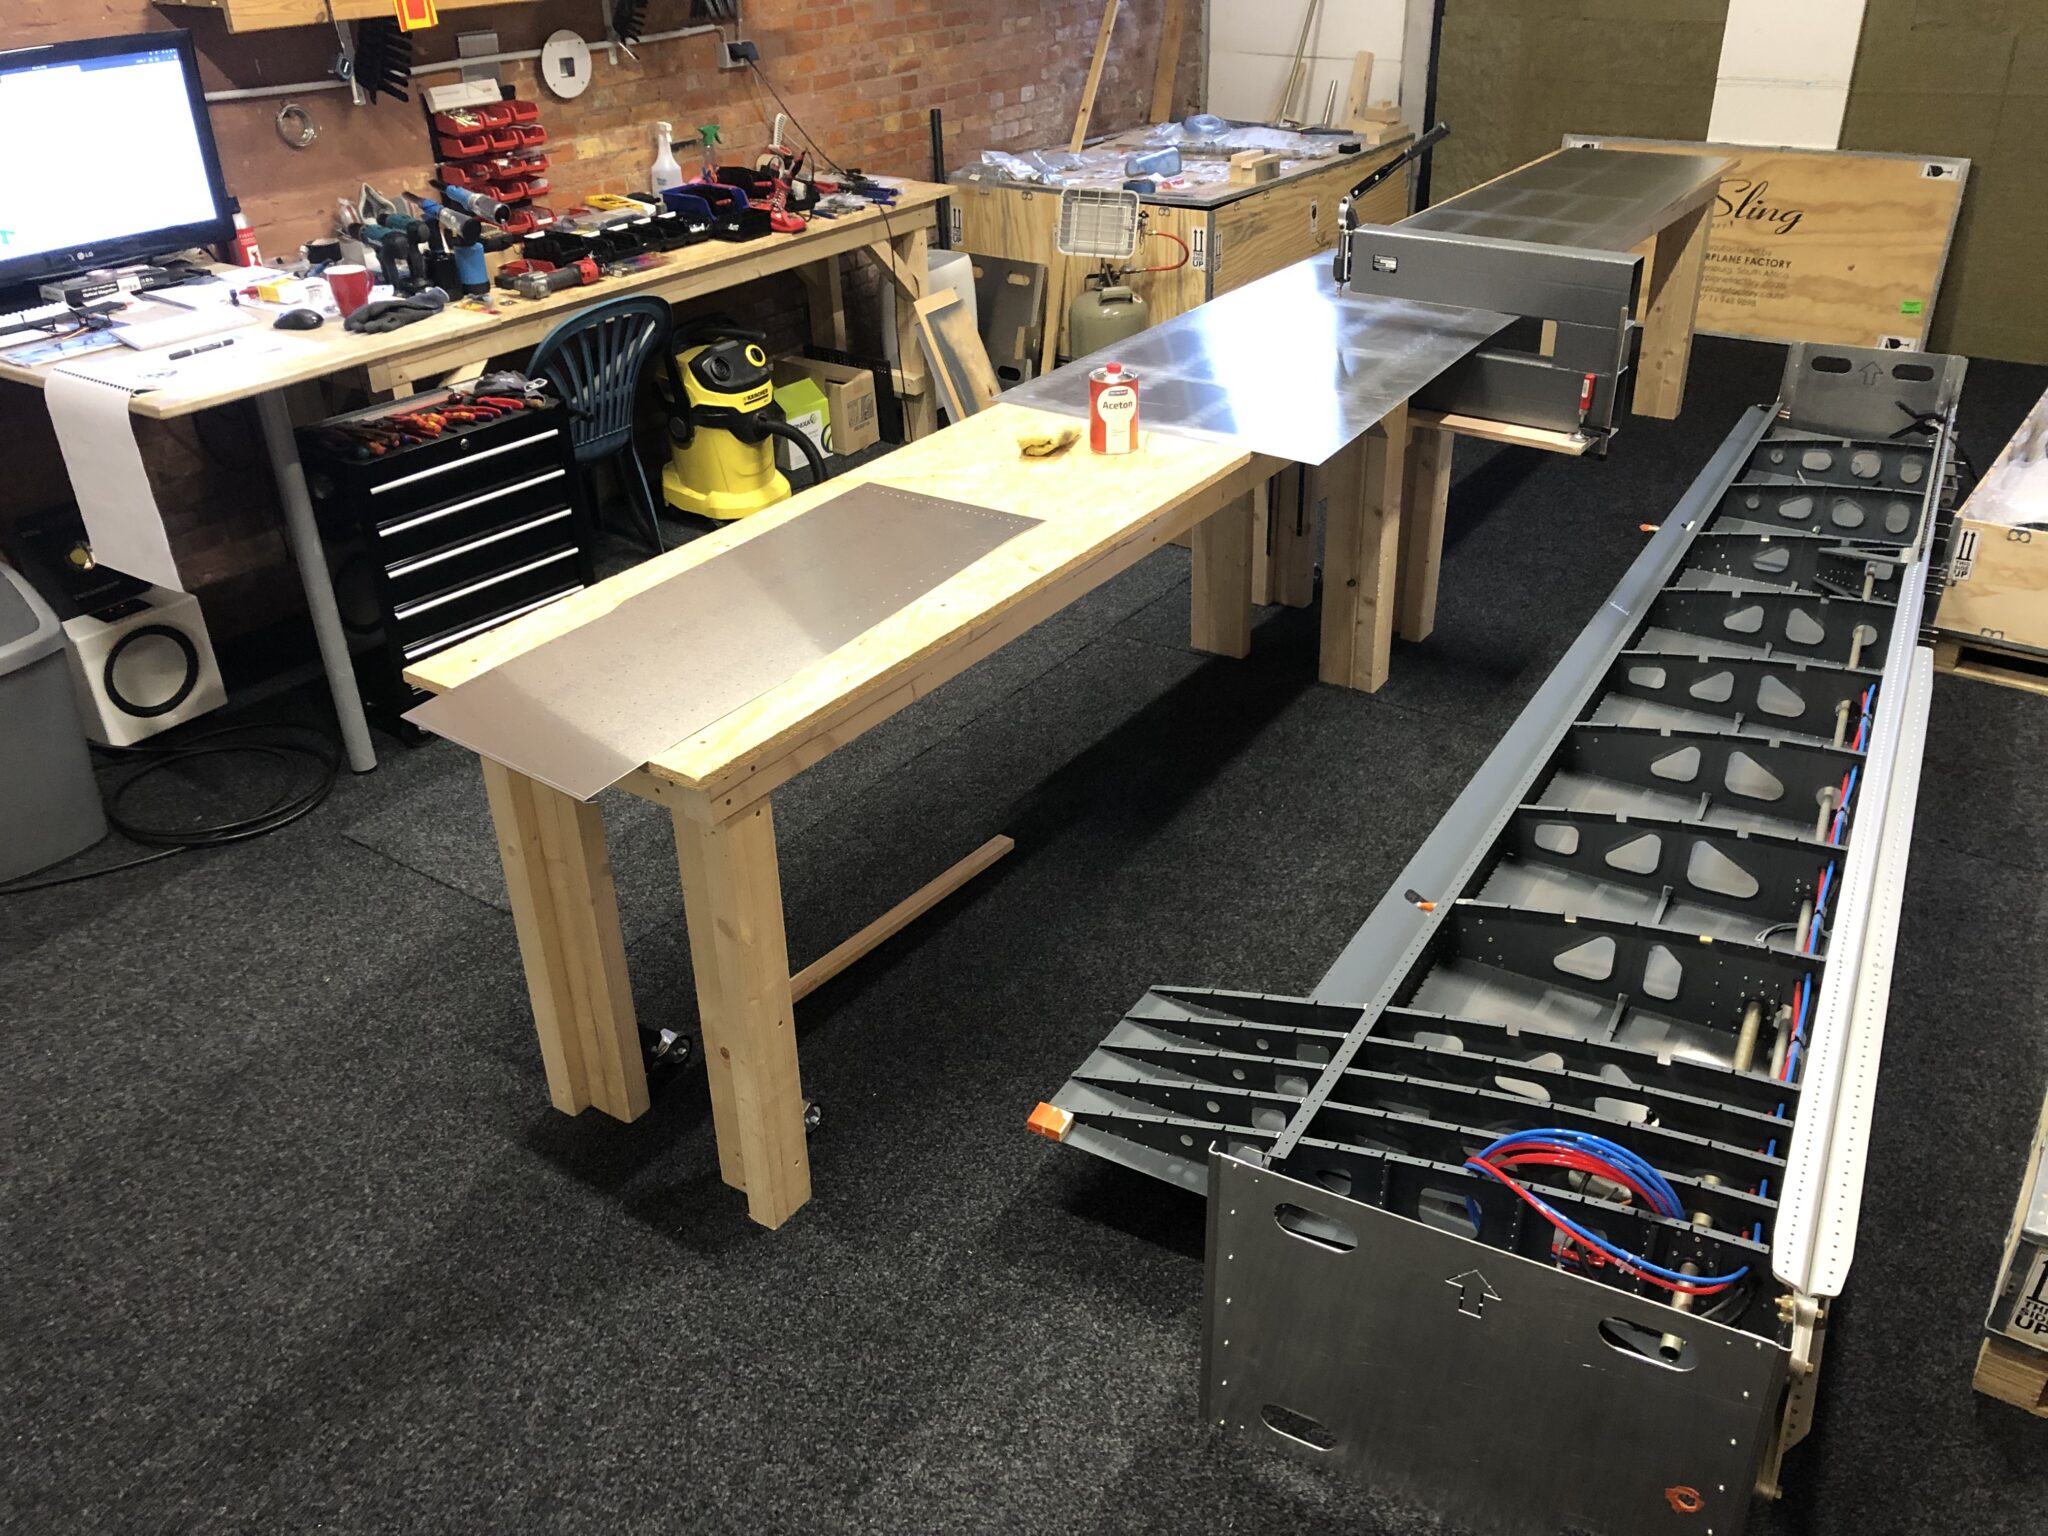
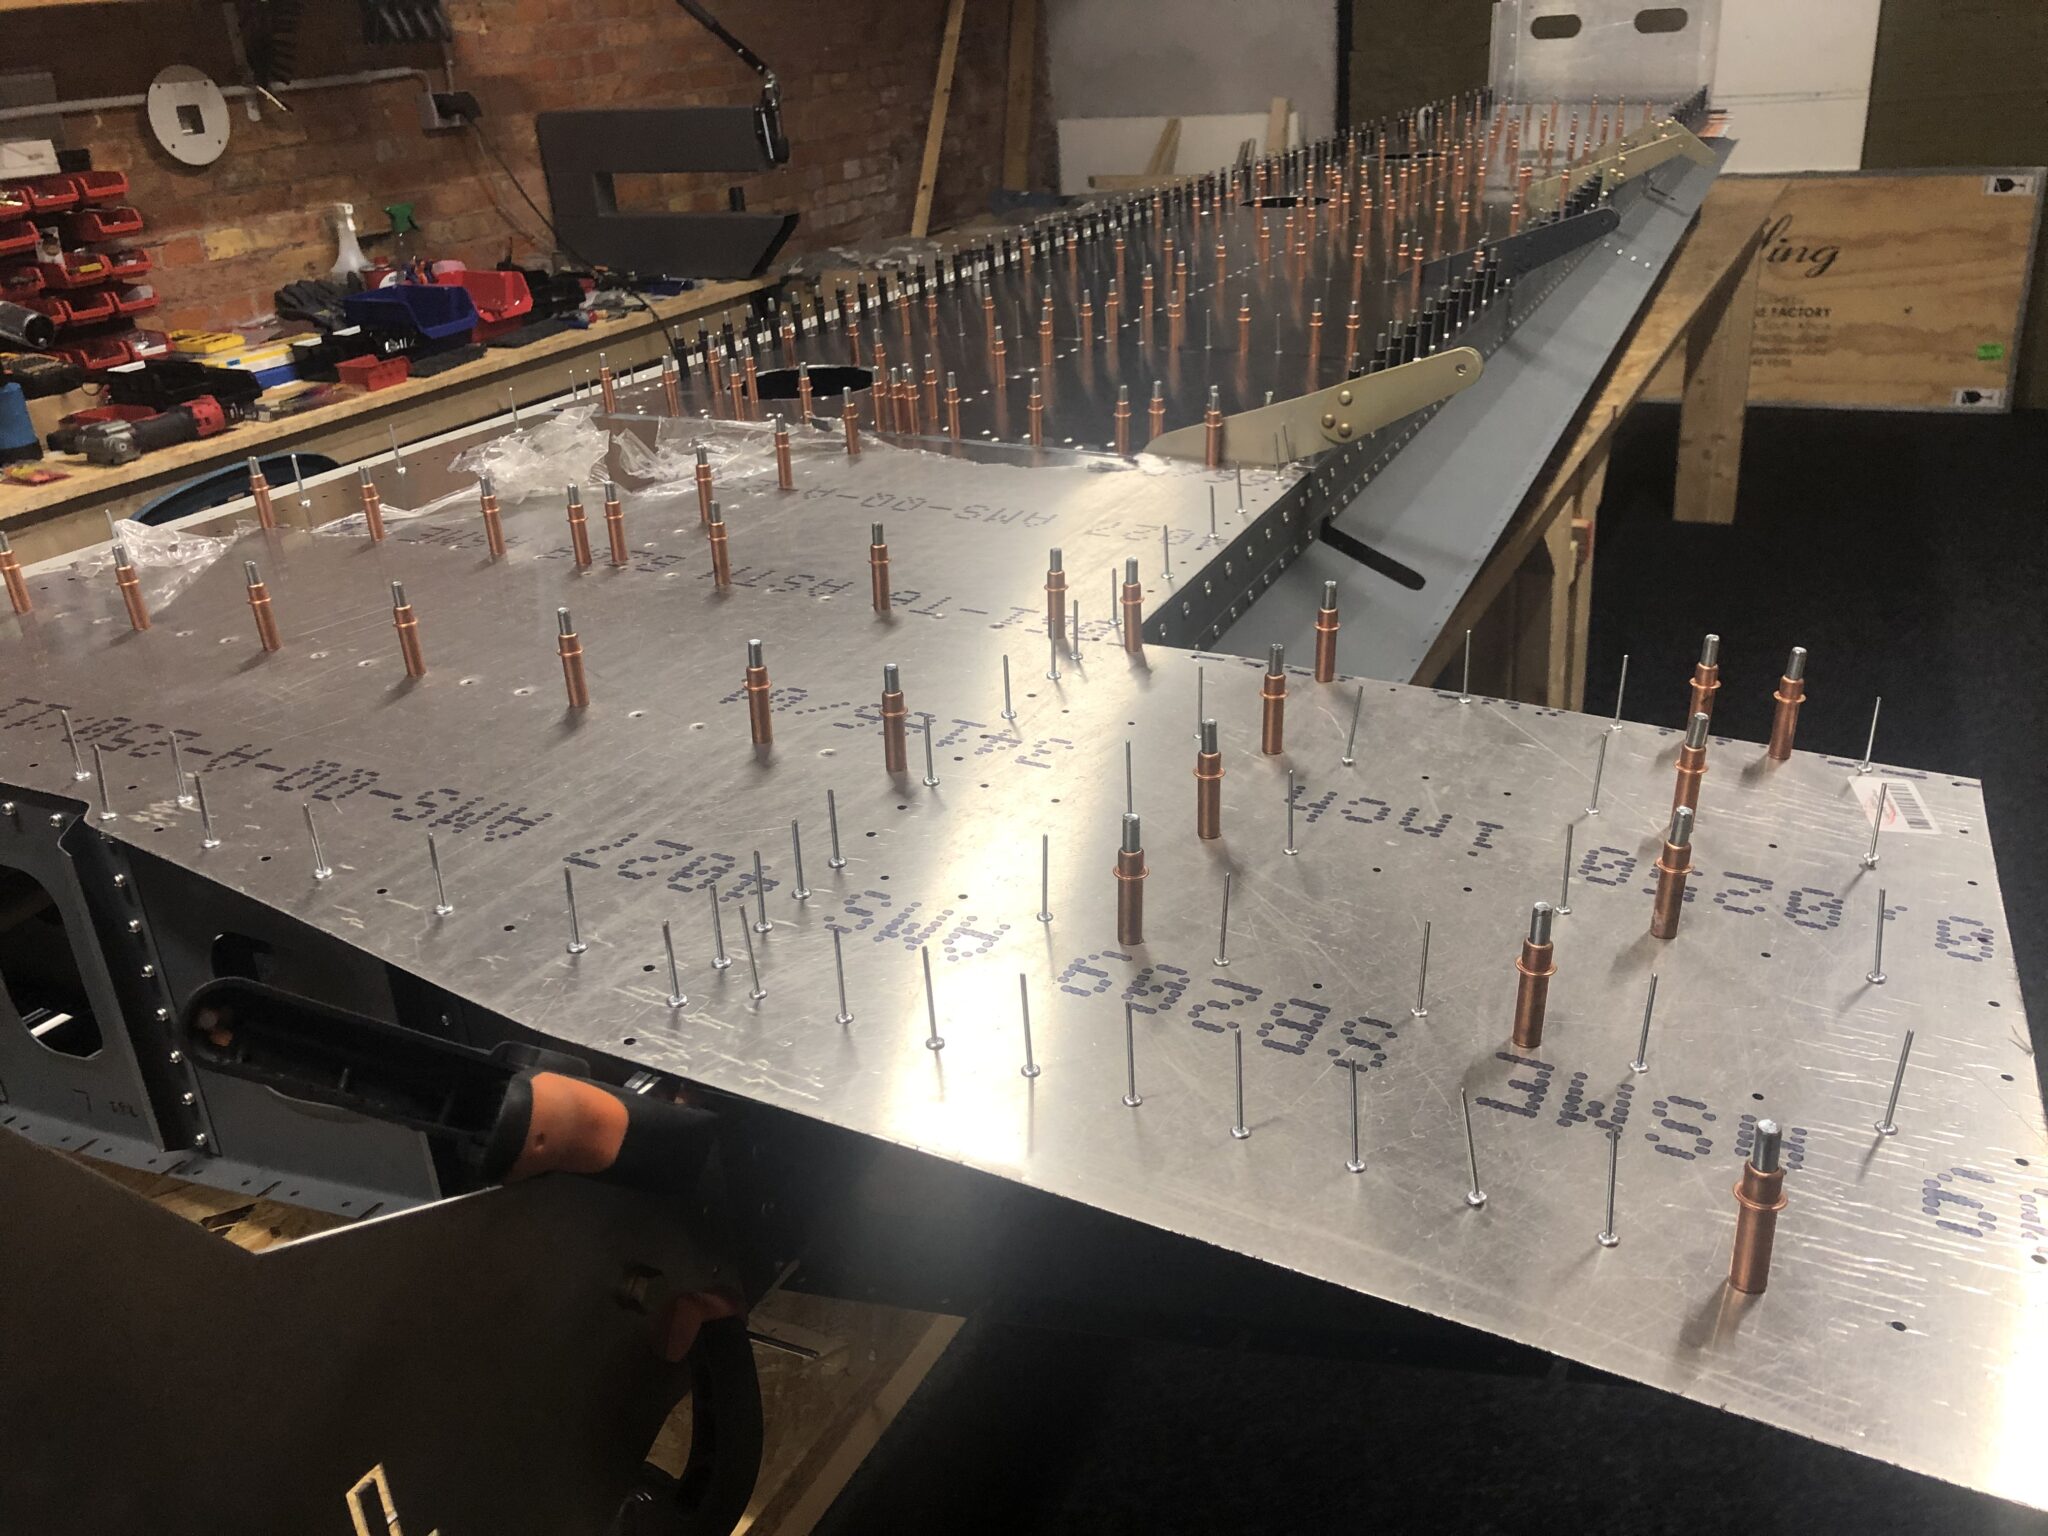
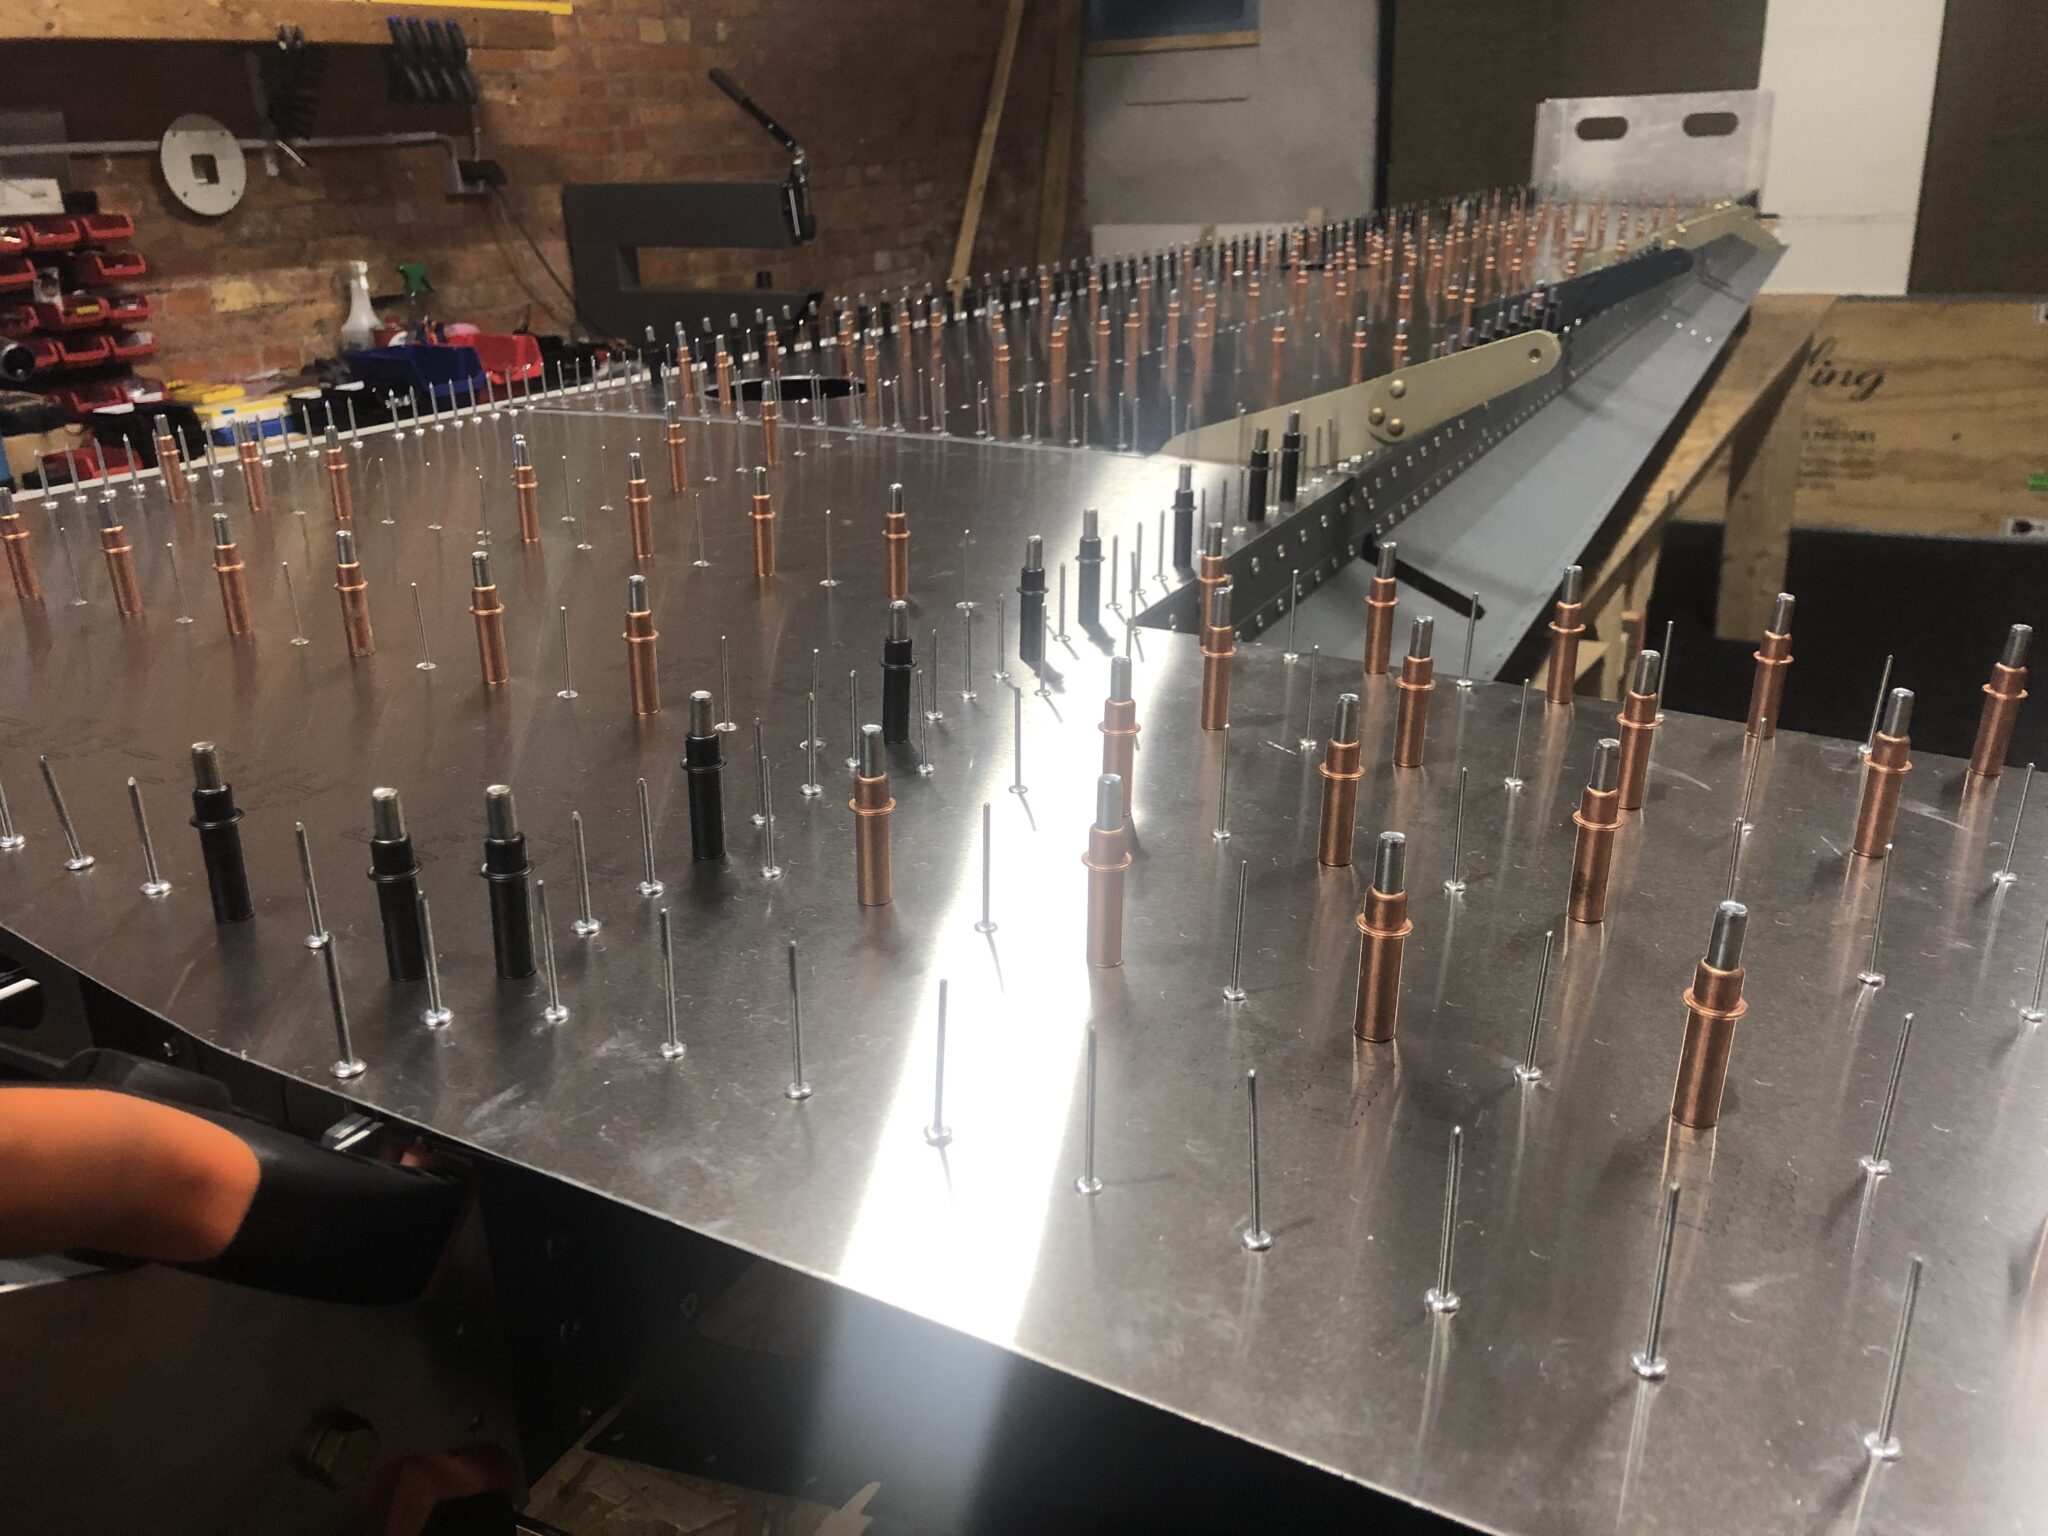
I’ll try to put in roughly 50% of the rivets without any clecos so the skins are free to move and set in the correct position. After that I fill the remaining holes with clecos and start to rivet from the most rigid spot on the part. In case of the wing it’s clearly the root of the main spar.
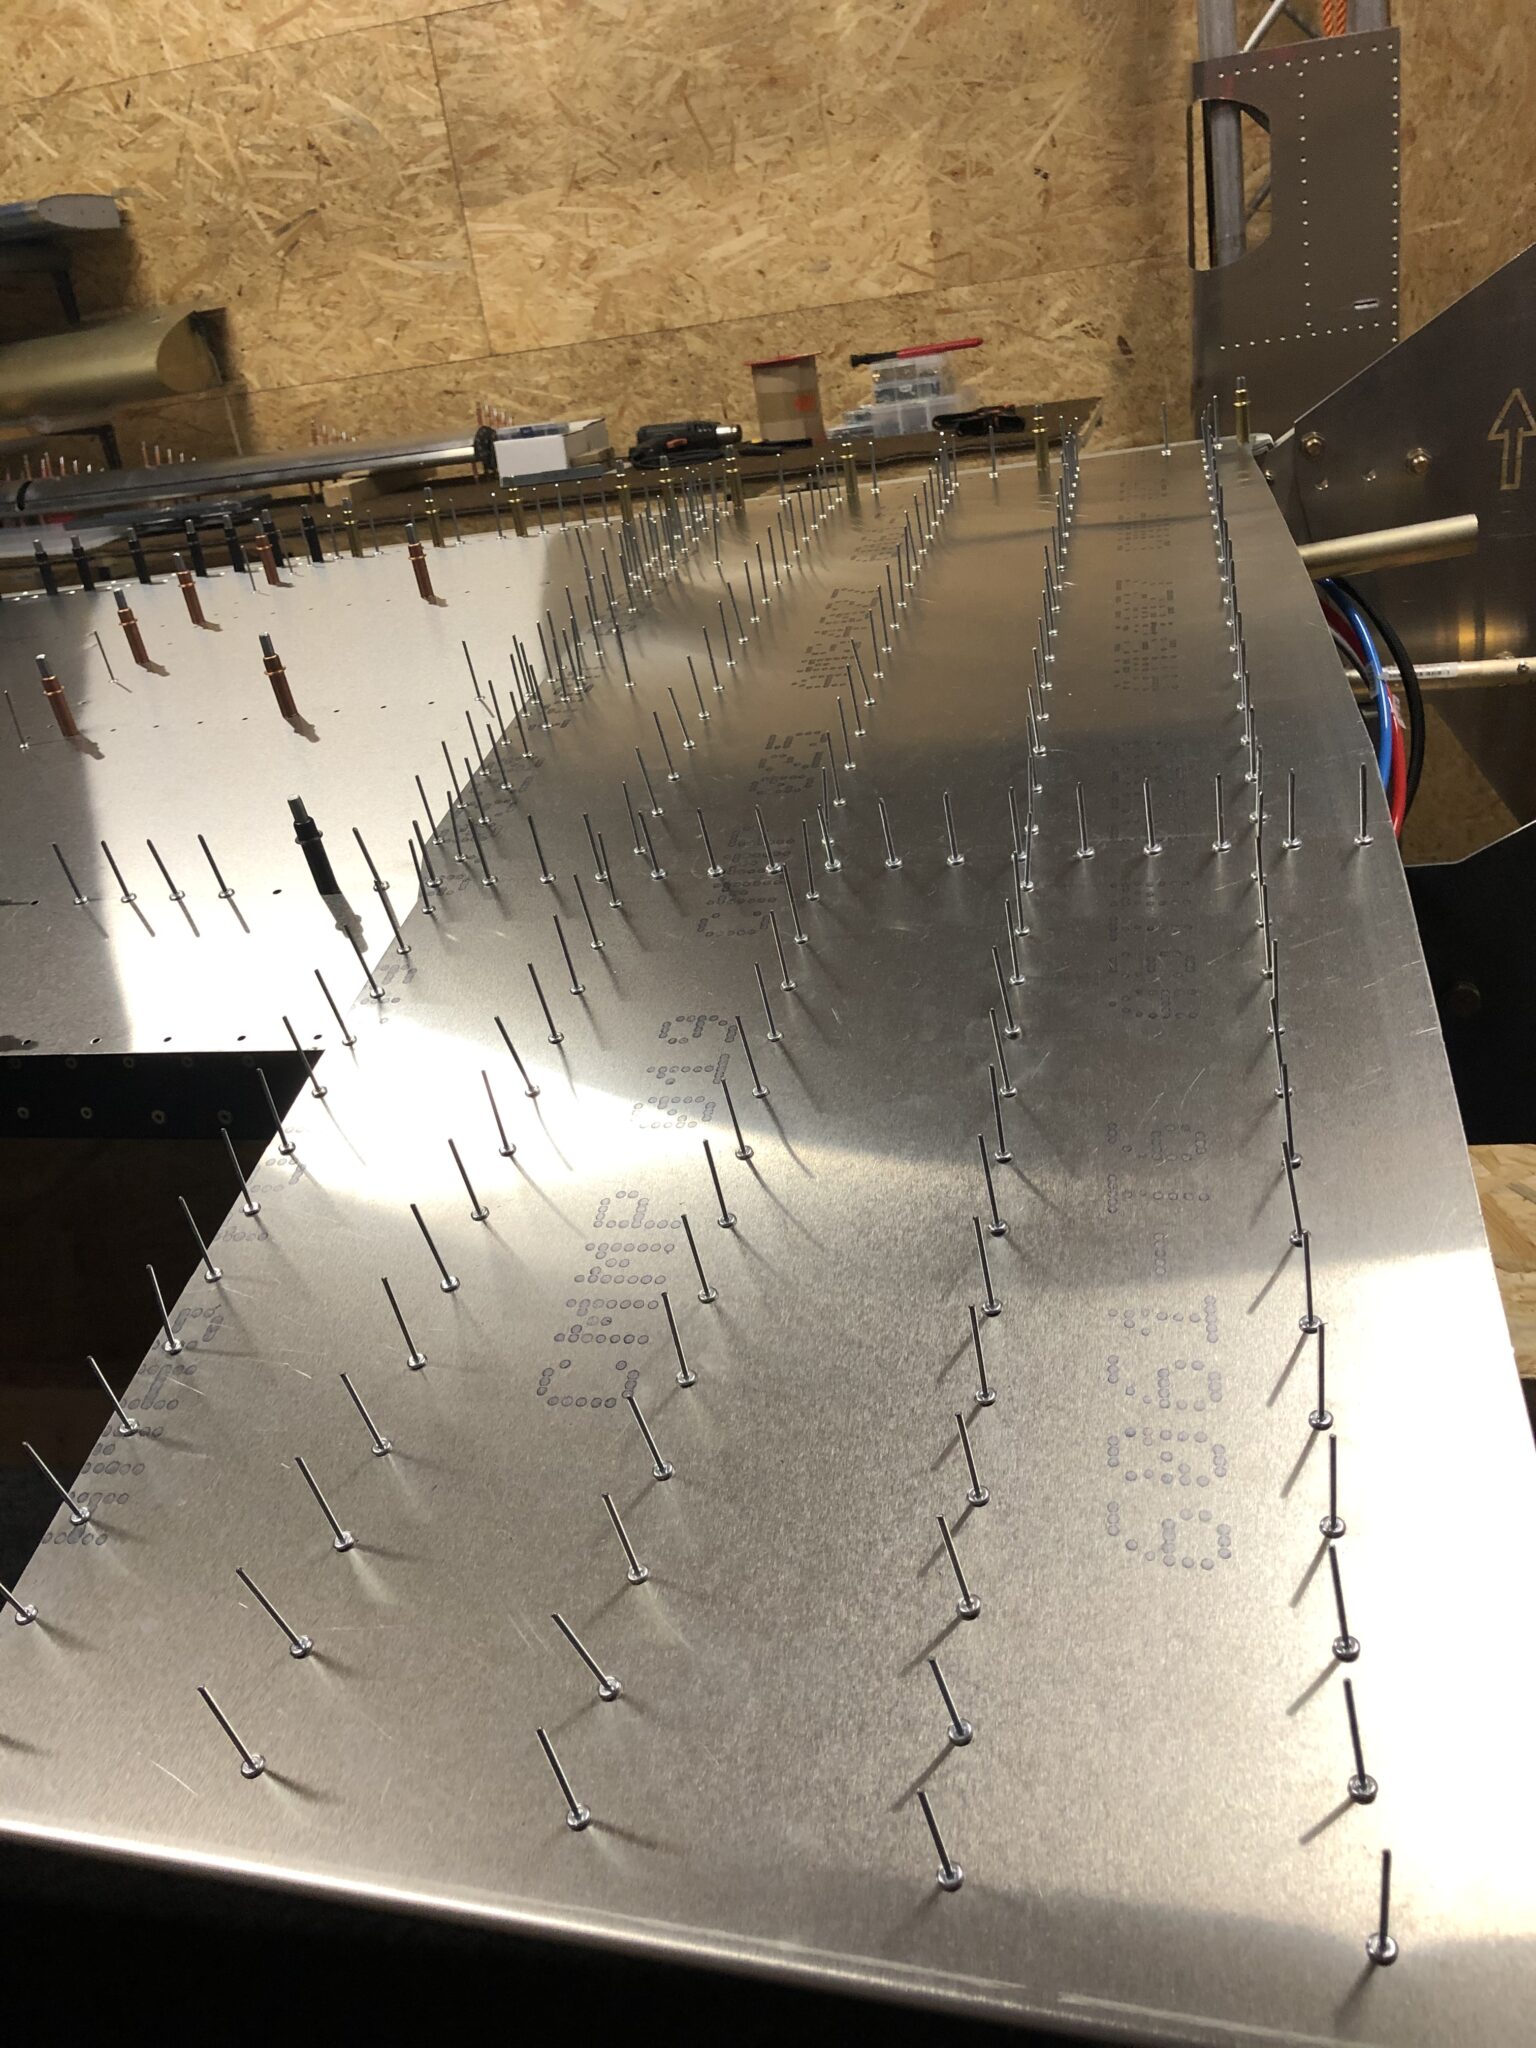
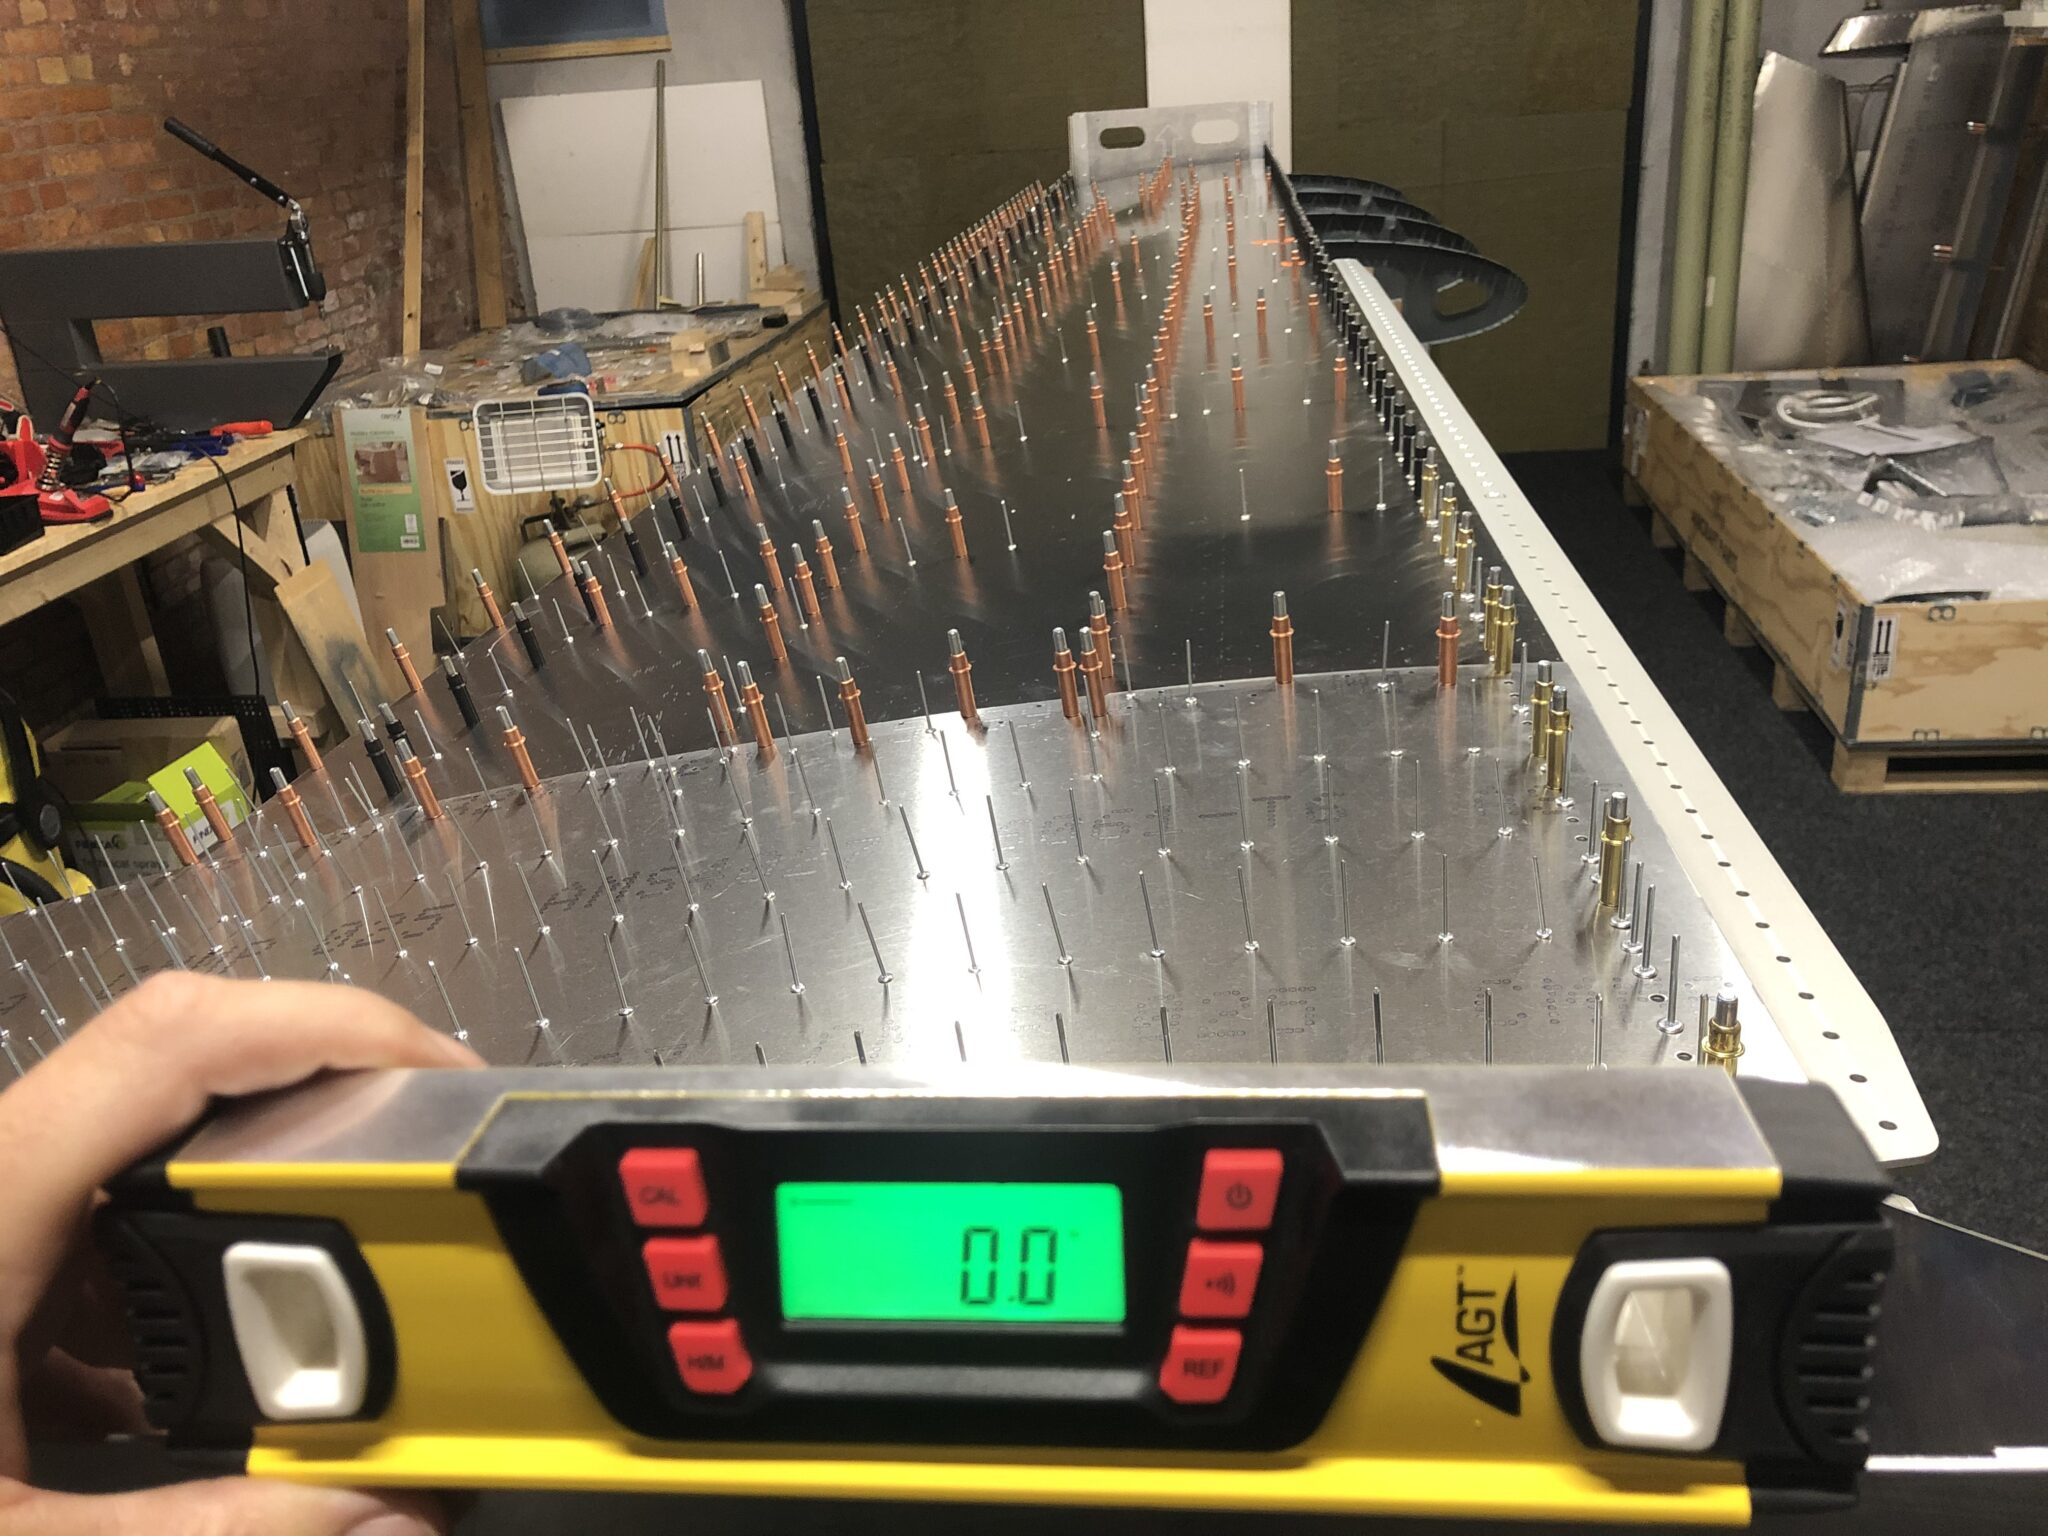
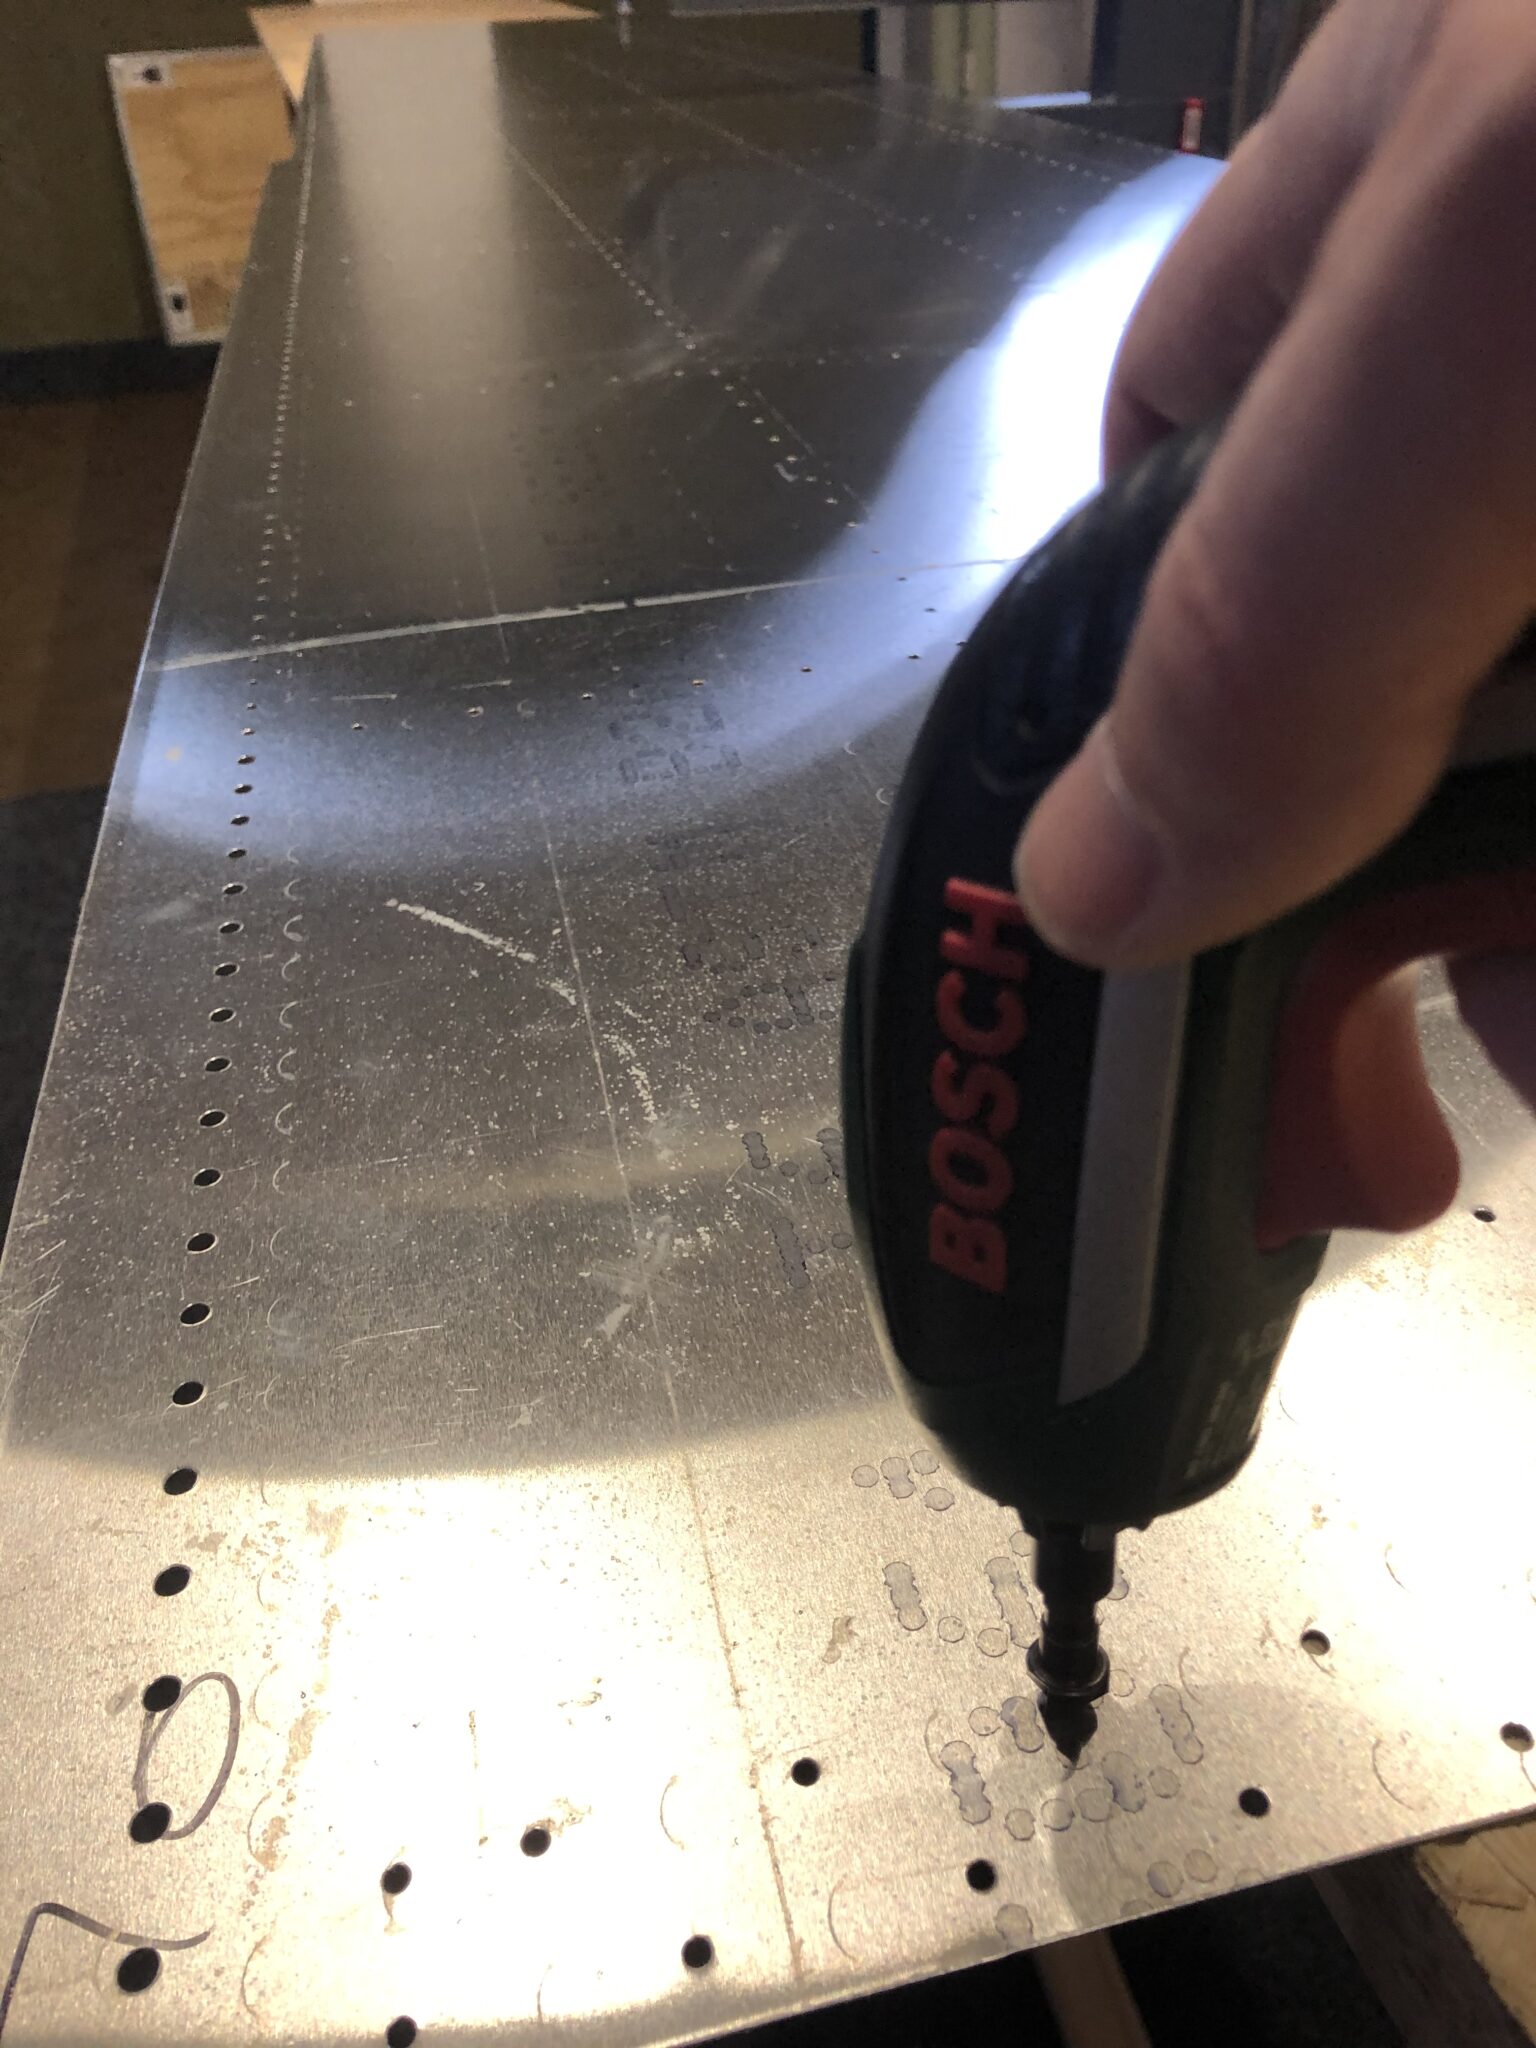
Dimpling, Deburring the top skins and priming all mating surfaces.


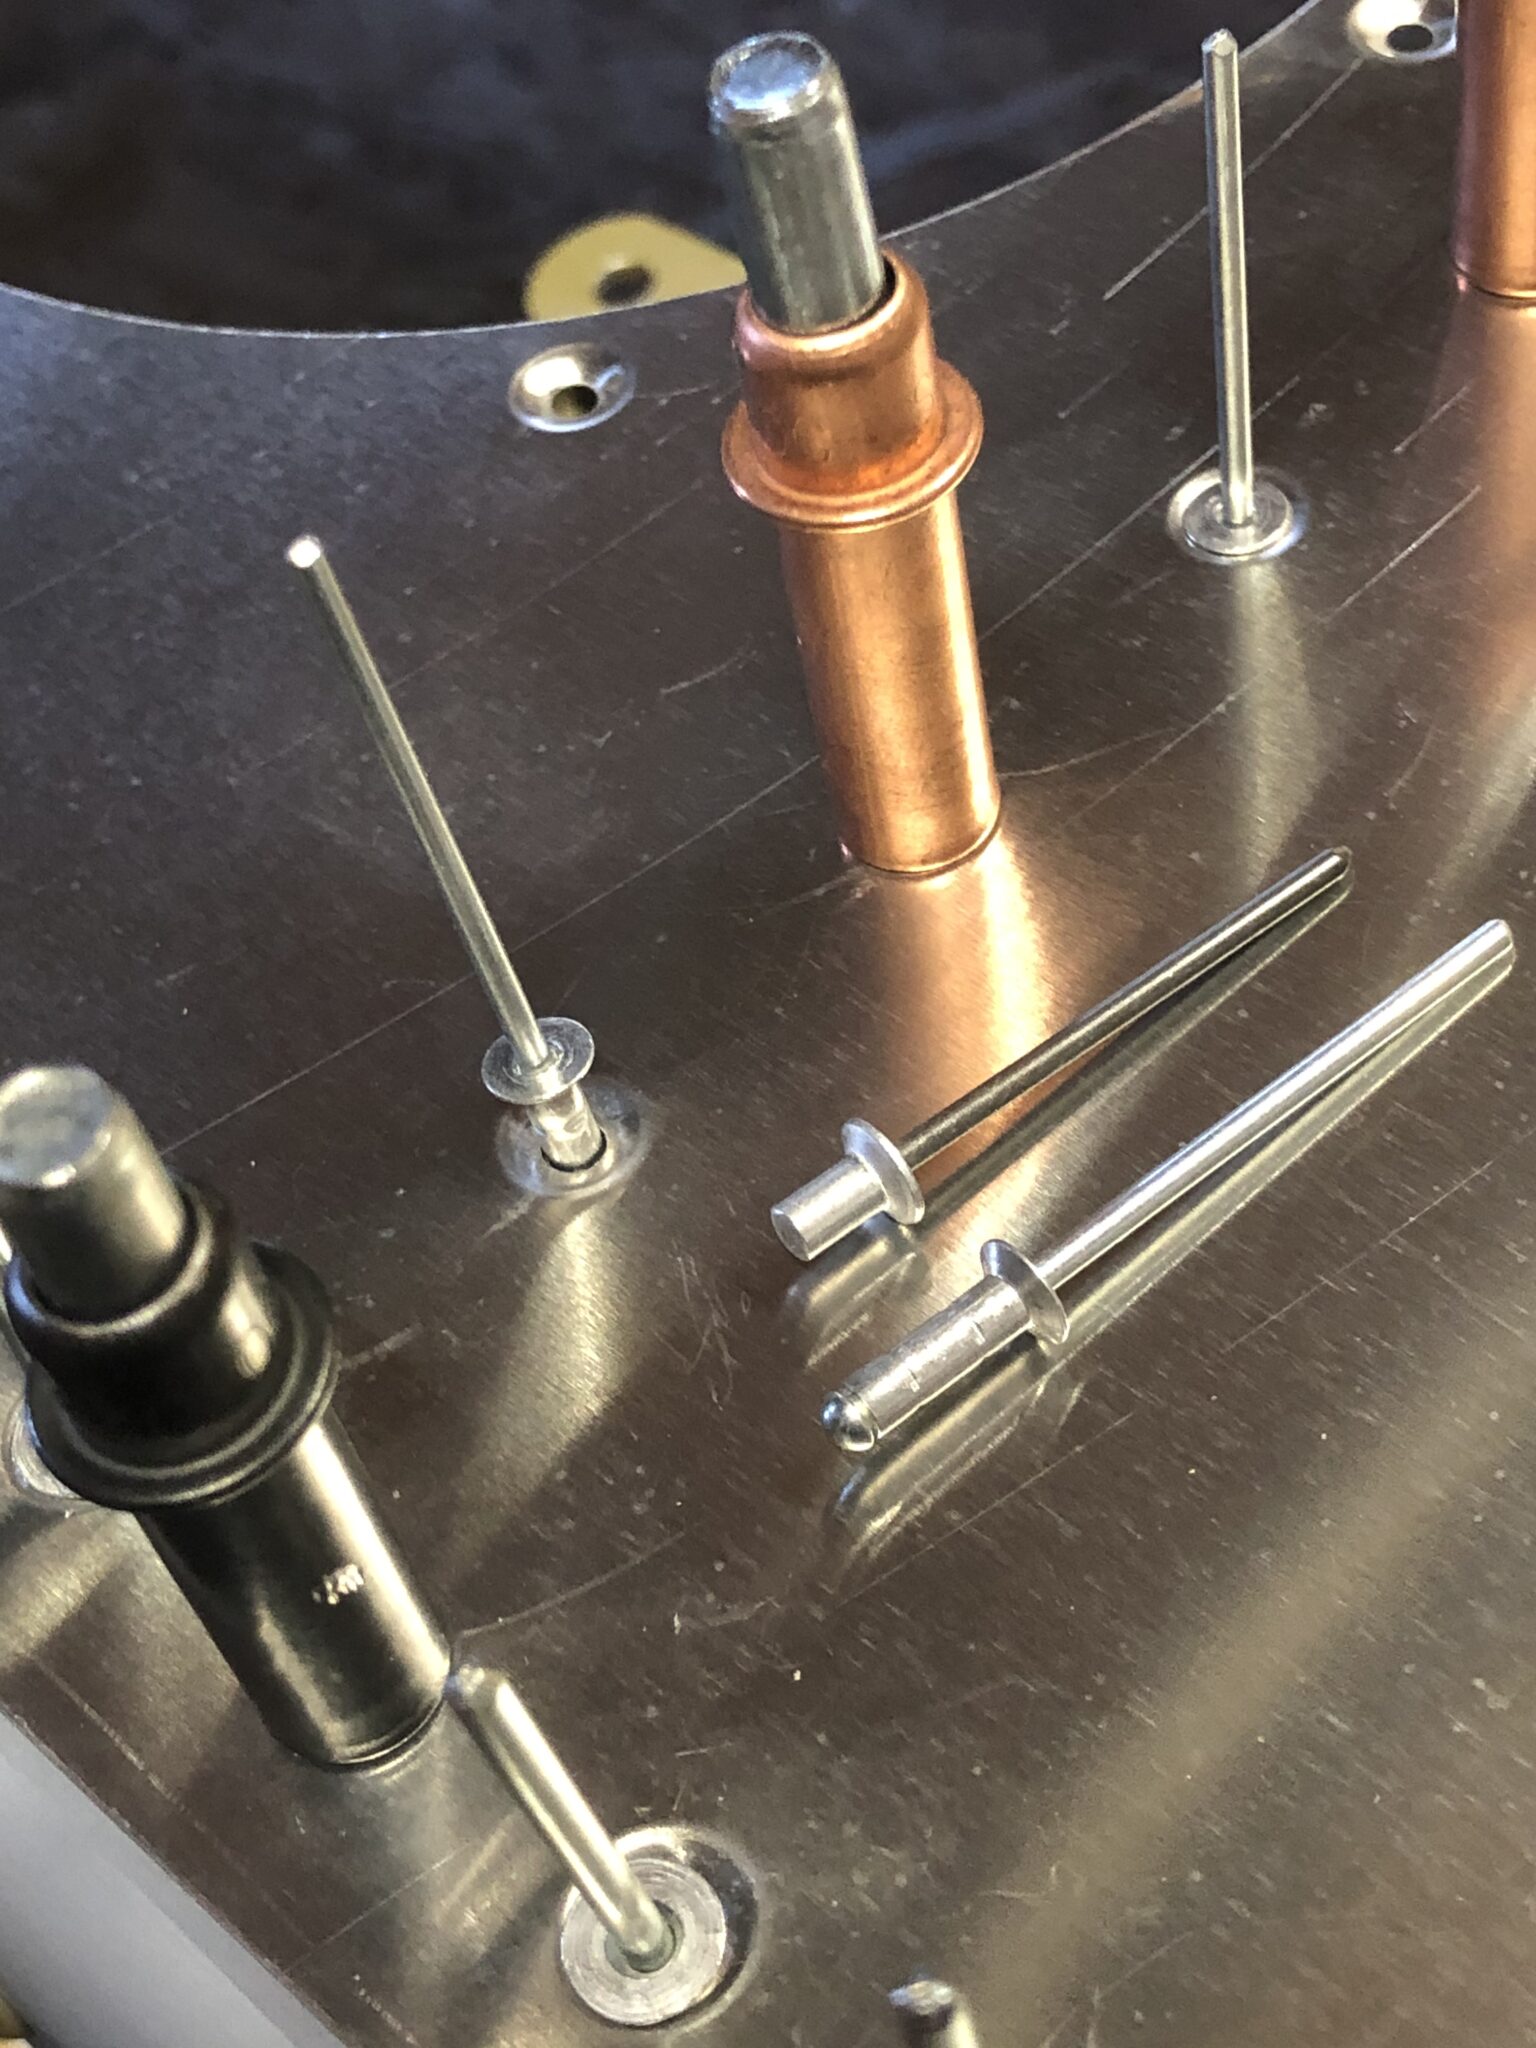
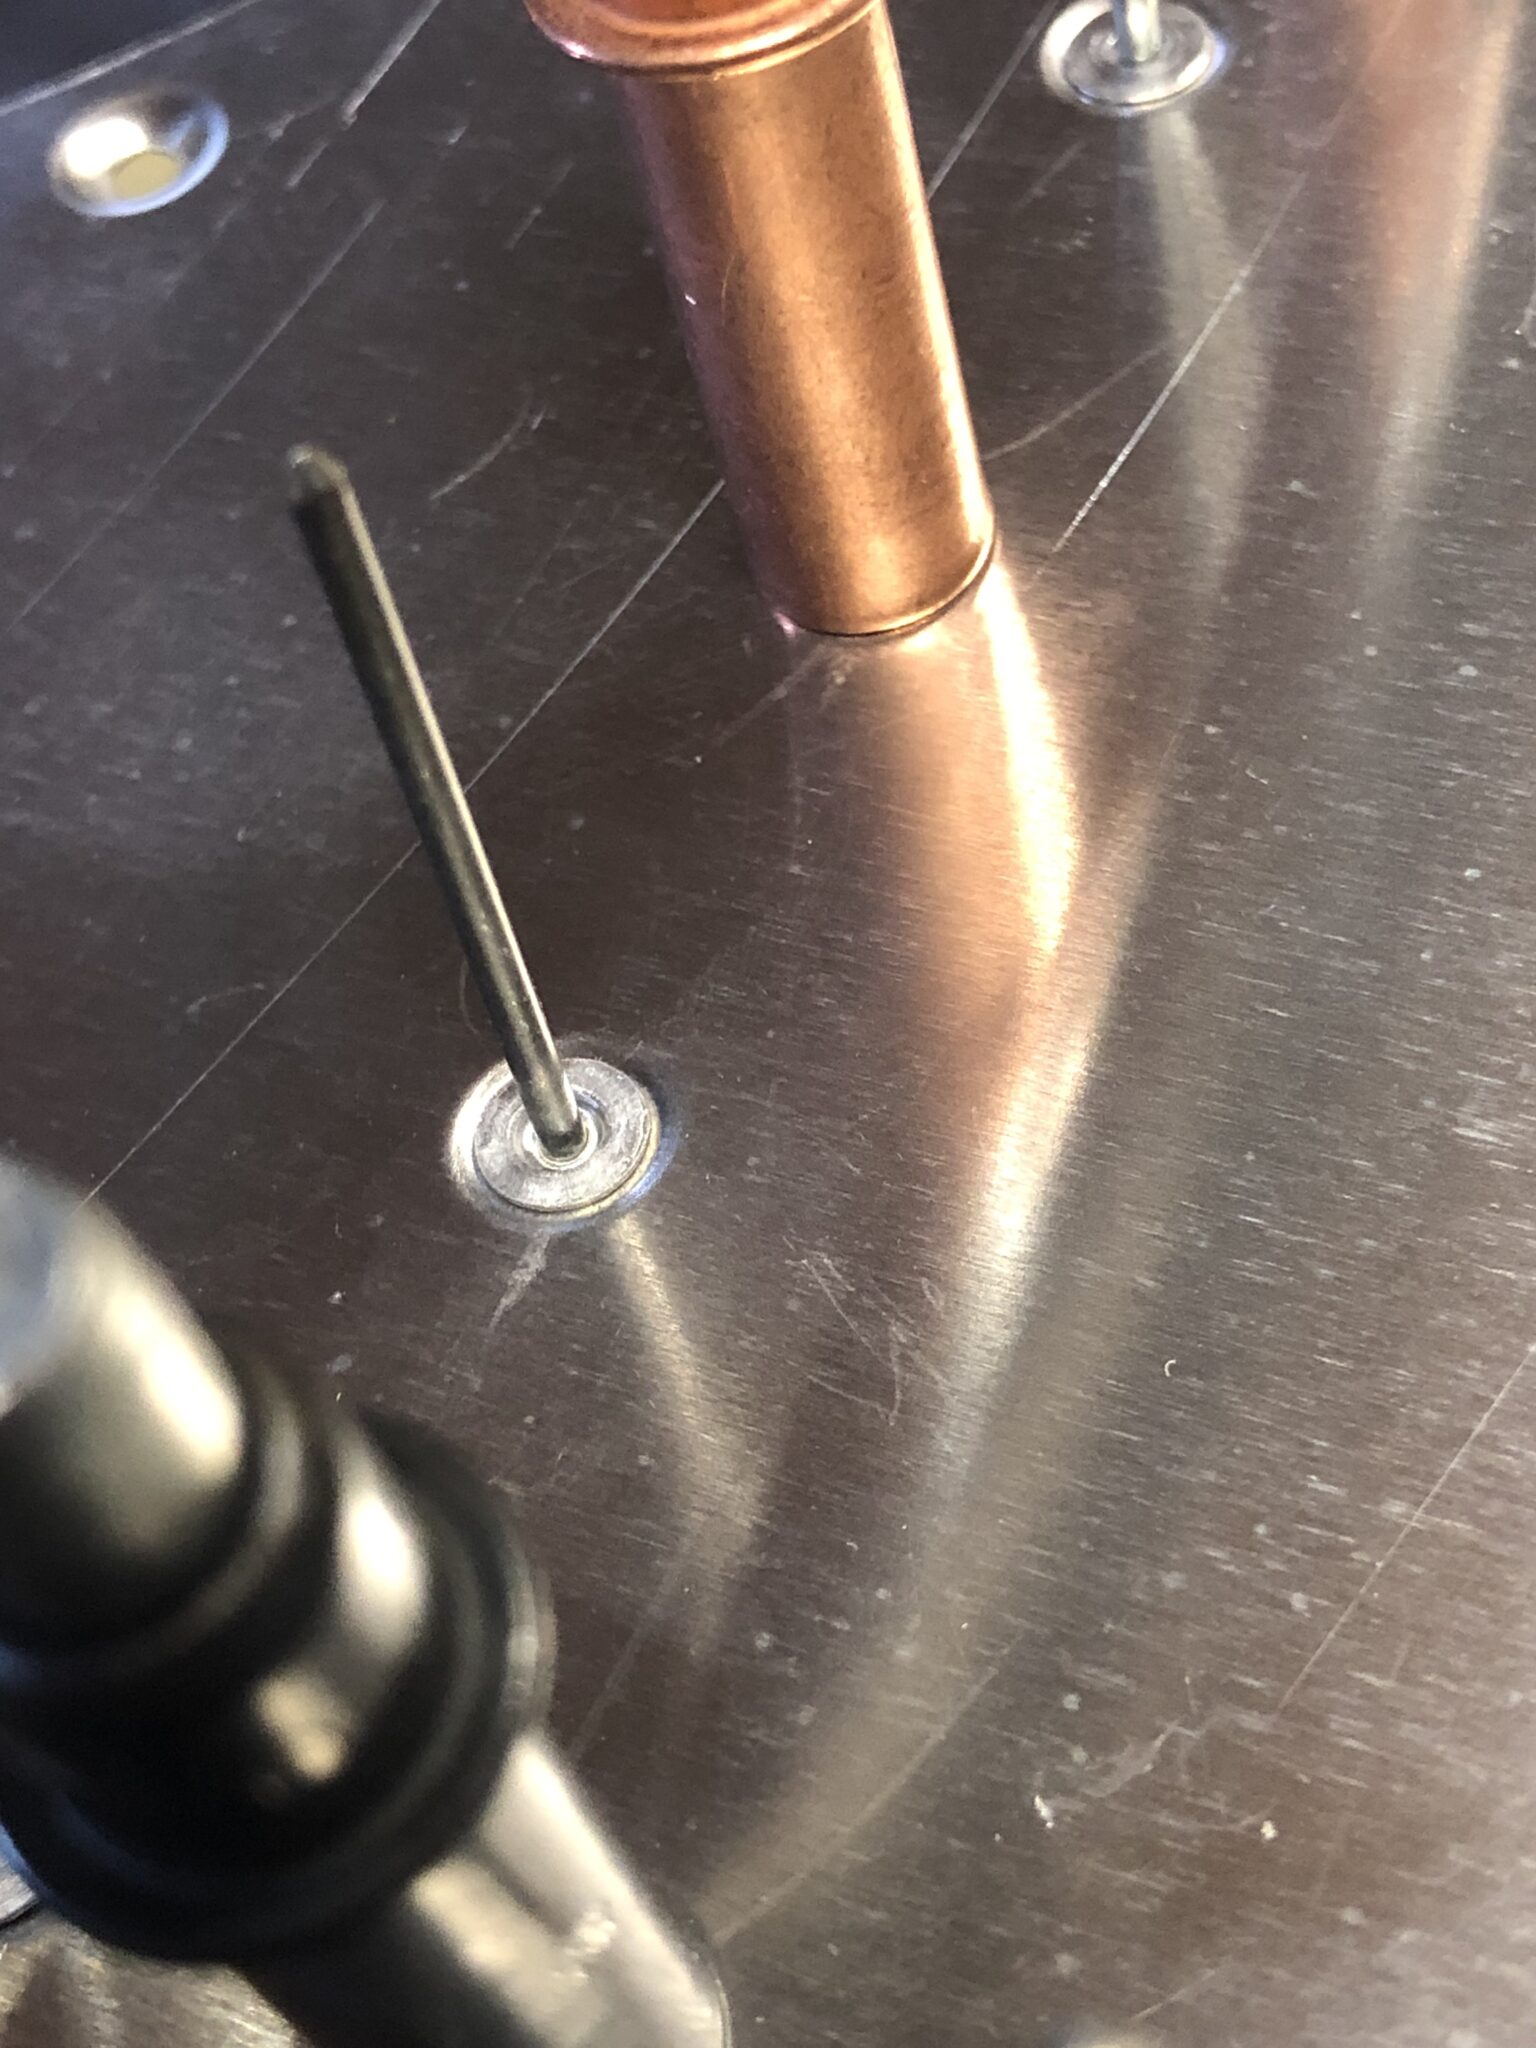
The Garmin GAP-26 pitot tube comes without screws. Those #6-32 screws are the same that hold the old 3.5″ hard disks in your PC. So you might have some.


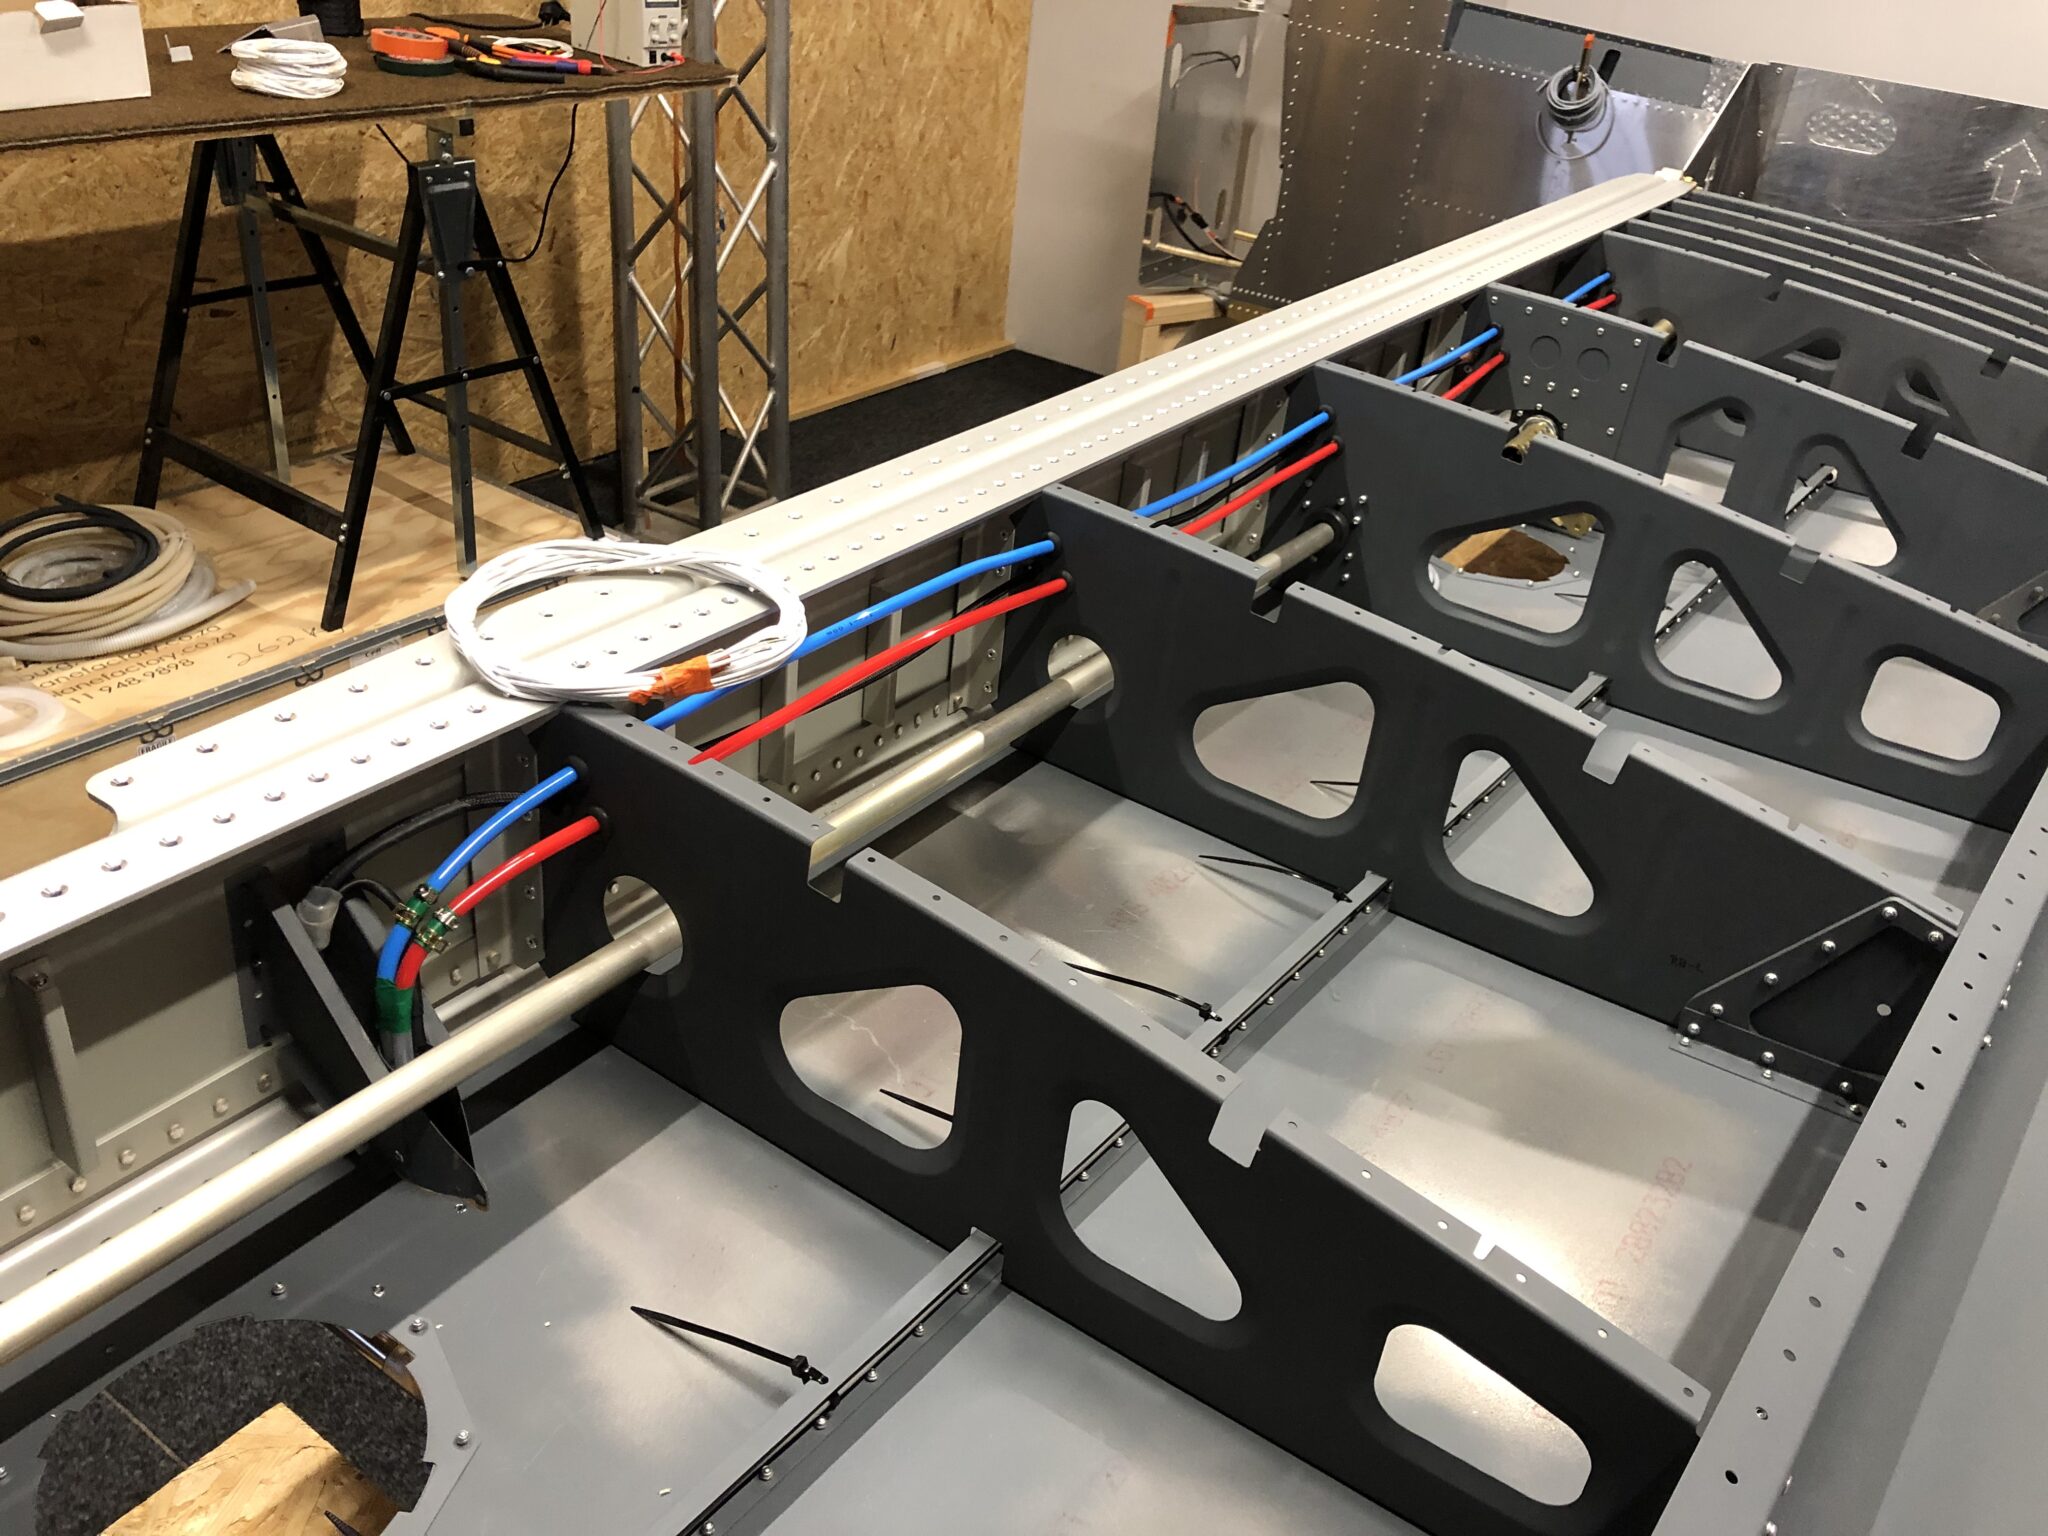

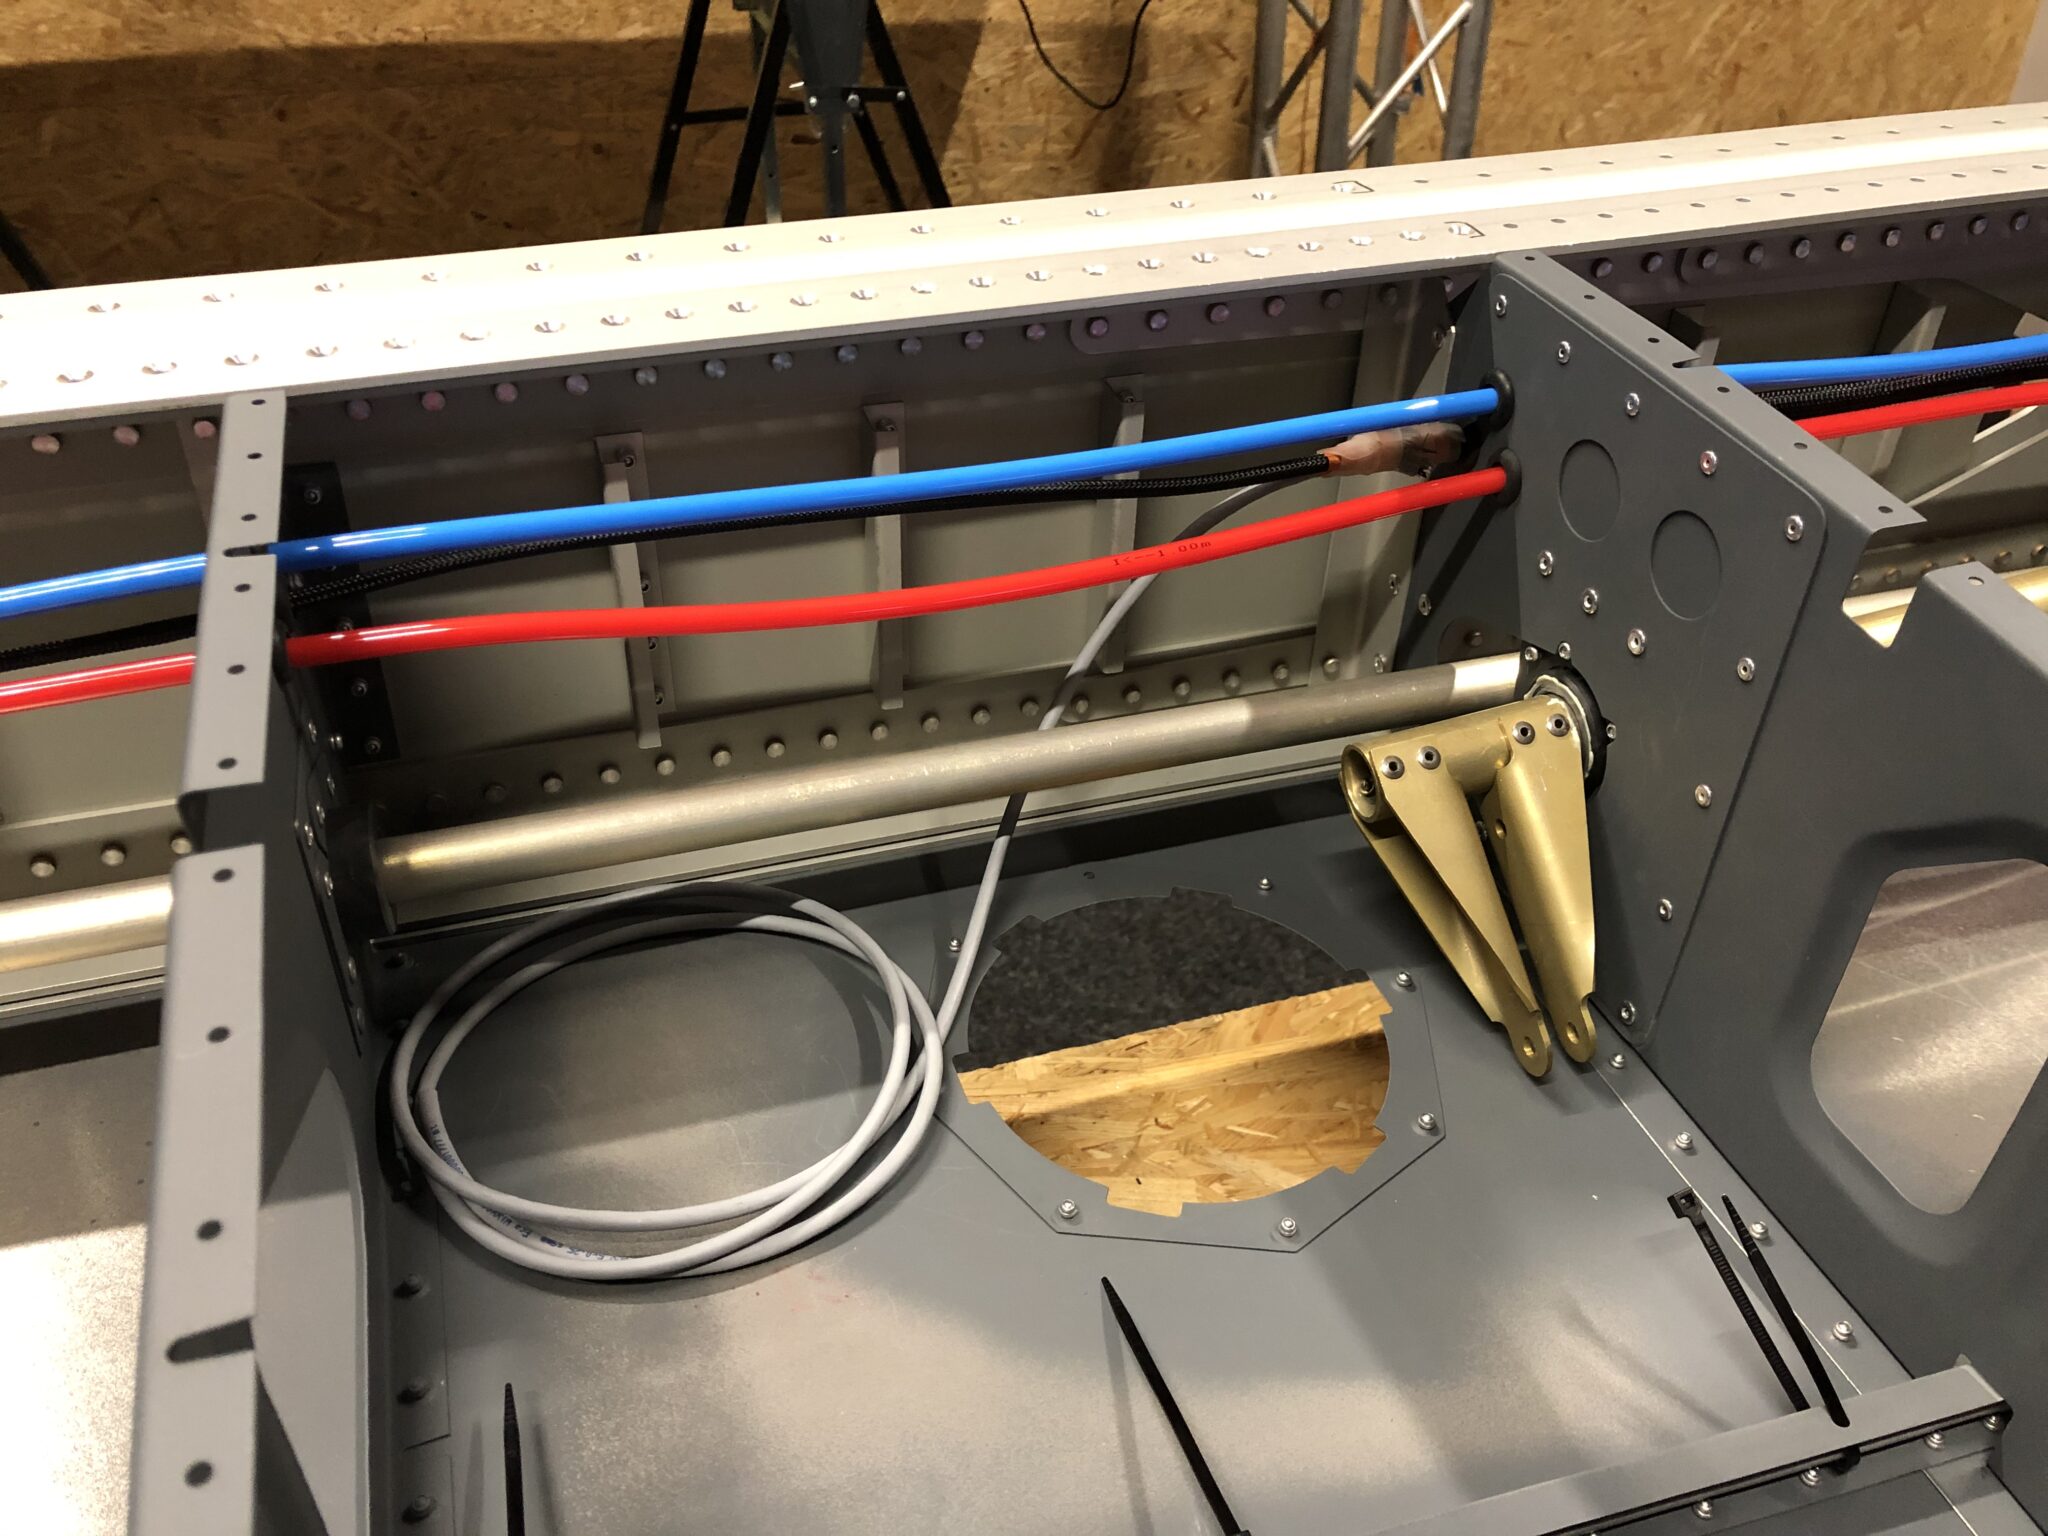

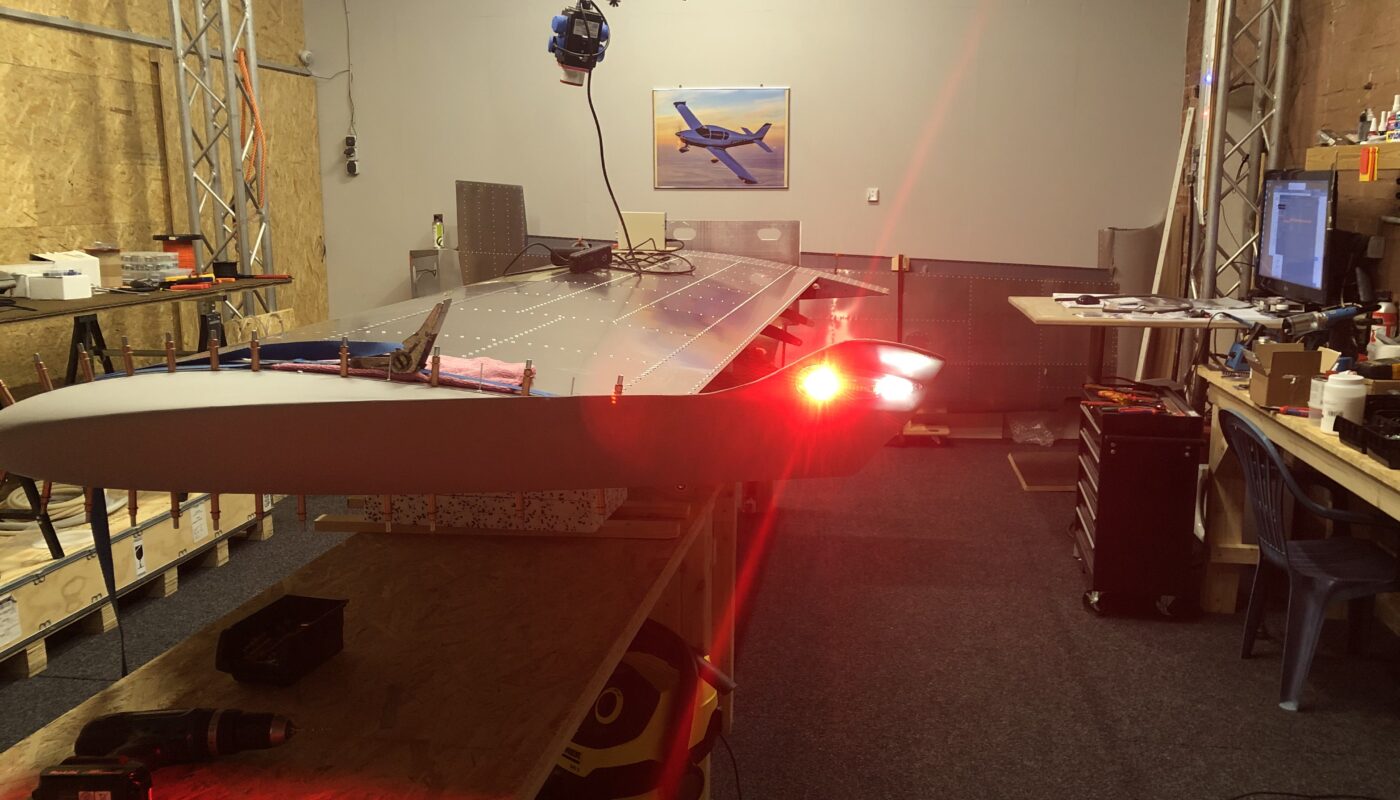
After the bottom skin is attached and riveted, the cables for the wing tip and the Pitot tube need to be inserted.


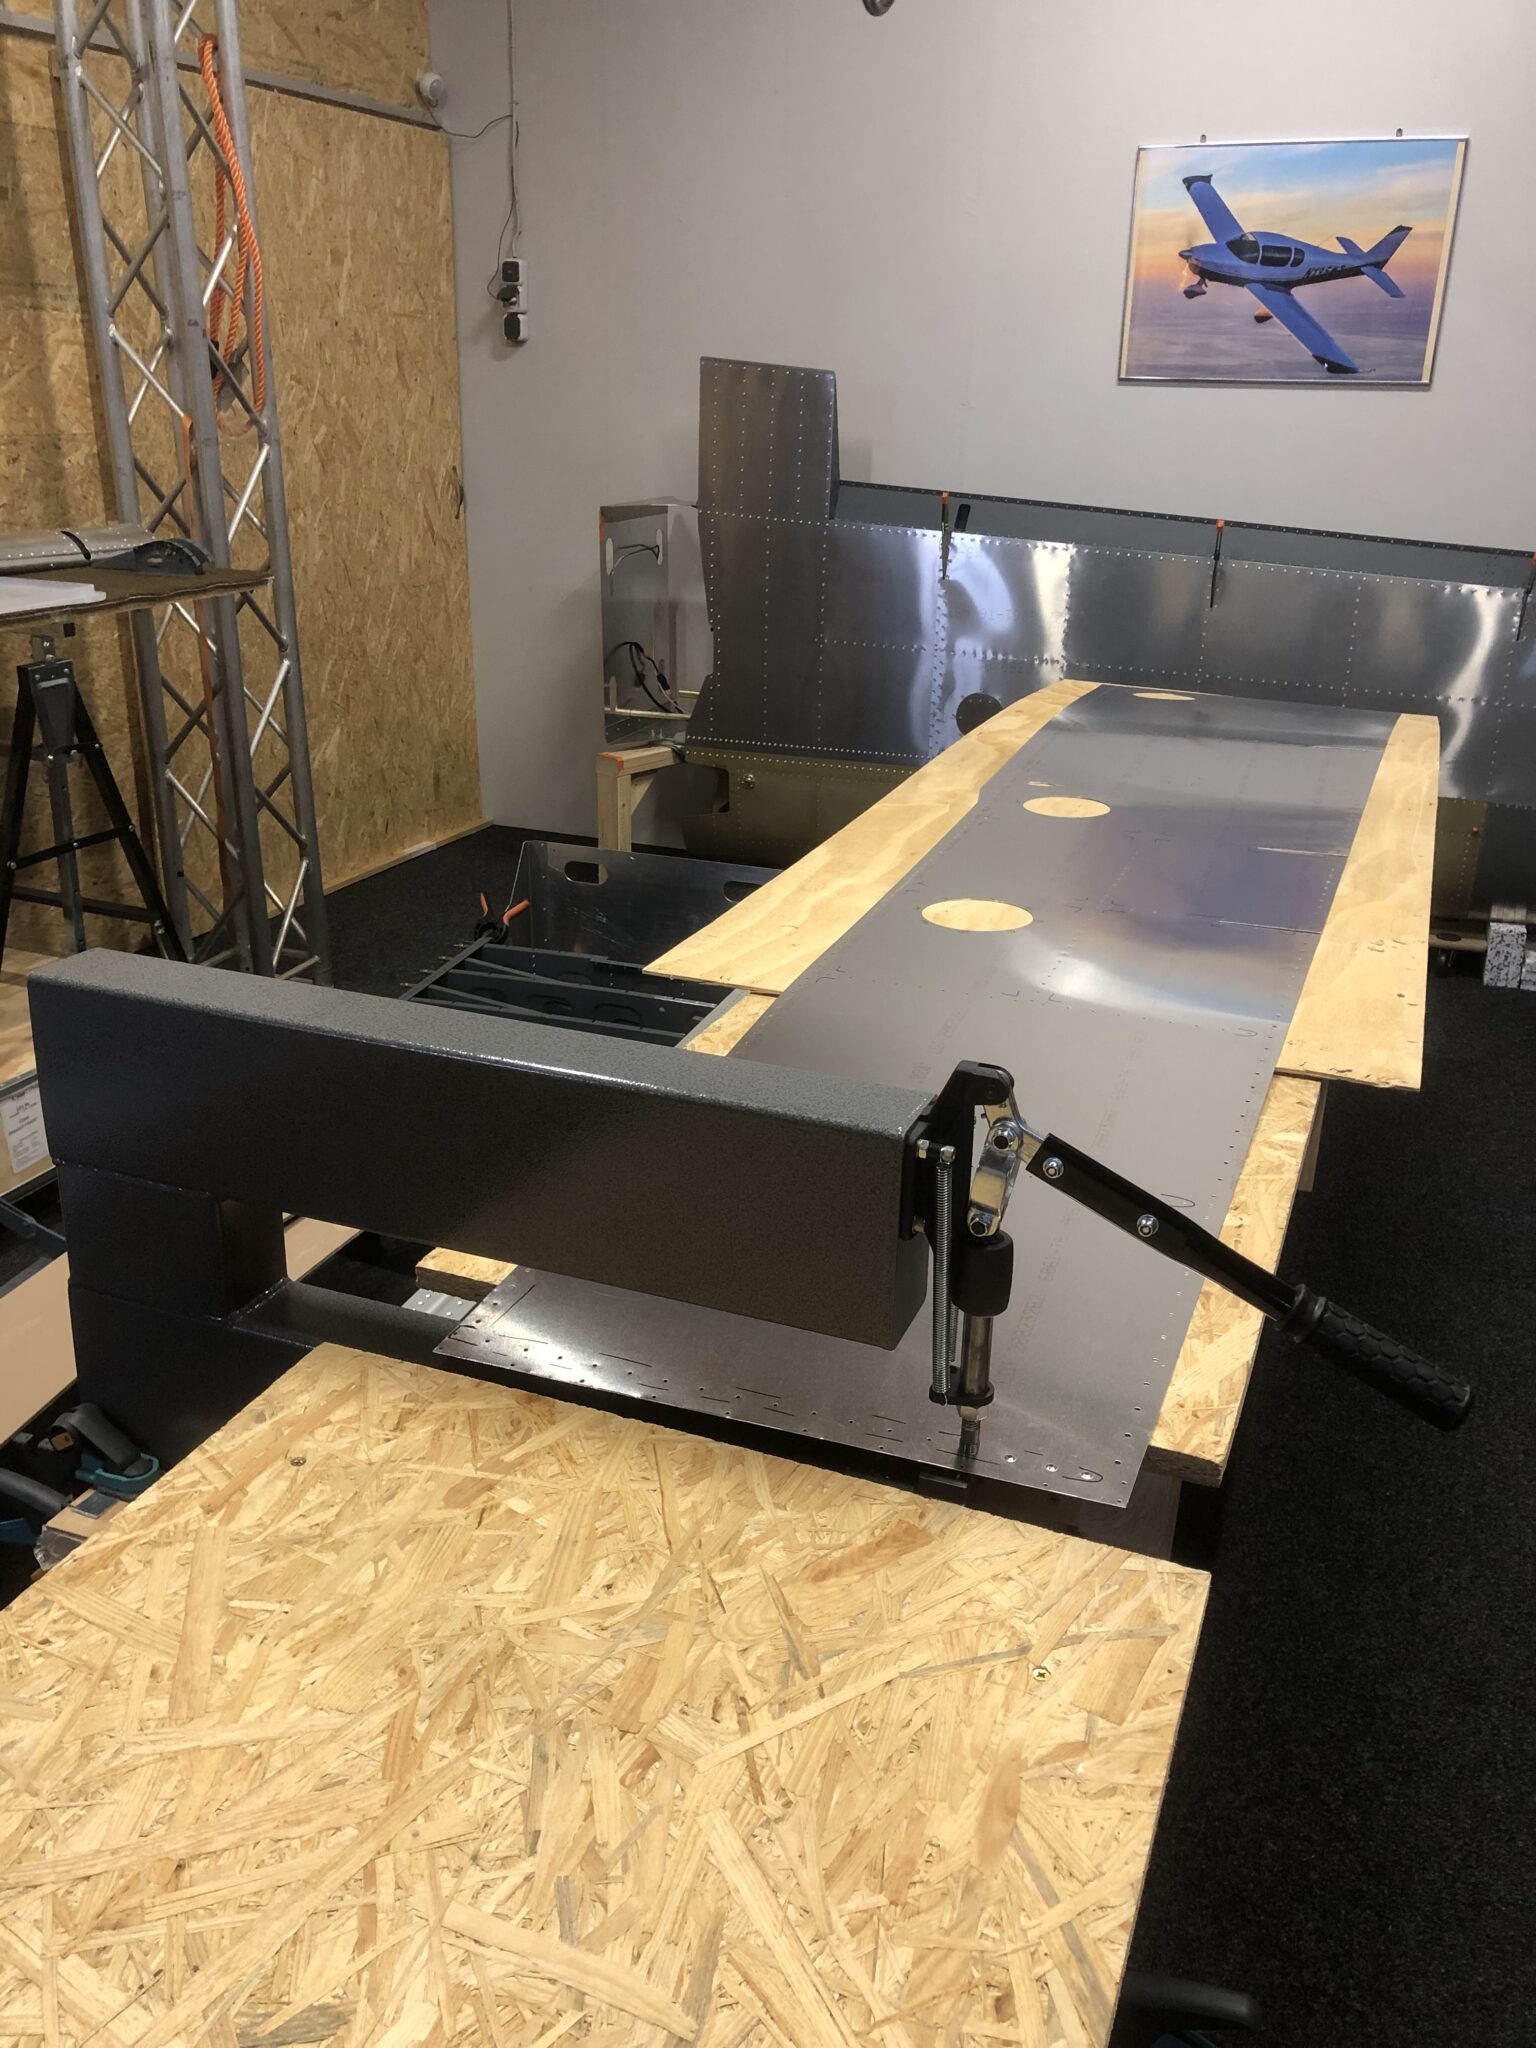
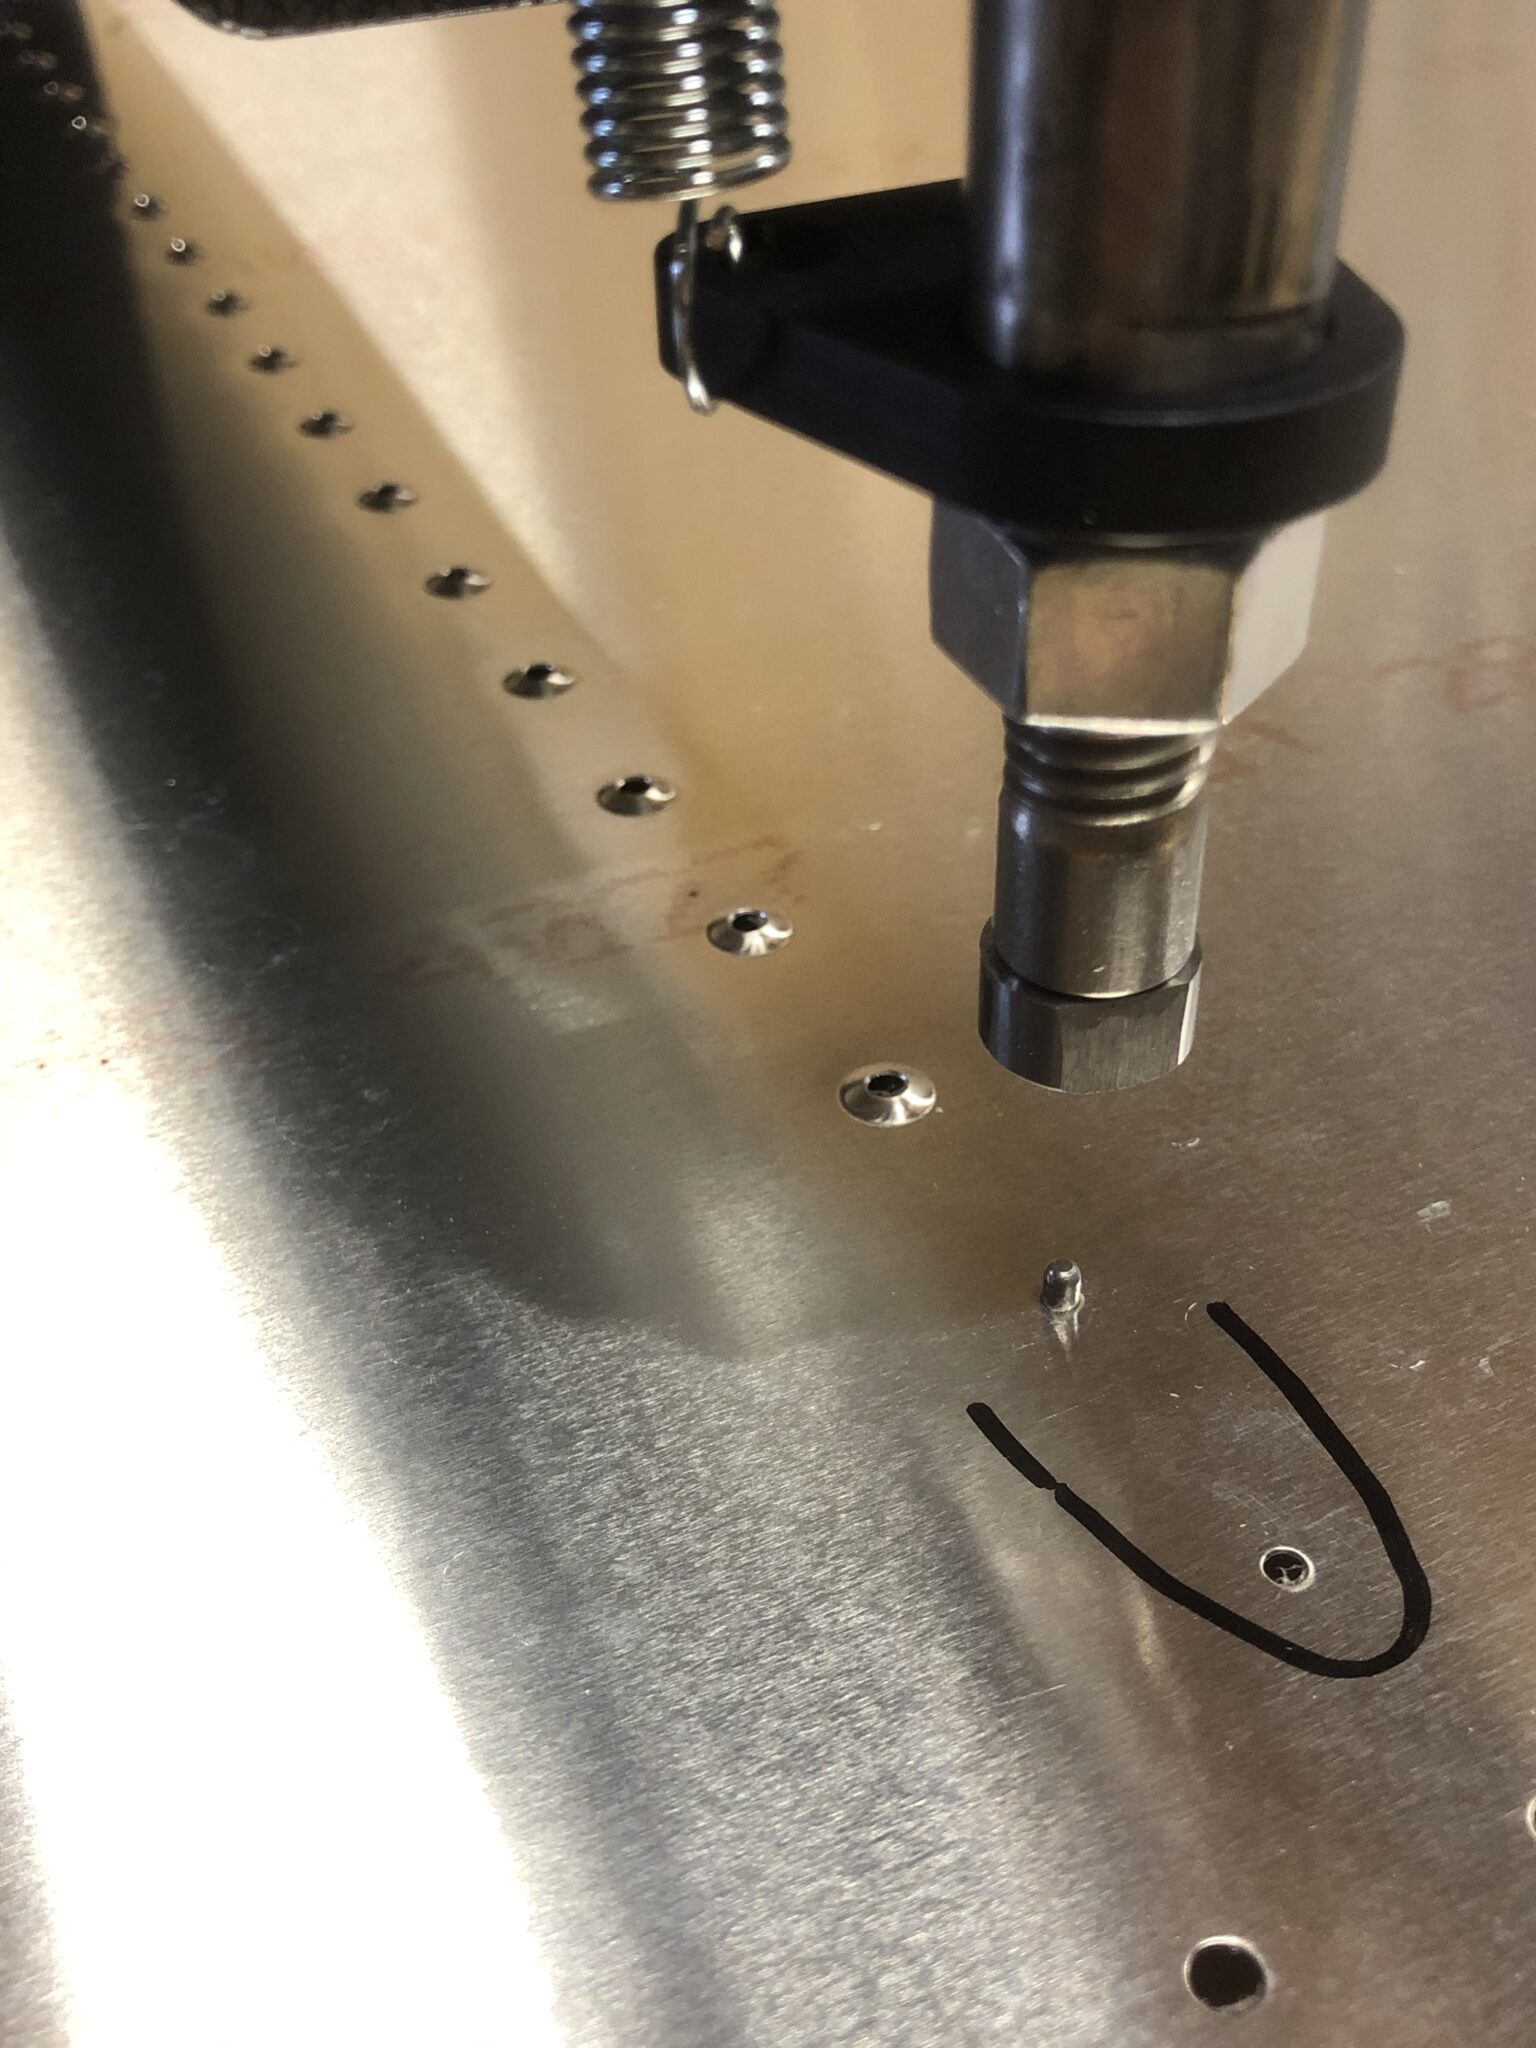
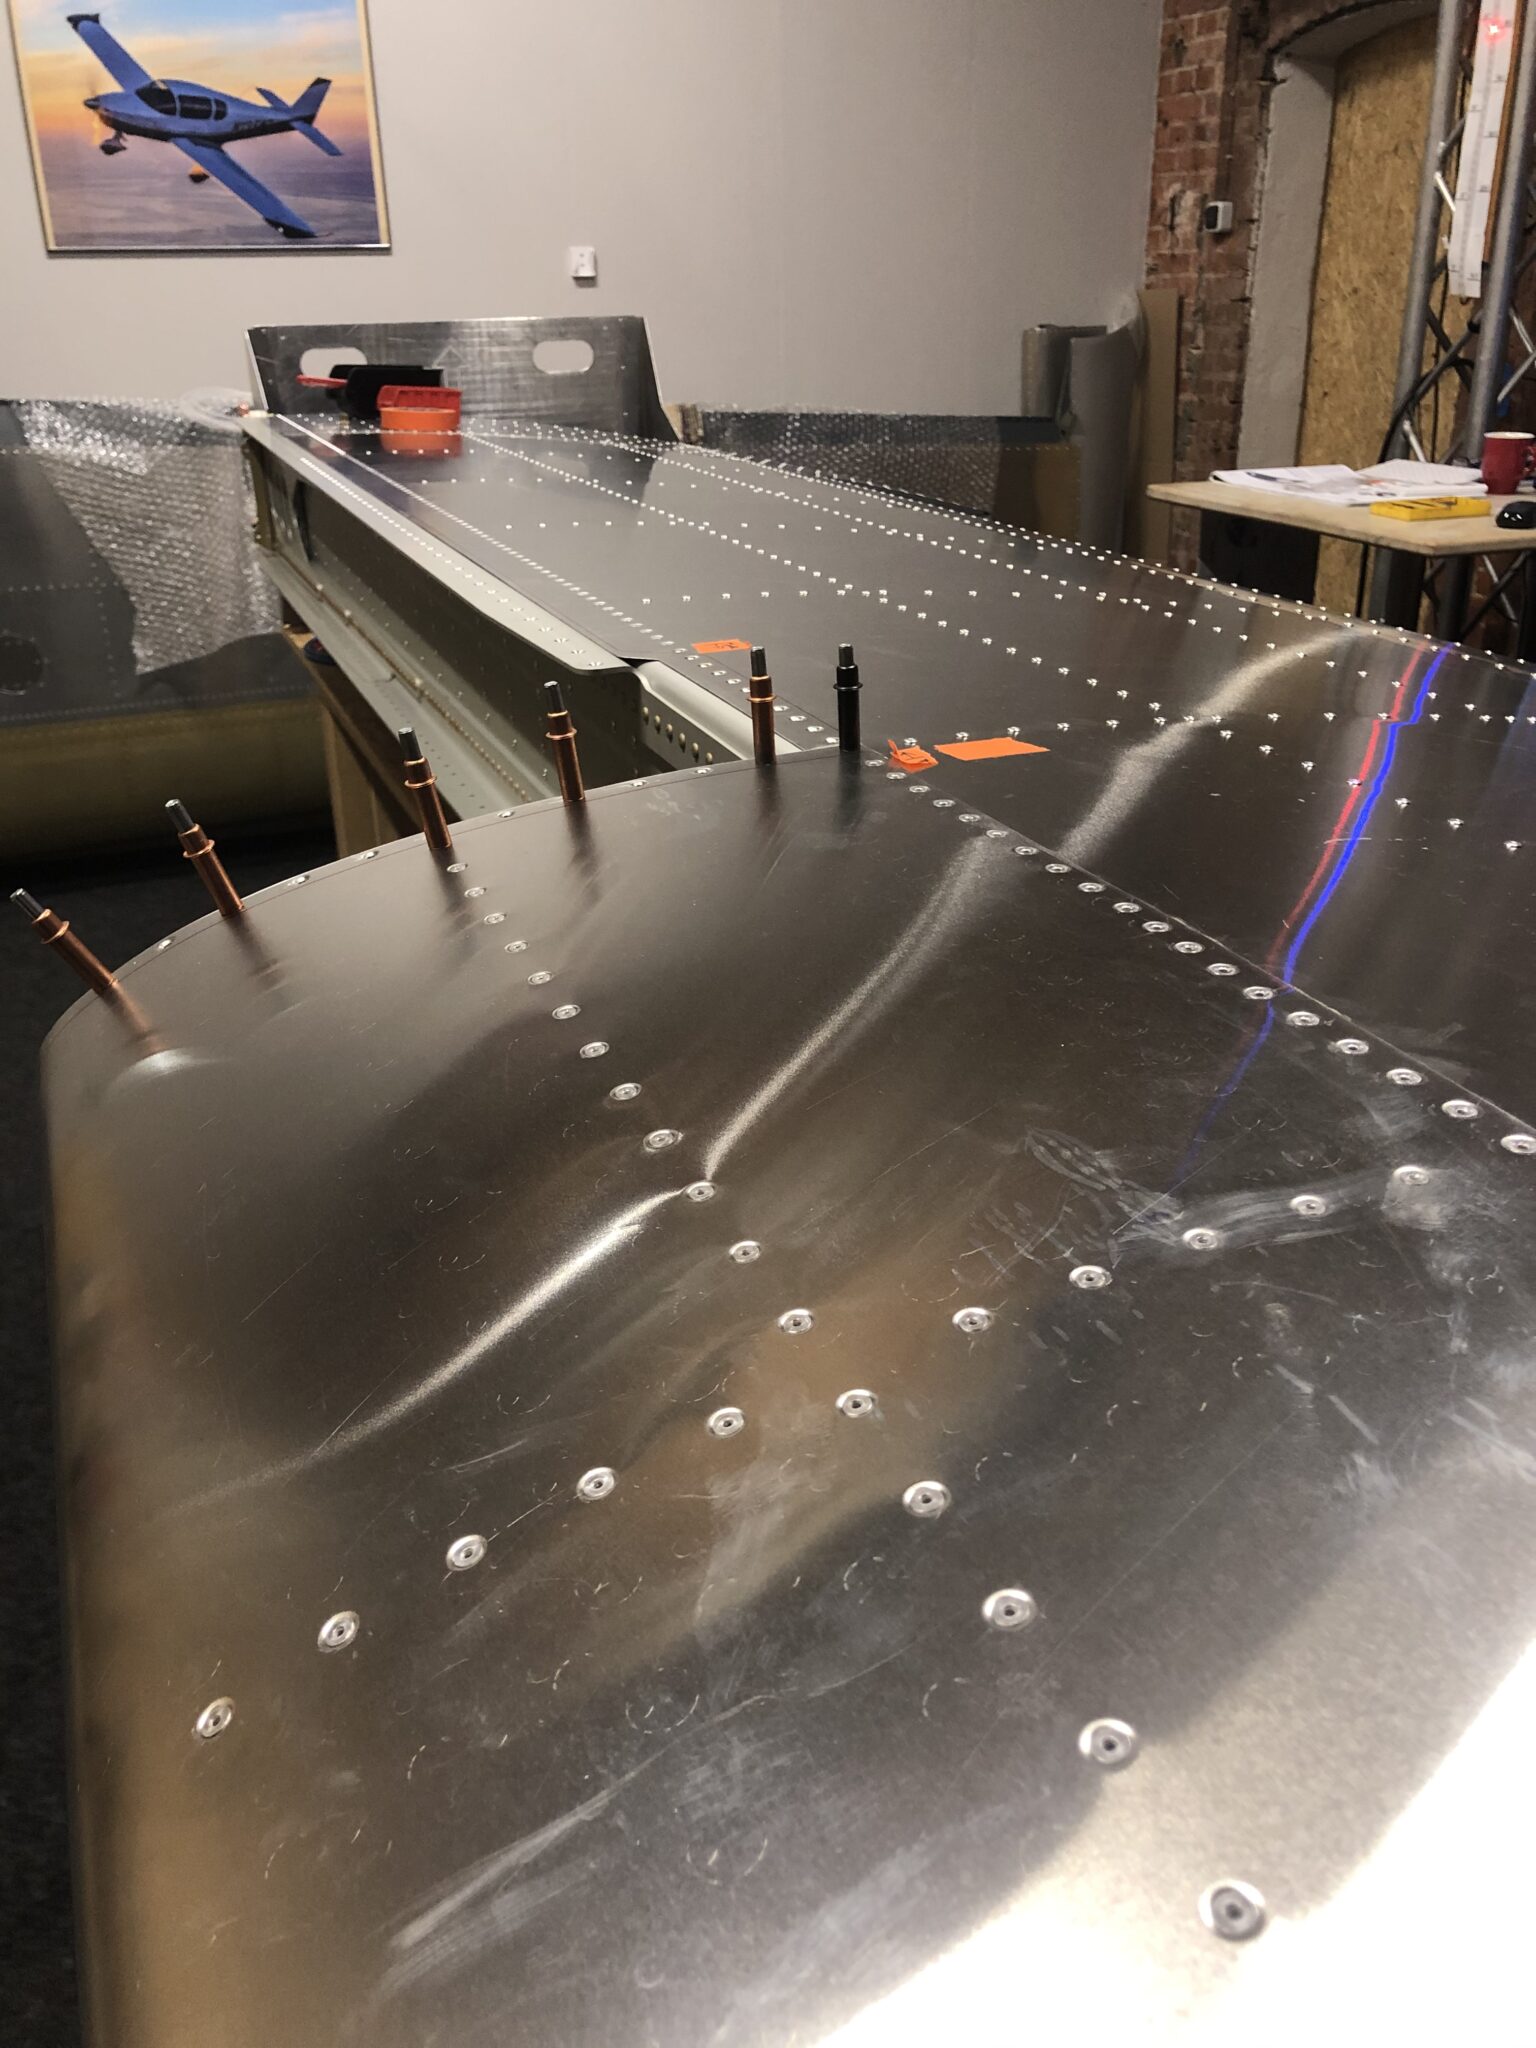
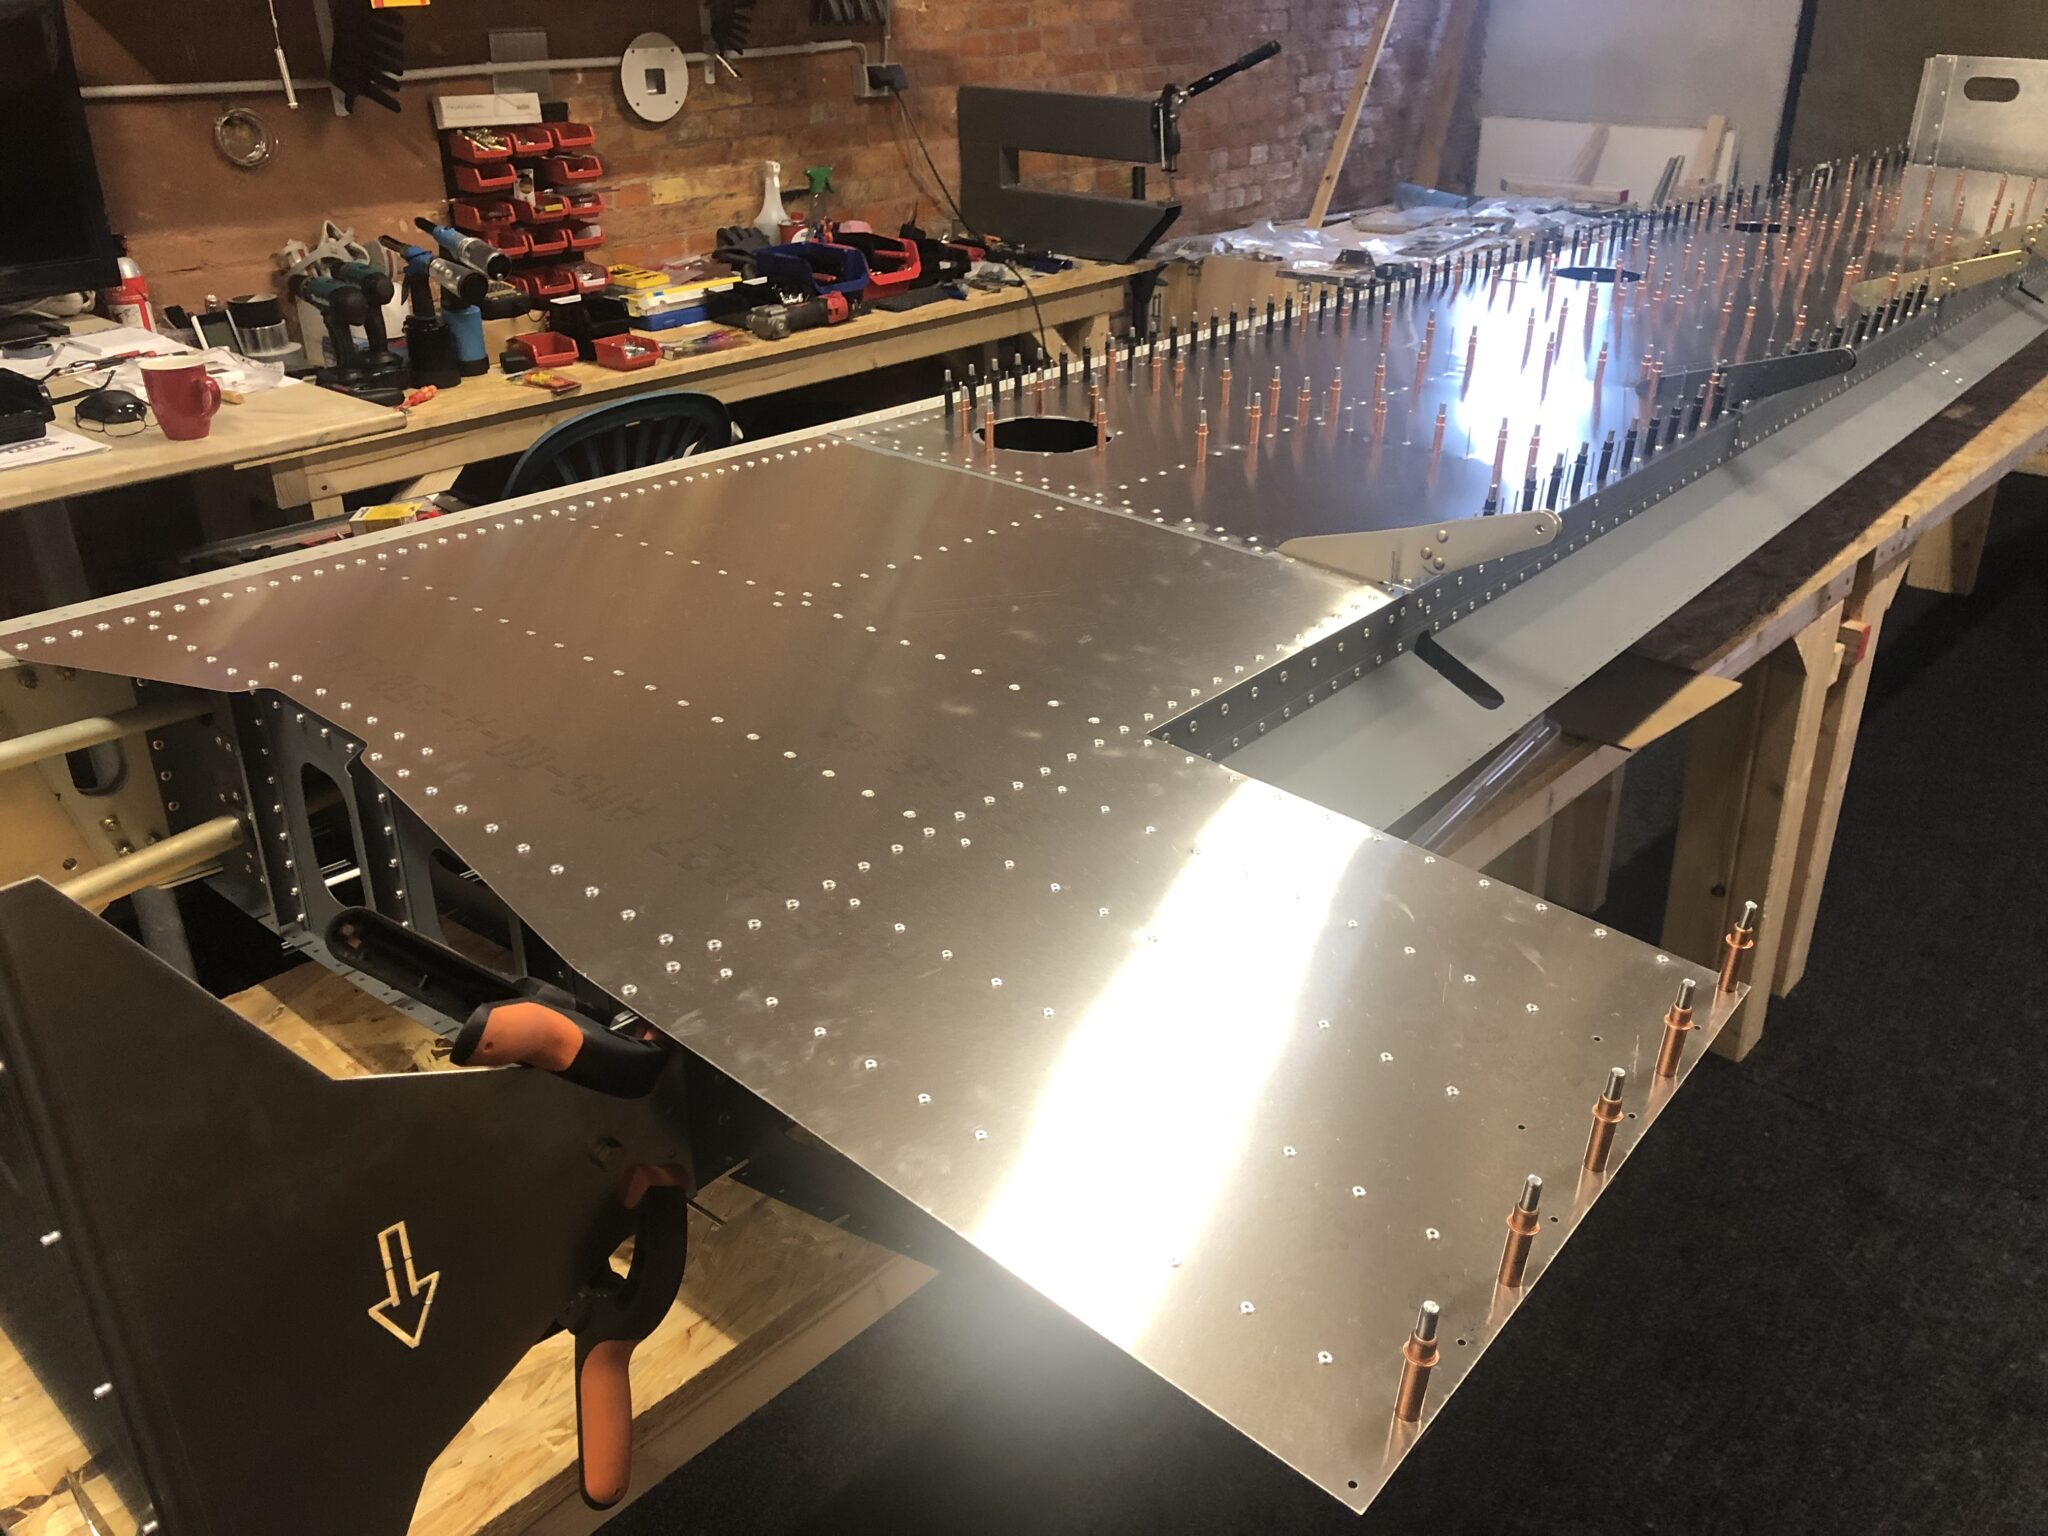
Installing the bottom skin is easy when everything is straight. Initially I’m using rivets and no clecos to position the skins. Rivets have a better fit in the holes and let the skin move a bit so all the holes lign up better. After that process every other hole gets a cleco.

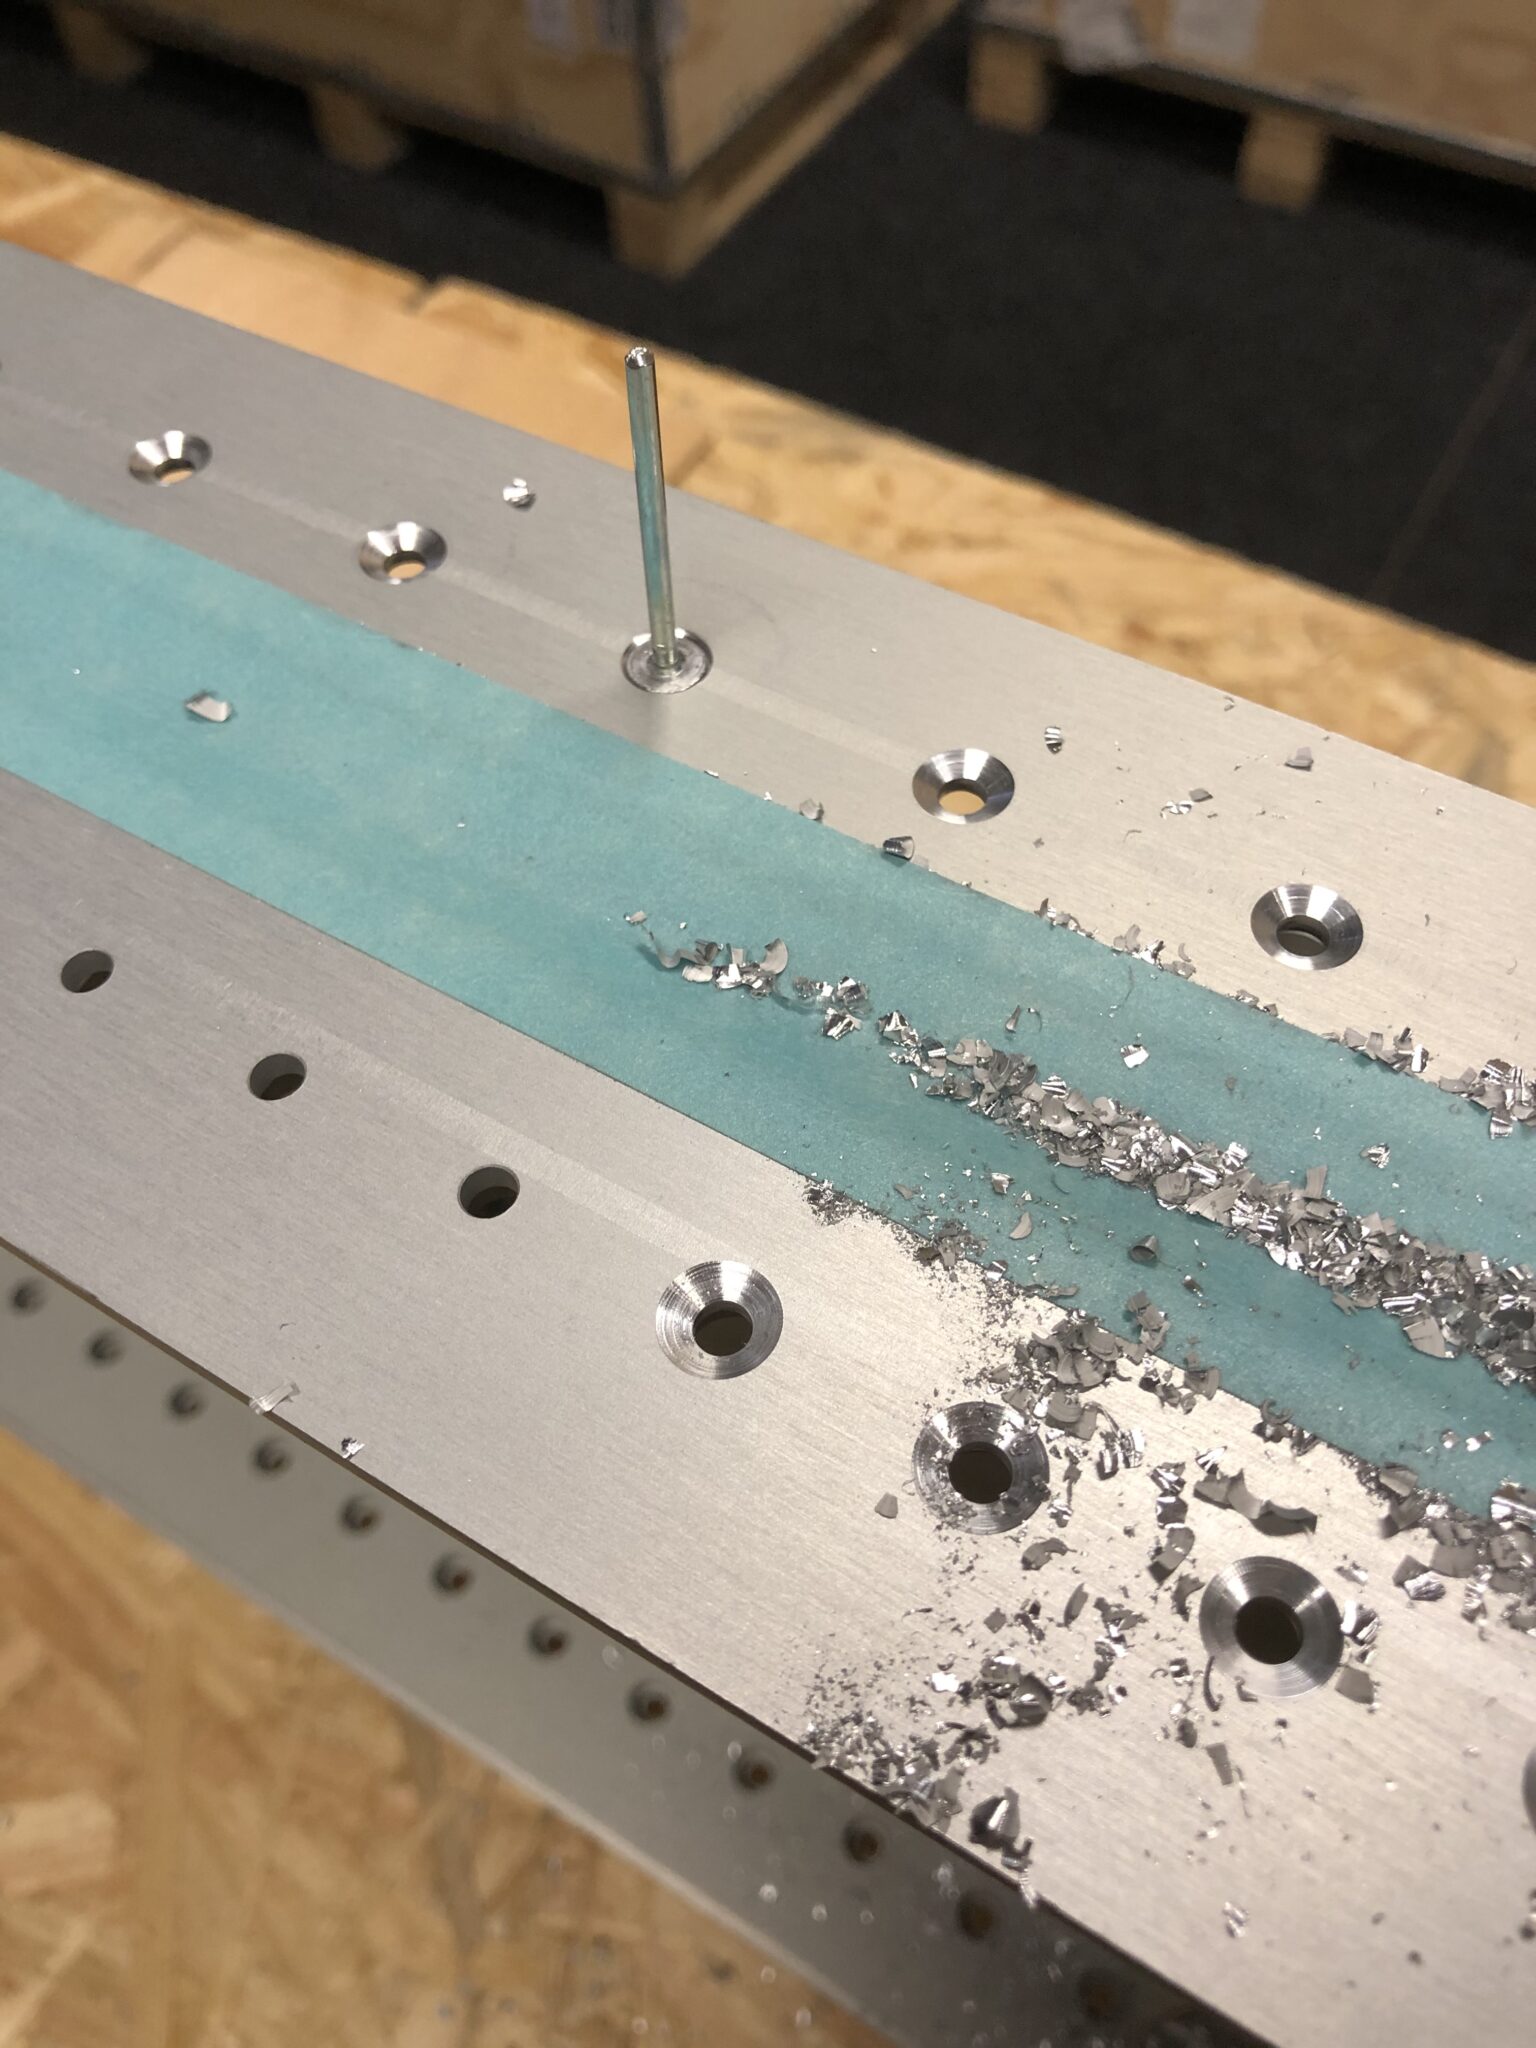
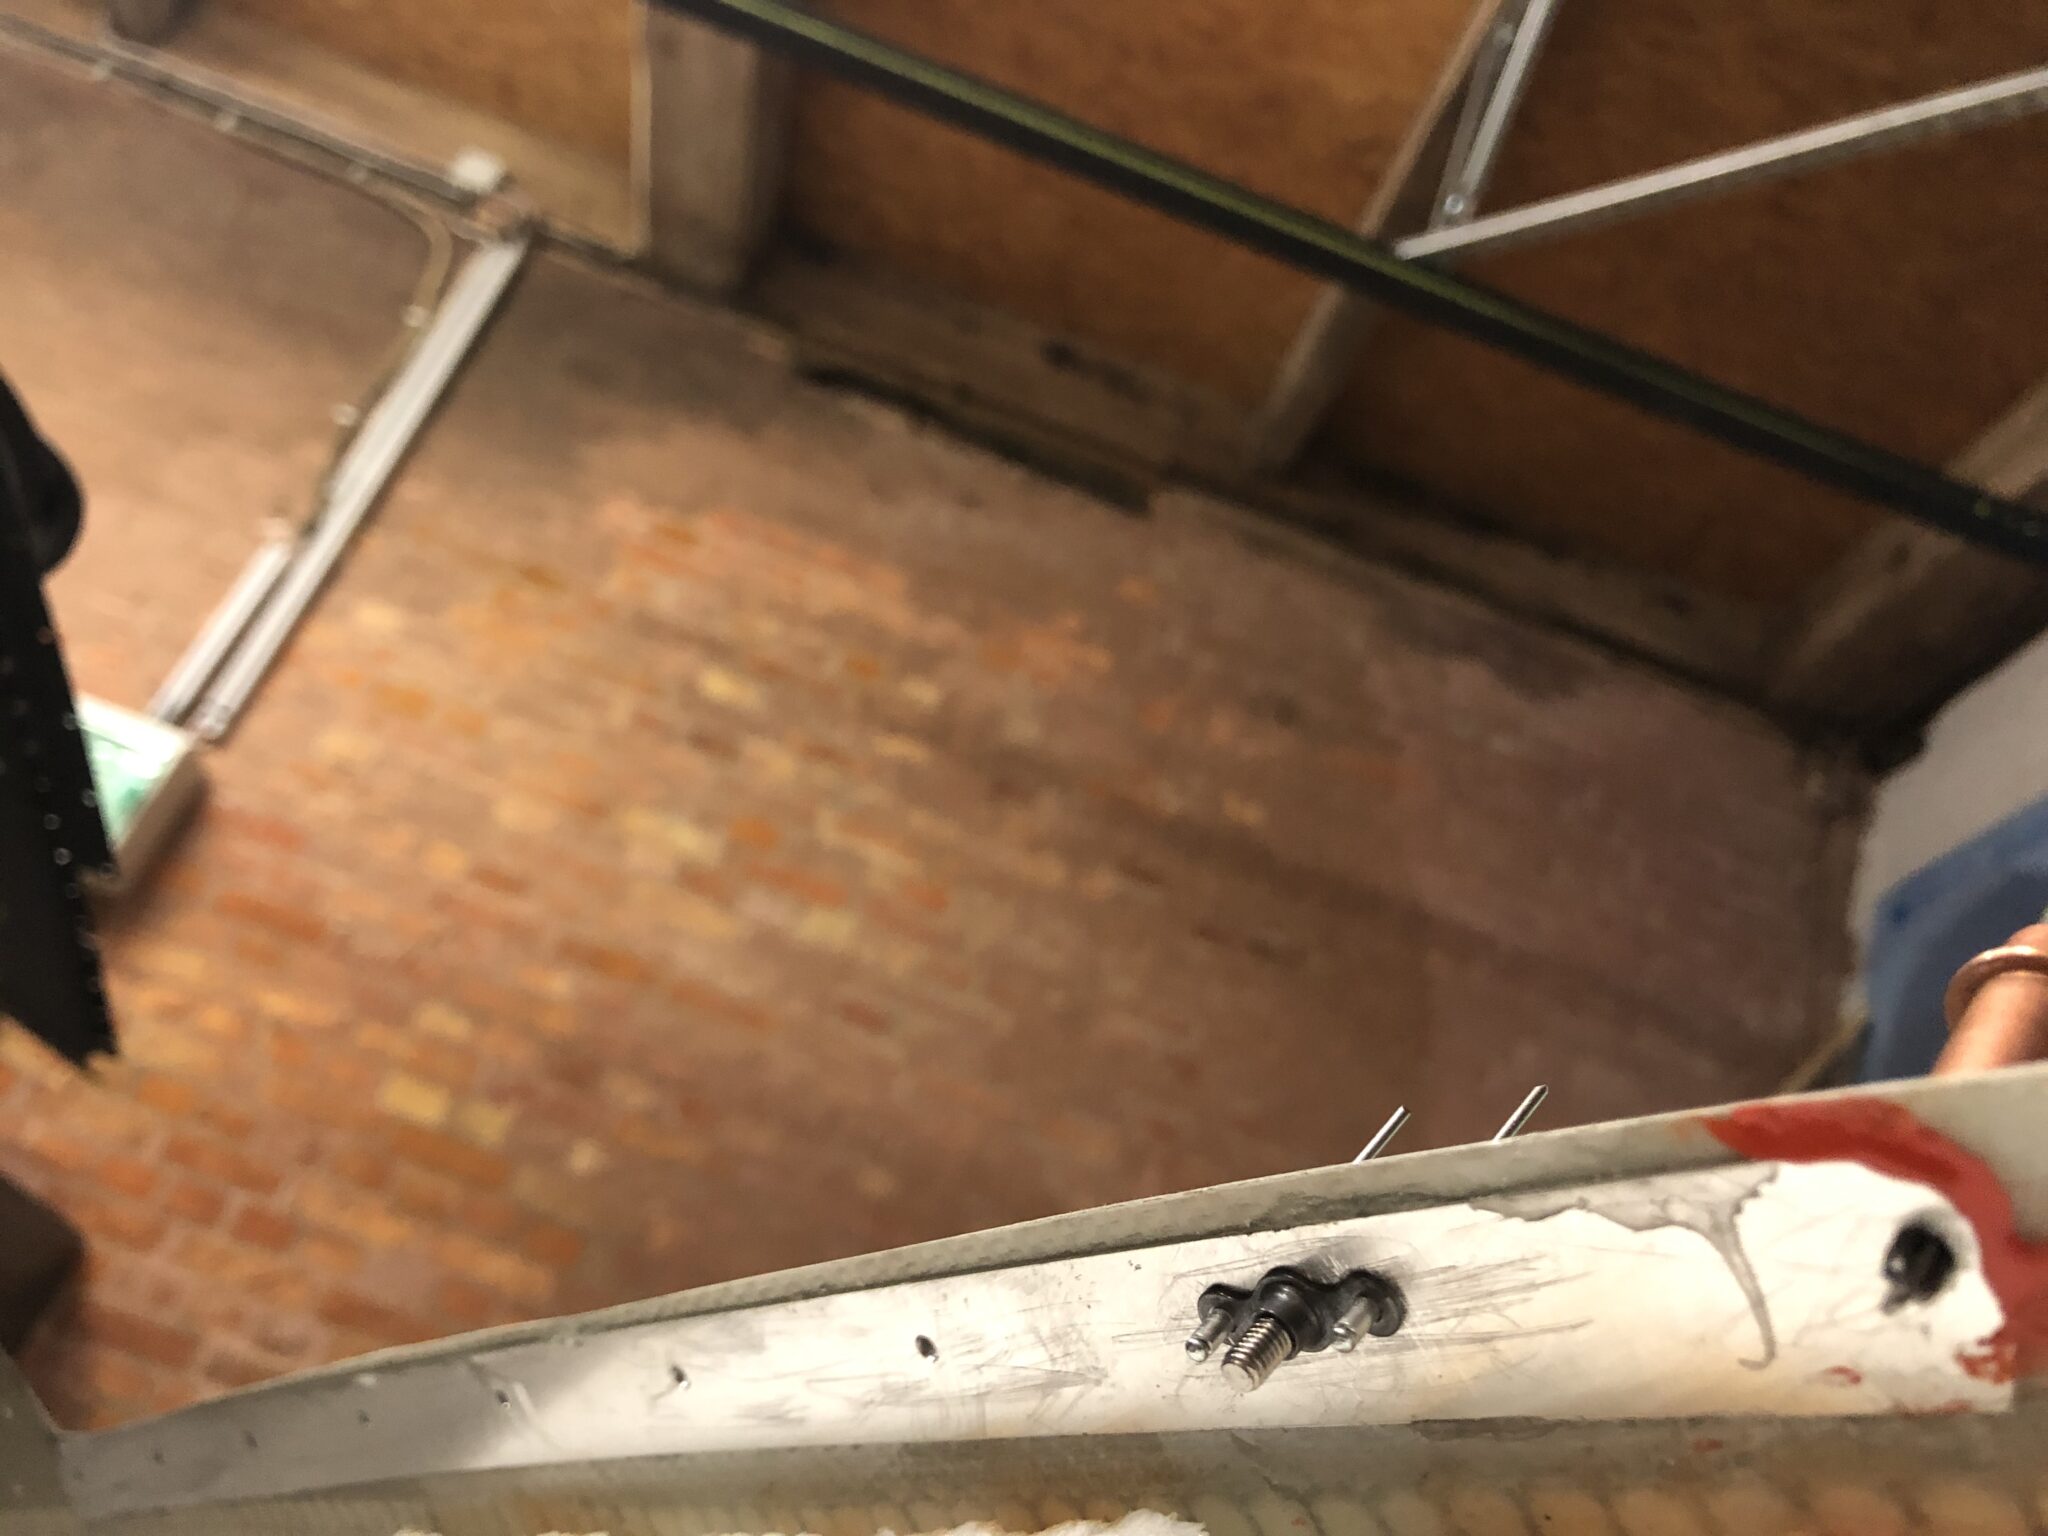
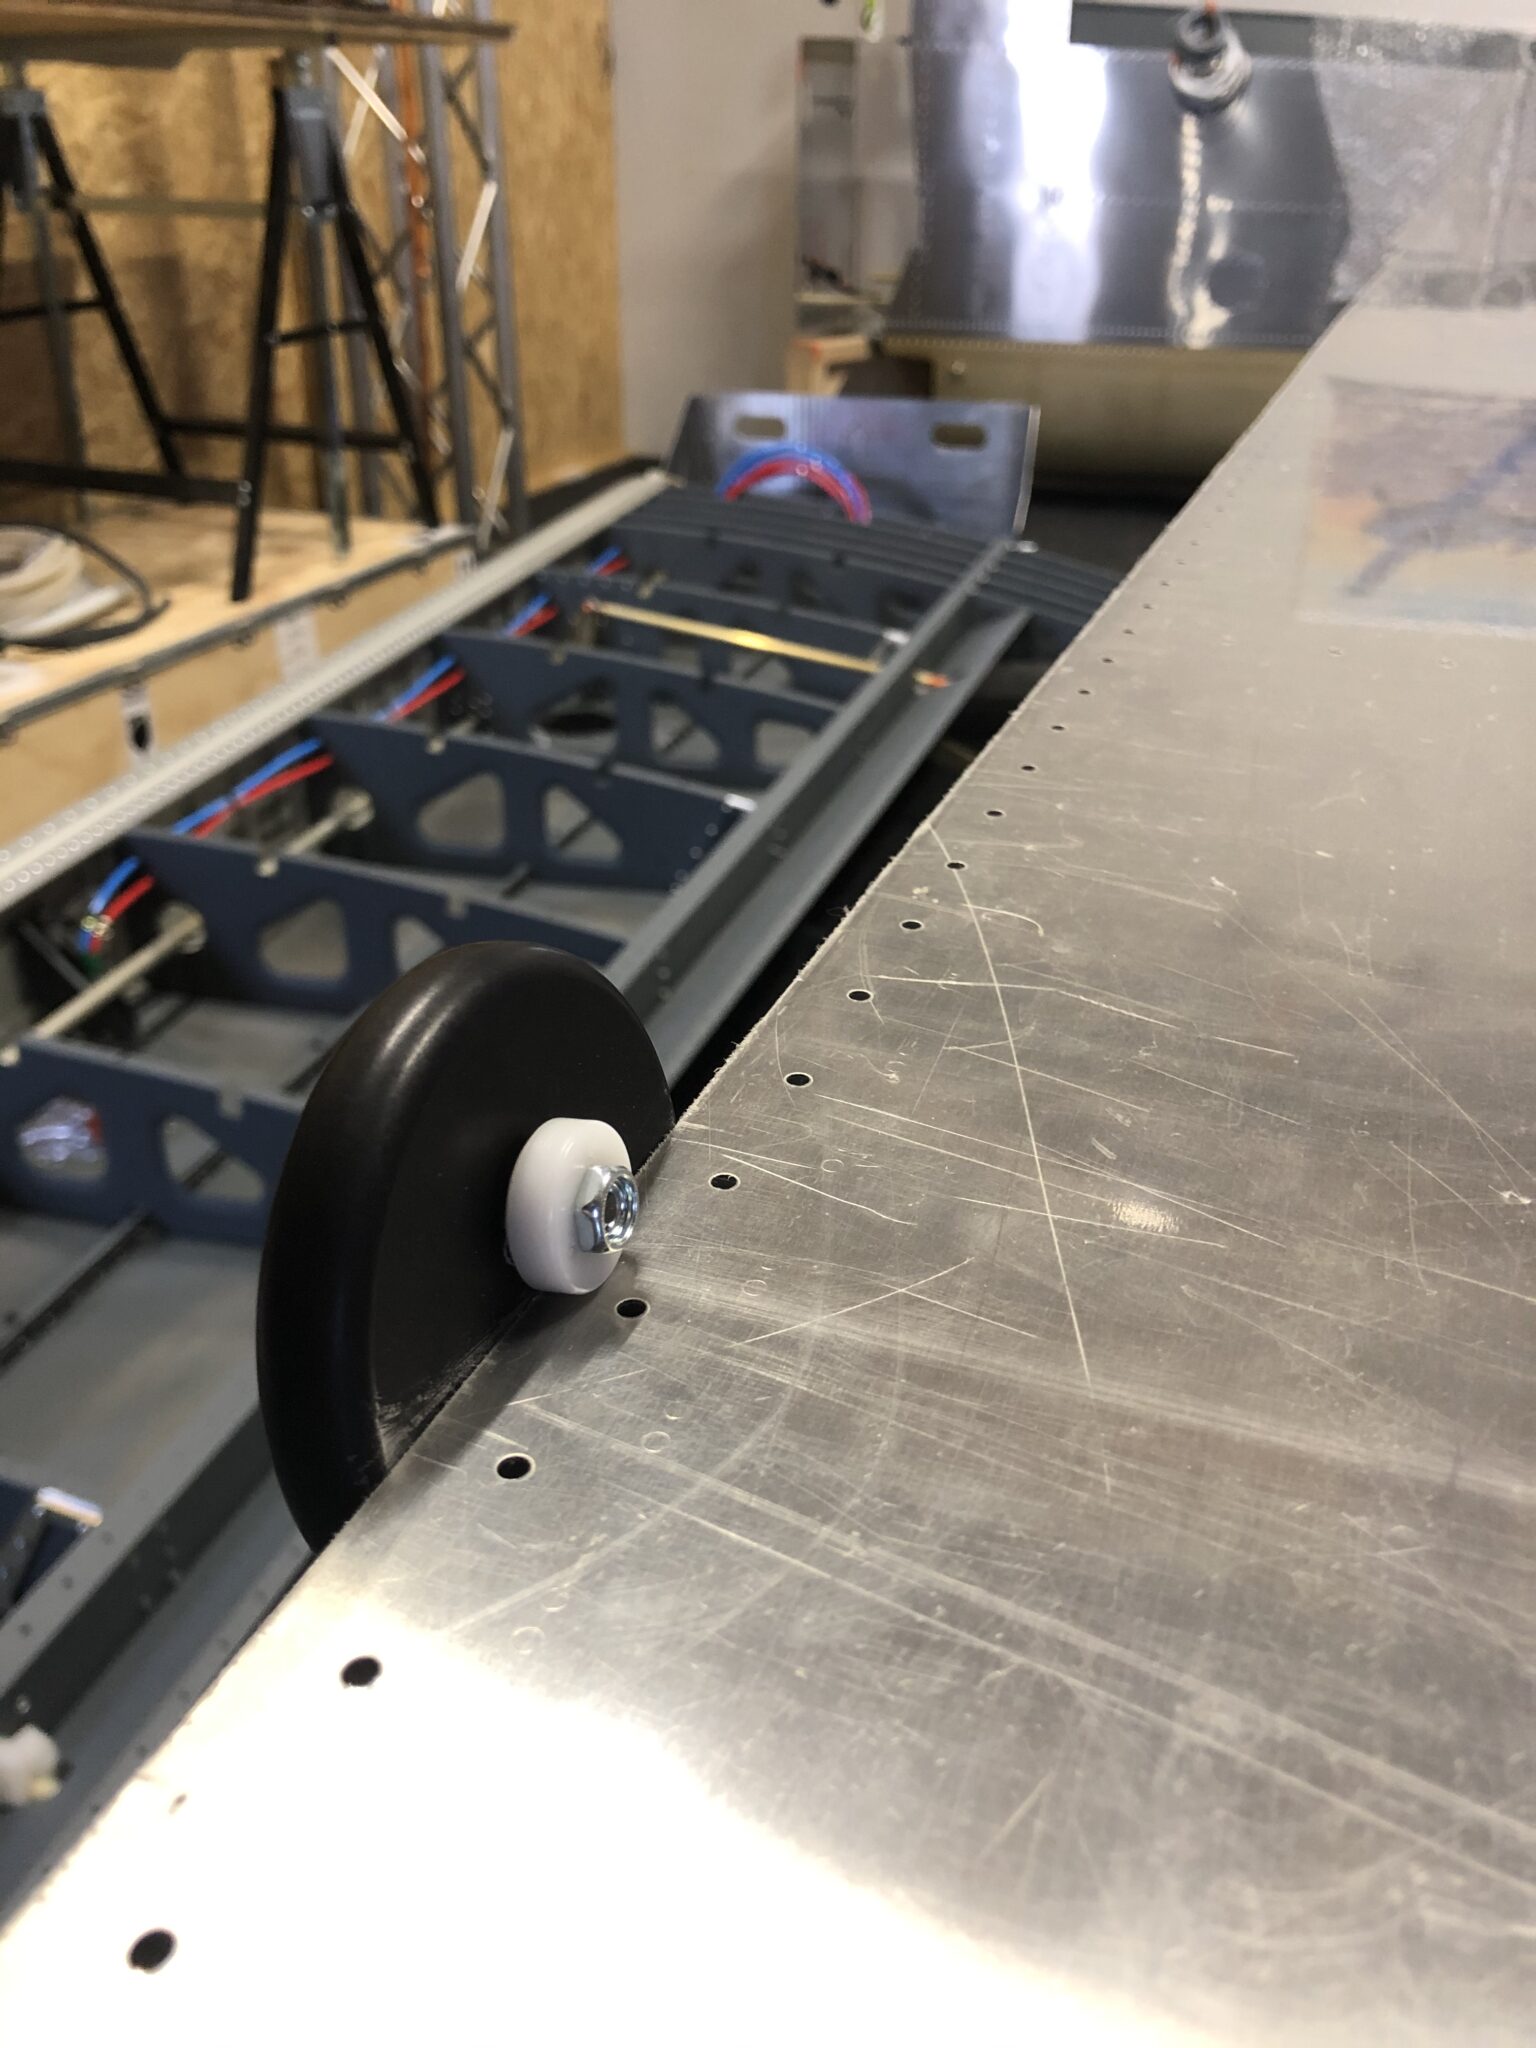
The last 3.2mm rivet above the aileron bellcrank assembly has not enough depth for a 3.2x8mm rivet. A 3.2x4mm rivet fits, if you have one left over from the tanks.

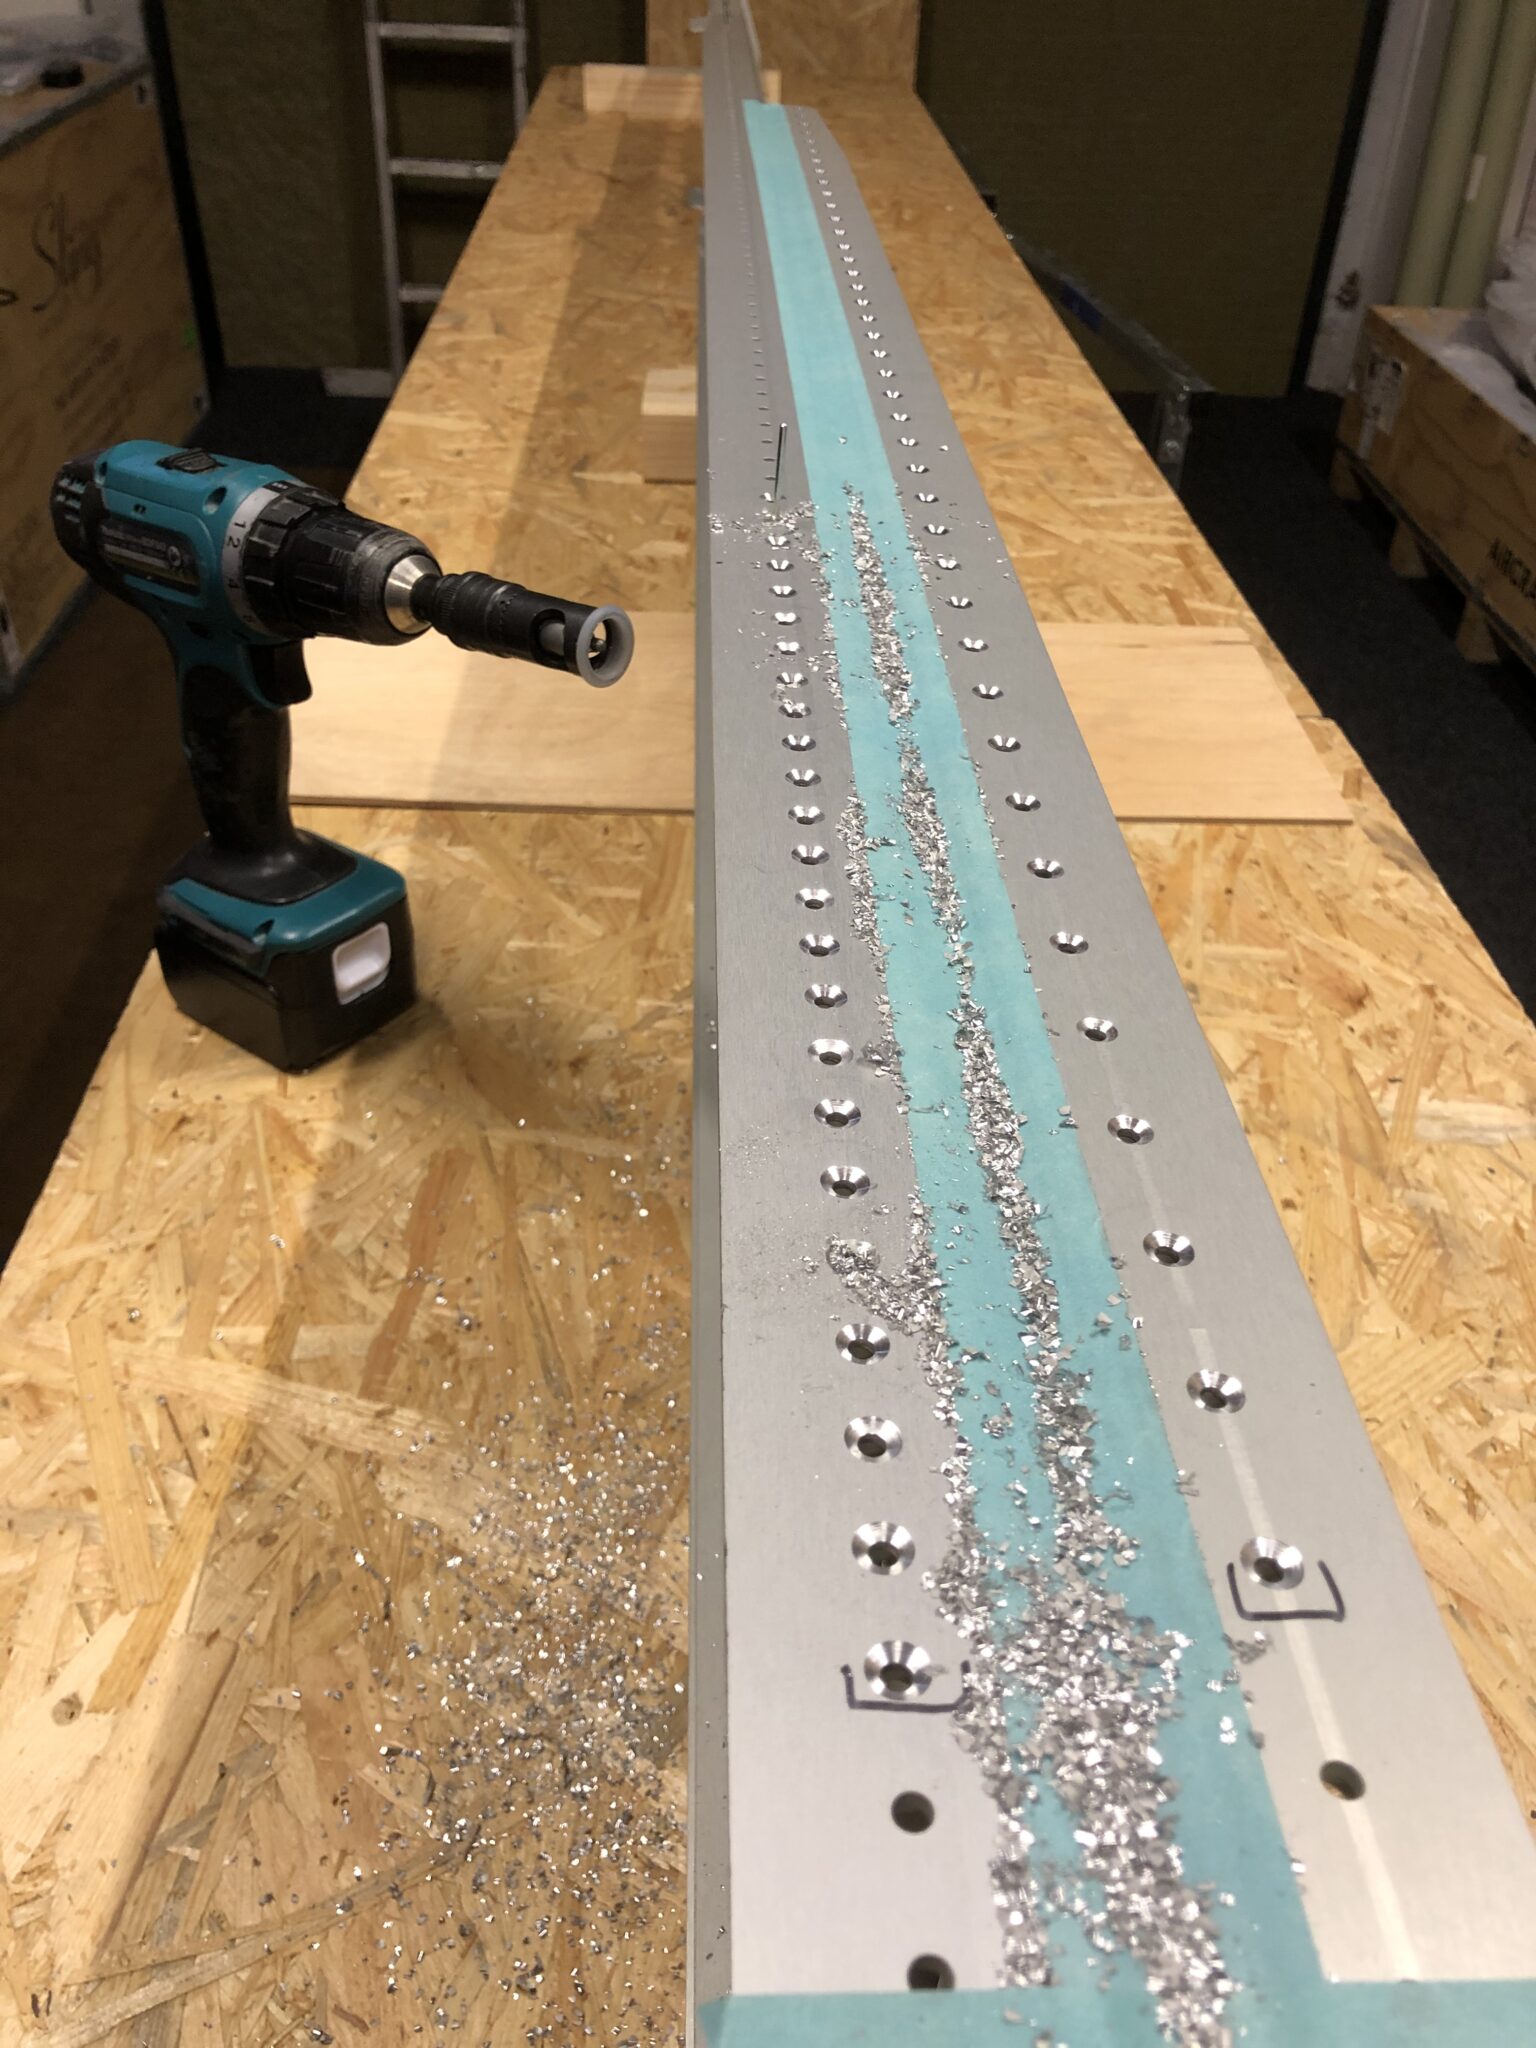
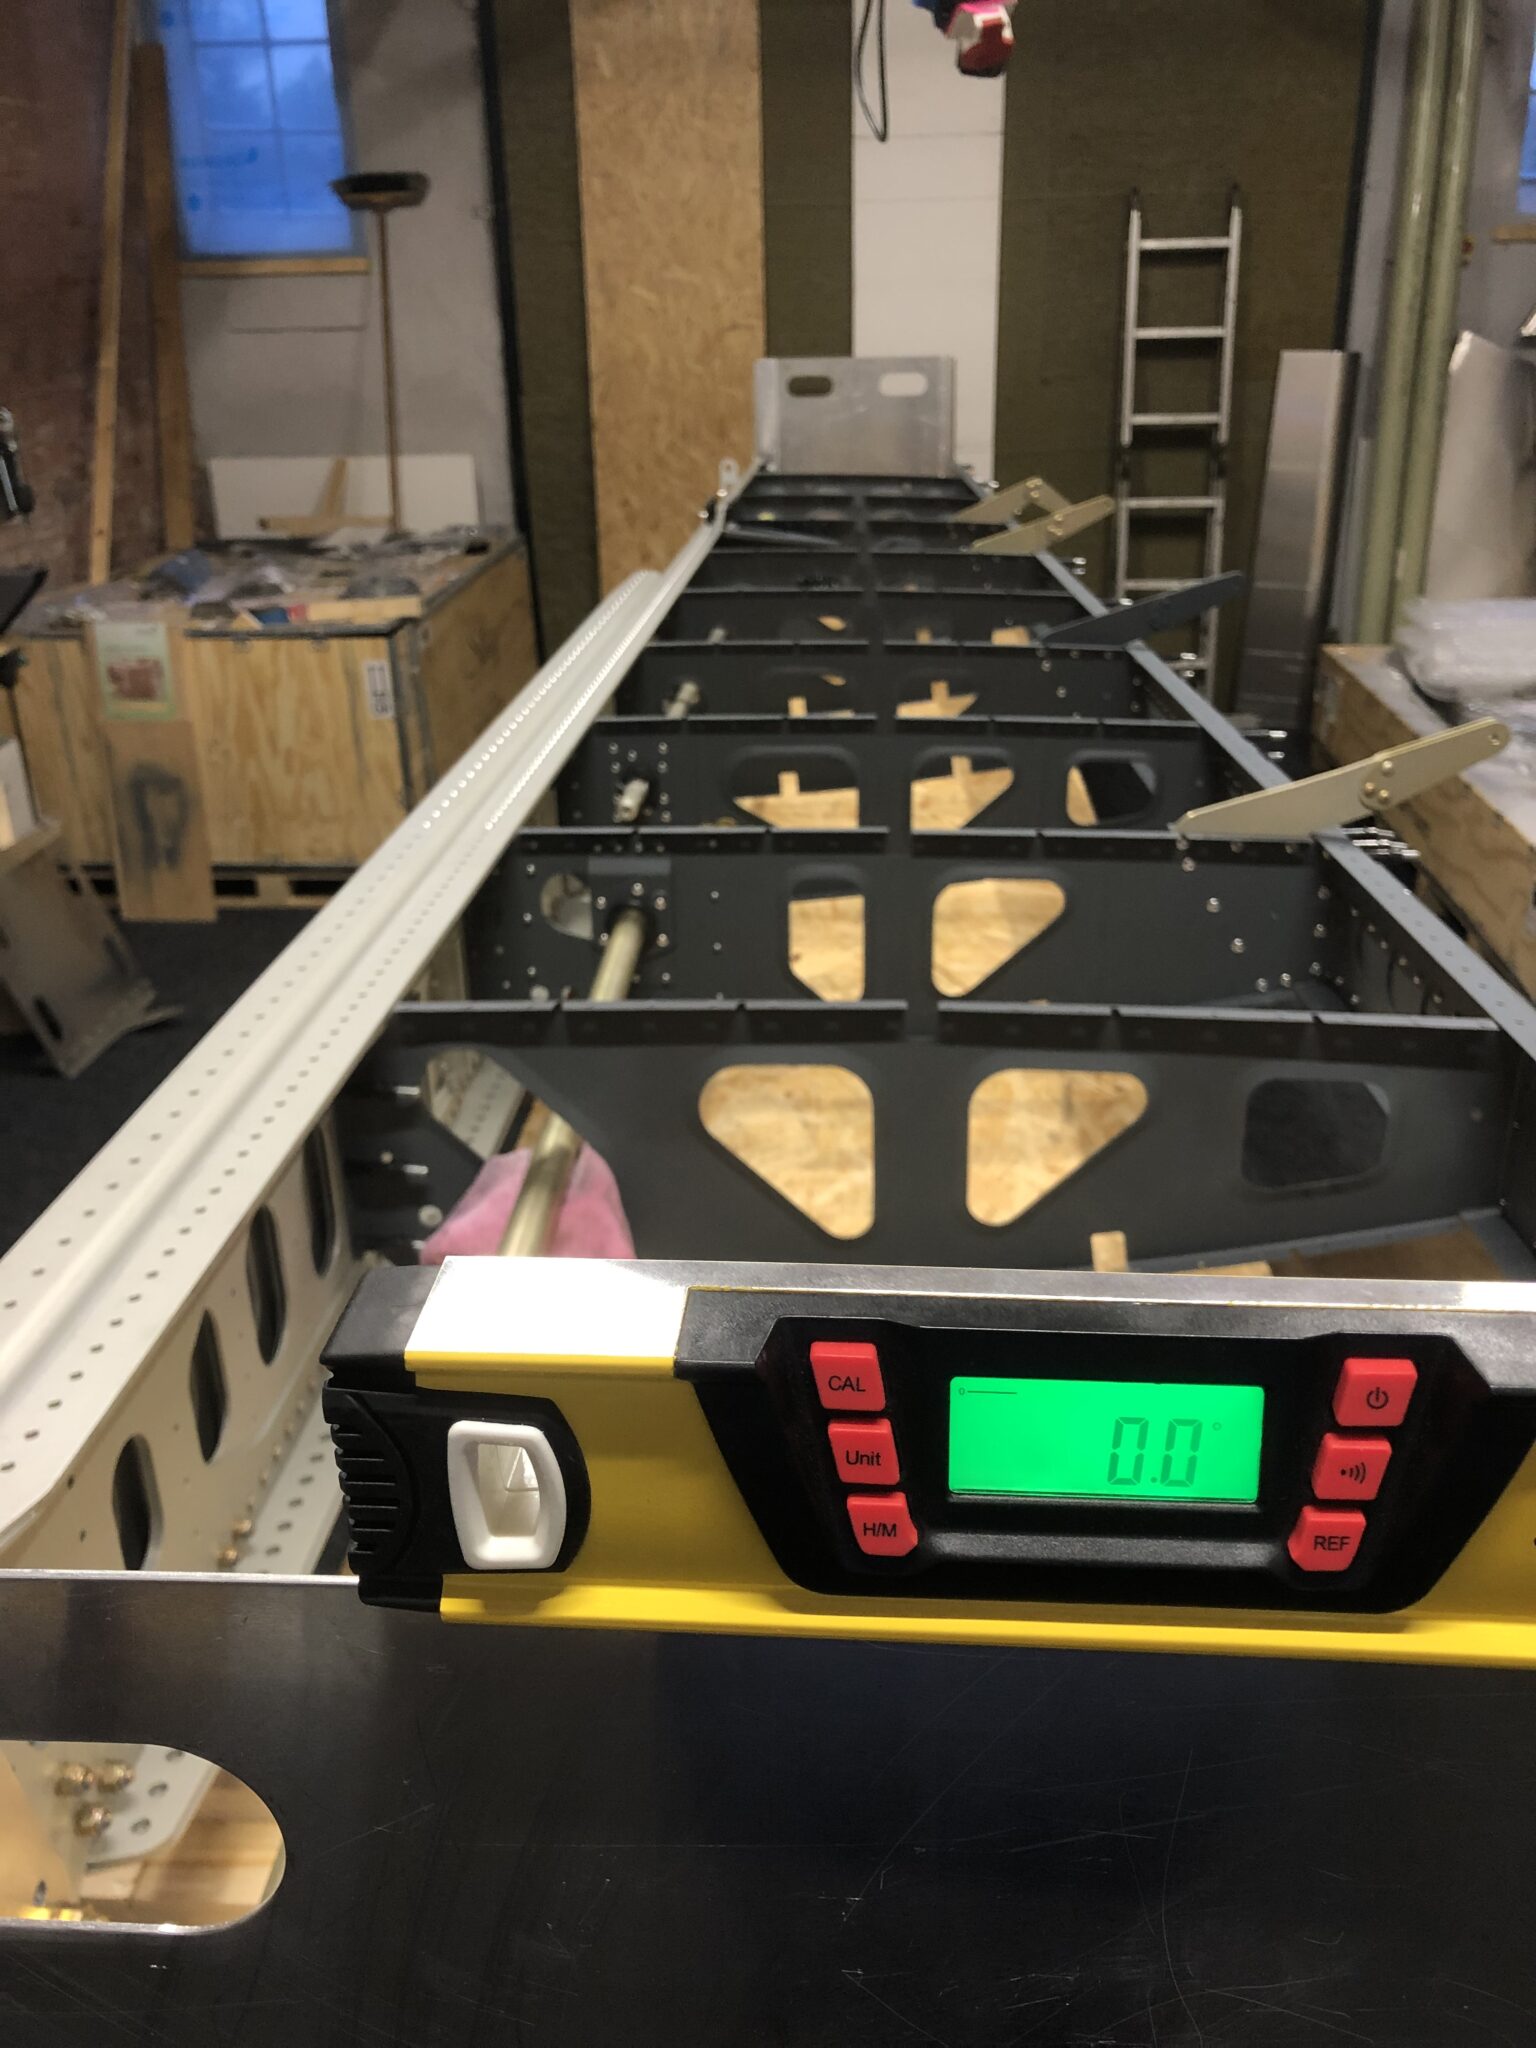
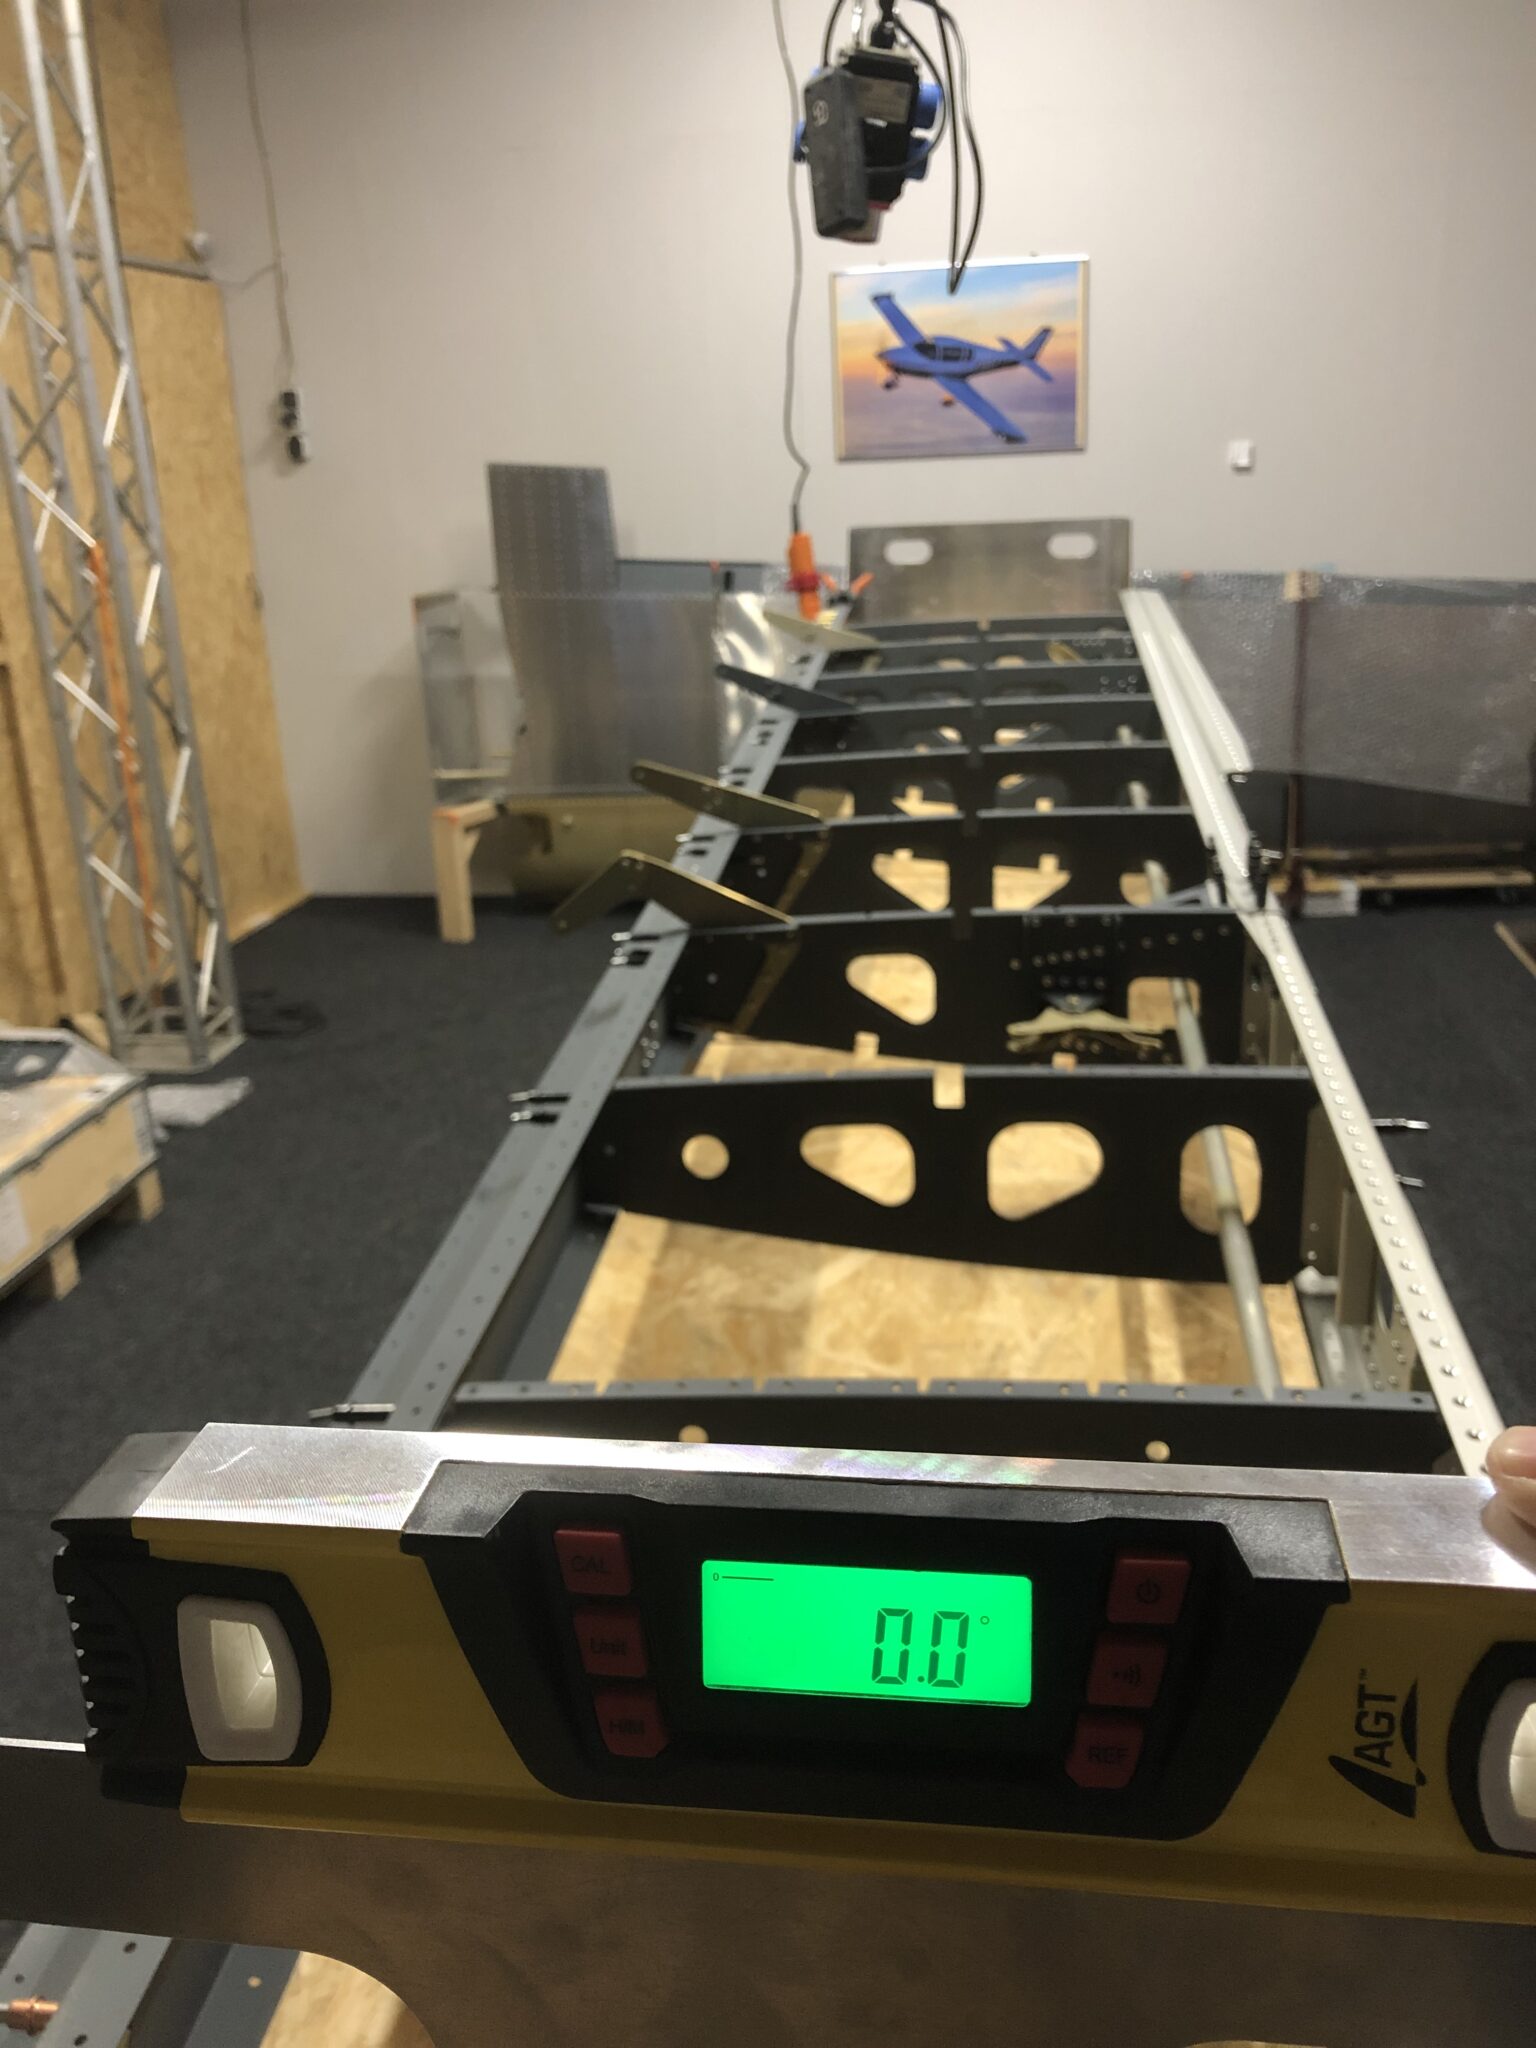
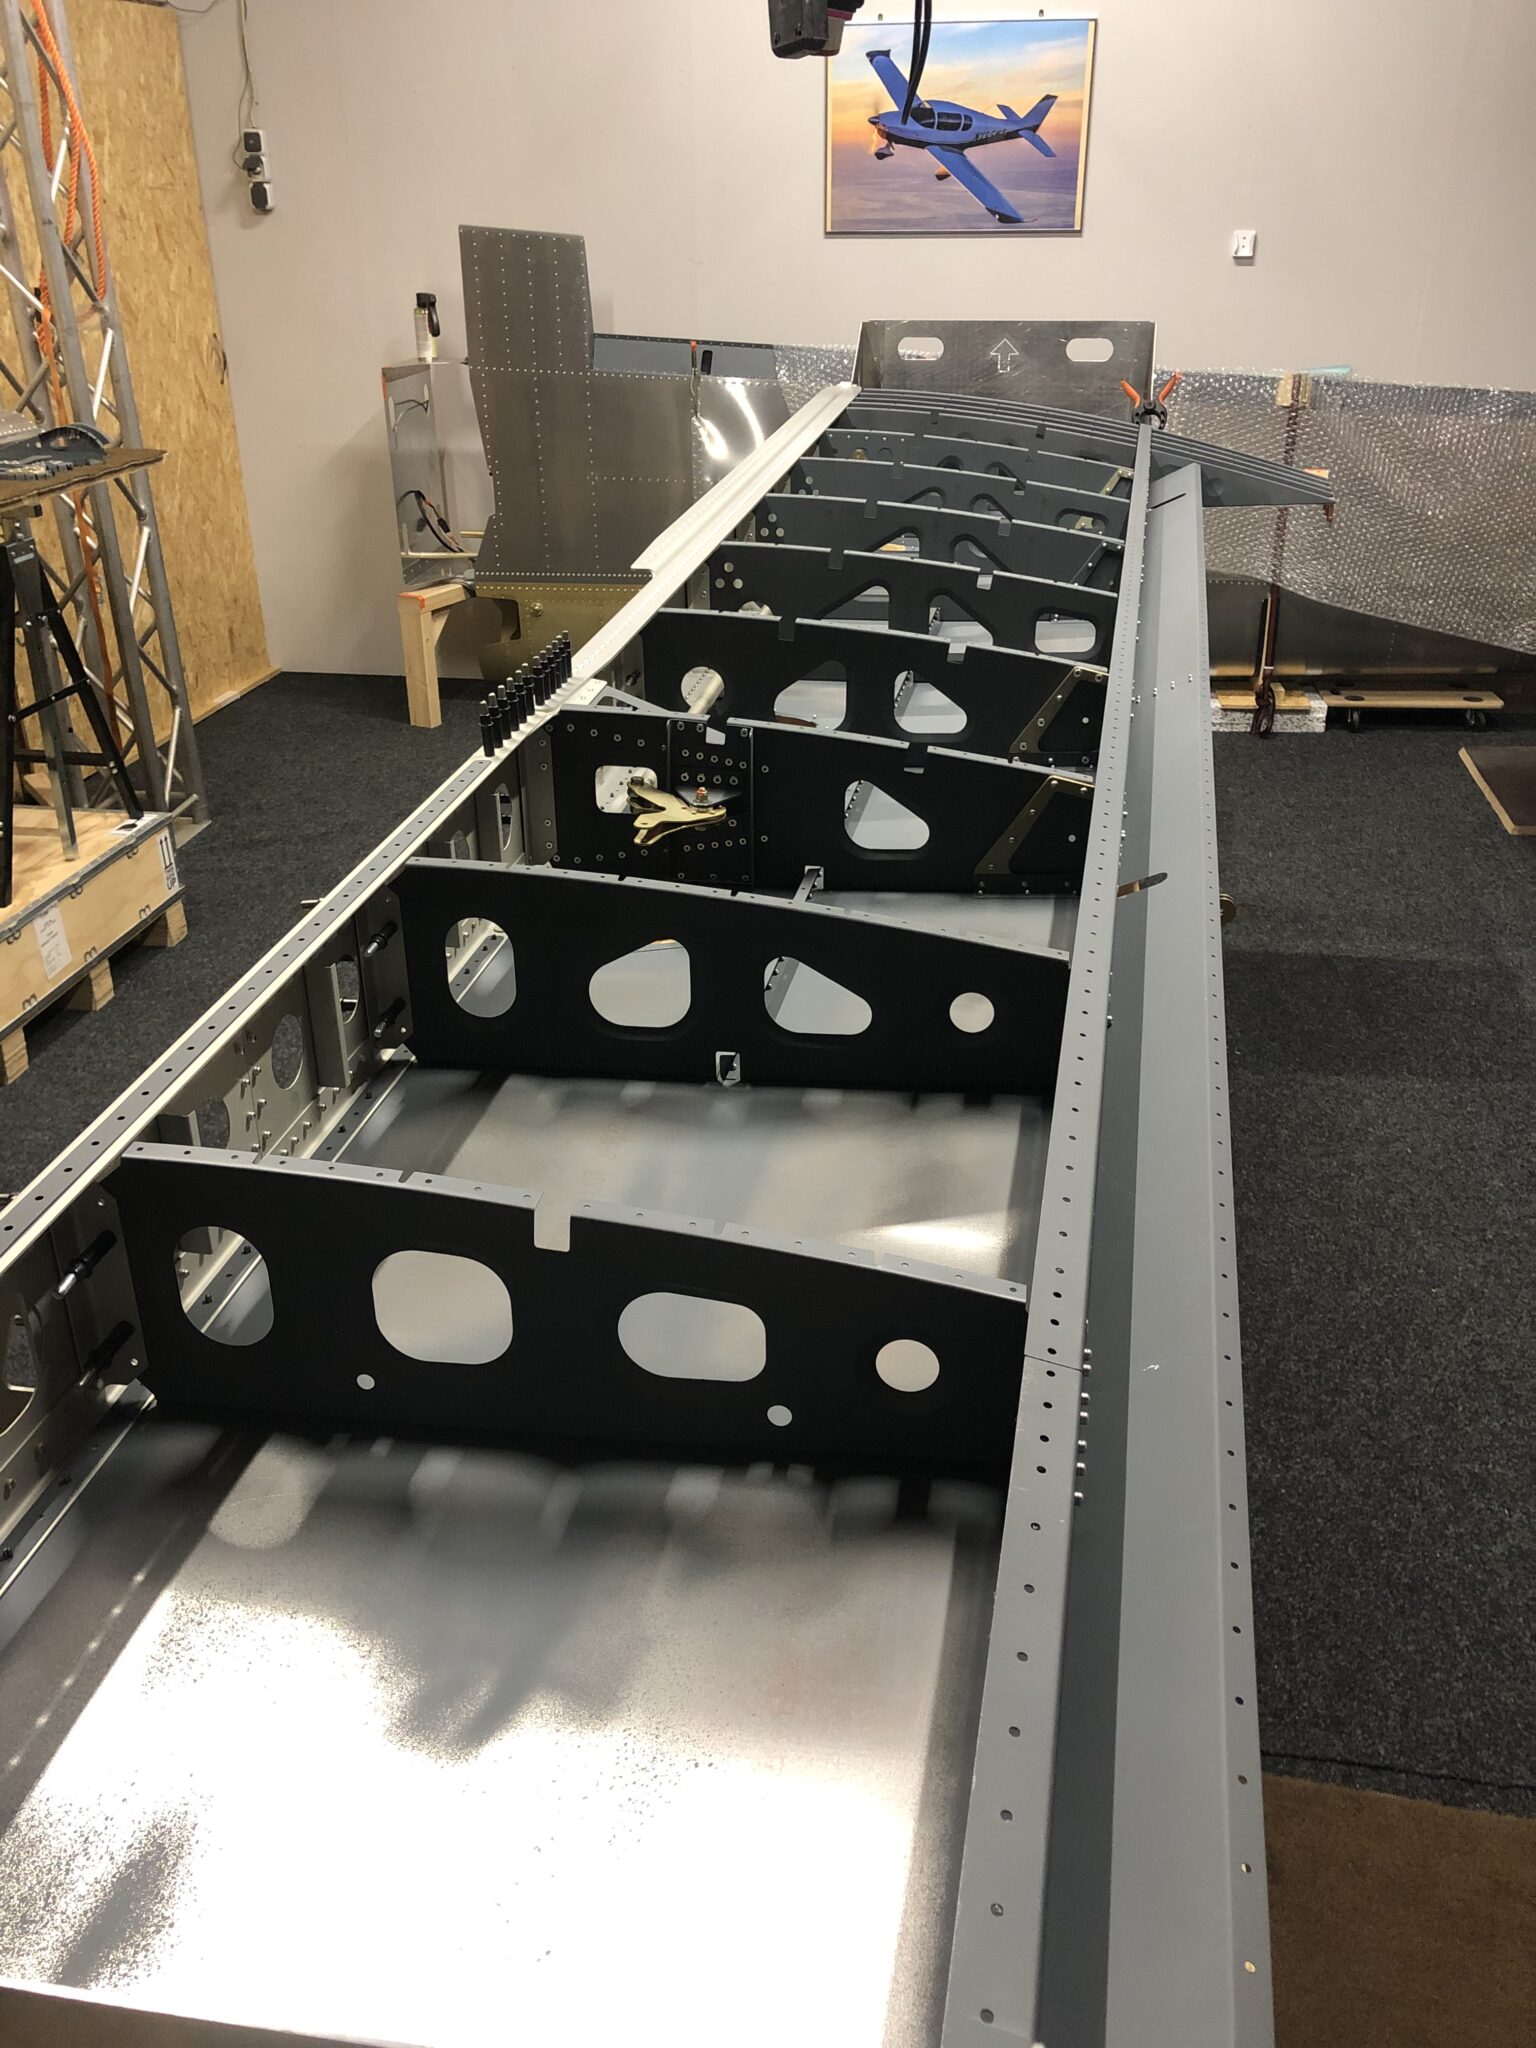
Countersinking these holes in the main spar takes some time and effort. Since I did prepare all center ribs in parallel with the ribs from the right wing, it took just a few hours to rivet the center ribs. It’s agood idea to insert the aileron push rod and the flap torque tube before the ribs make it impossible. Before you rivet any ribs, the wing jigs should be adjusted to be level.